Add Records to a Table in Datasheet View in Access- Instructions
Add Records to a Table in Datasheet View in Access: Video
This video lesson, titled “Adding Records in Datasheet View,” shows how to add records to a table in datasheet view in Access. This video is from our complete Access tutorial, titled “Mastering Access Made Easy v.2019 and 365.”
Overview of How to Add Records to a Table in Datasheet View in Access
You can easily add records to a table in datasheet view in Access. In datasheet view in Microsoft Access, there is a blank row at the bottom of the table. This row also contains an asterisk (*) in the row selector box at its left end. This is the “New Record” row. When you add records to a table in datasheet view in Access, each new record is added to the bottom of the table in the “New Record” row.
To add records to a table in datasheet view in Access, click into this row and enter the new record. The asterisk will then change to a picture of a “pencil” as you do this. That lets you know which record you are currently editing. Another new “New Record” row also appears below the row where you are entering data.
After opening a table in datasheet view, you can quickly move to the “New Record” row. To do this, click the “New Record” button at the right end of the “Record Navigation” button group in the lower-left corner of the datasheet view. It is the button with the [►*] face. Your cursor will then automatically enter into that row. You can then enter the new record’s data to add records to a table in datasheet view in Access.
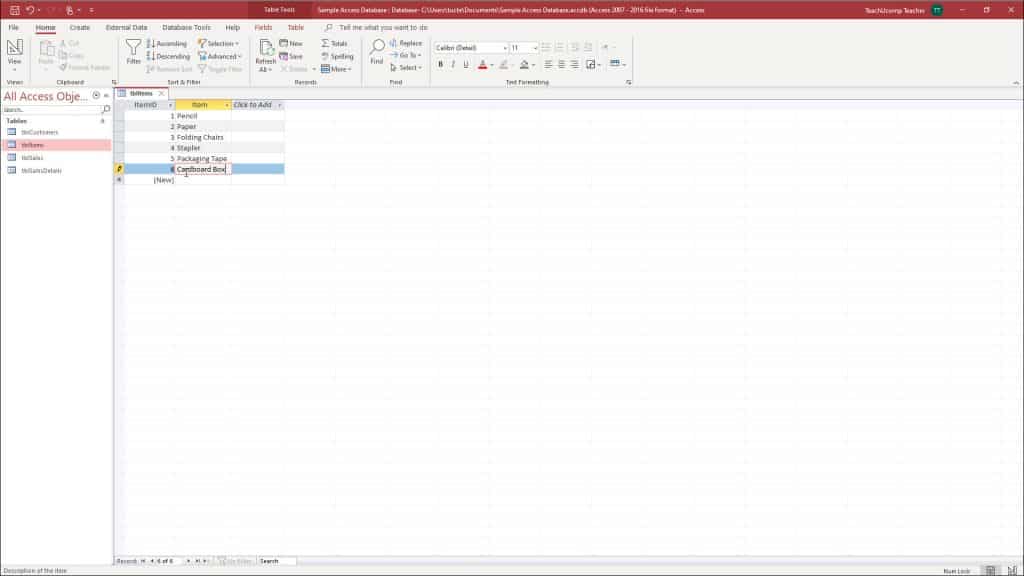
A picture showing how to add records to a table in datasheet view in Access.
Instructions on How to Add Records to a Table in Datasheet View in Access
- To add records to a table in datasheet view in Access, open the desired table in datasheet view.
- Click the “New Record” button at the right end of the record navigation button group. This button group appears in the lower-left corner of the datasheet view. It is the button with the arrow and asterisk [►*] on its face.
- Then enter the information into the fields in the “New Record” row. It is the bottommost row in the datasheet view that displays the asterisk [*] at the left end of the row.
- When you have finished entering the new record, you can move down to enter the next new record into the new row that has appeared.
- Close the table when you are finished adding records.