Excel can store information in tables. An Excel table is information stored in a table format and defined as being a table within Excel. When you store information in a table format, you place the different types of information that you want to collect in columns, which are called “fields” in database terminology. Each “field” contains a separate type of information. Examples could be: “First Name,” “Last Name,” “Title,” “Address,” “City,” “State,” and so forth.
Tables can be a great way to organize and store information. In this post, we will discuss how to create a table in Microsoft Excel 2013 and then how to add records to the table.
Create the Table
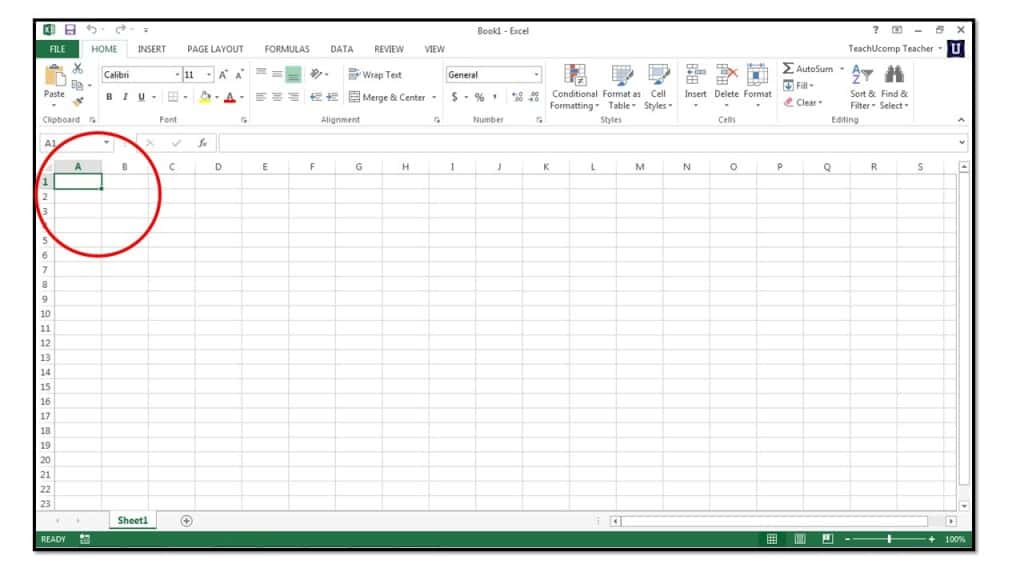
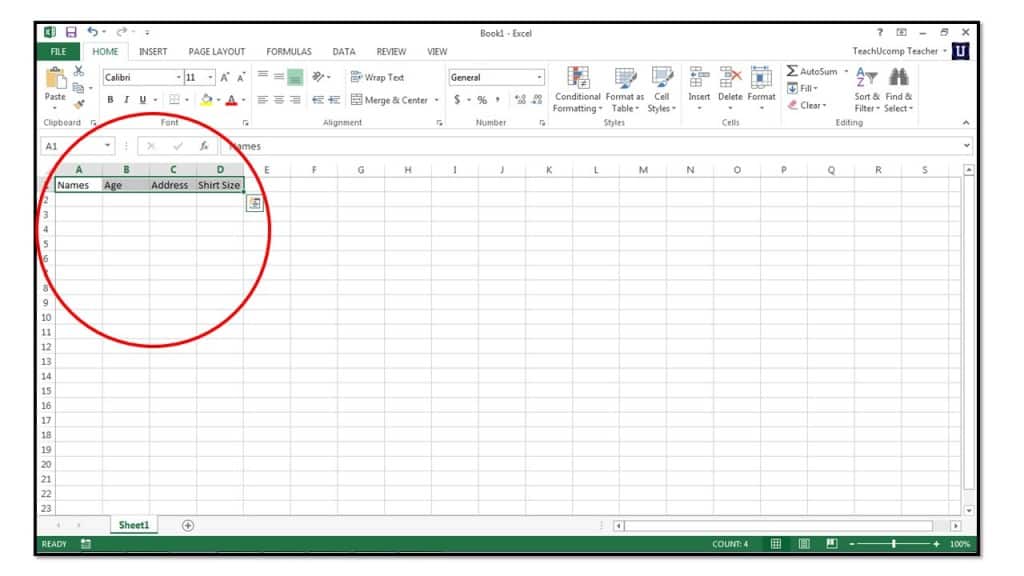
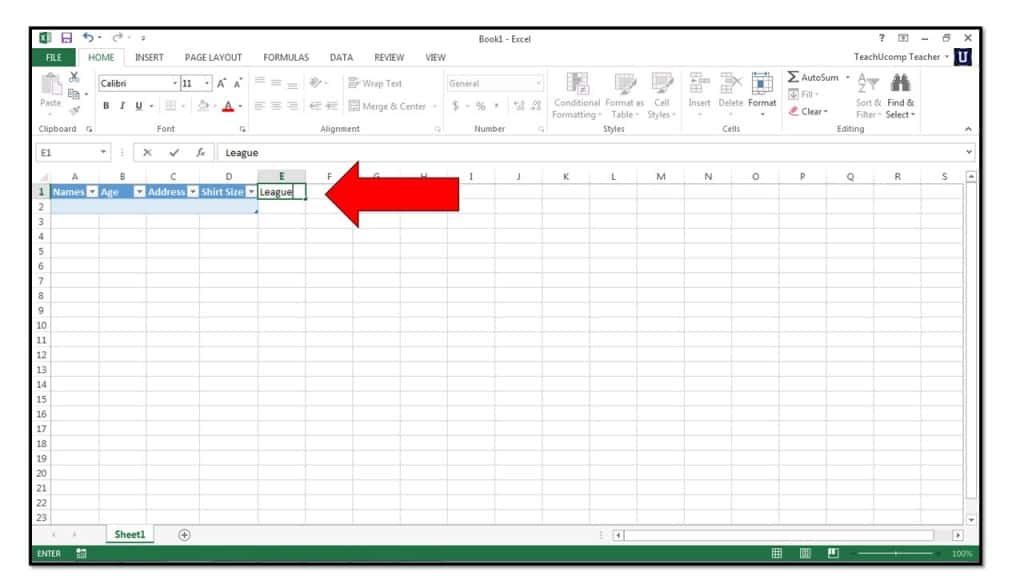
1. Select the cell into which you want to type your first field name.
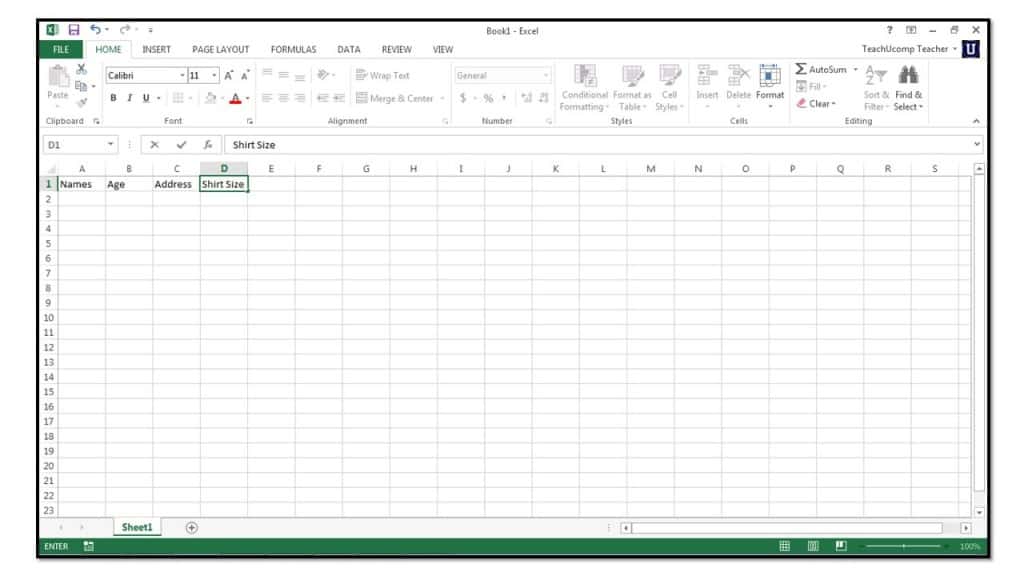
2. Type the field name, and then press the “Tab” key on your keyboard to move to the cell to the right.
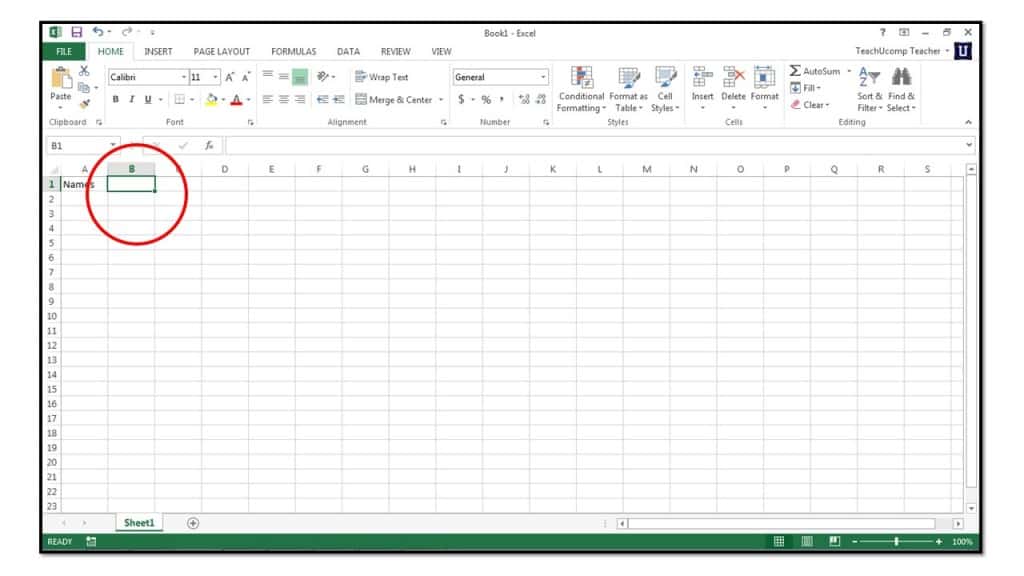
3. Repeat step 2 until you have made your entire header row.
4. Select the header row by clicking and dragging over the cells that contain the header row labels.
5. Click the “Table” button in the “Tables” group on the “Insert” tab in the Ribbon.
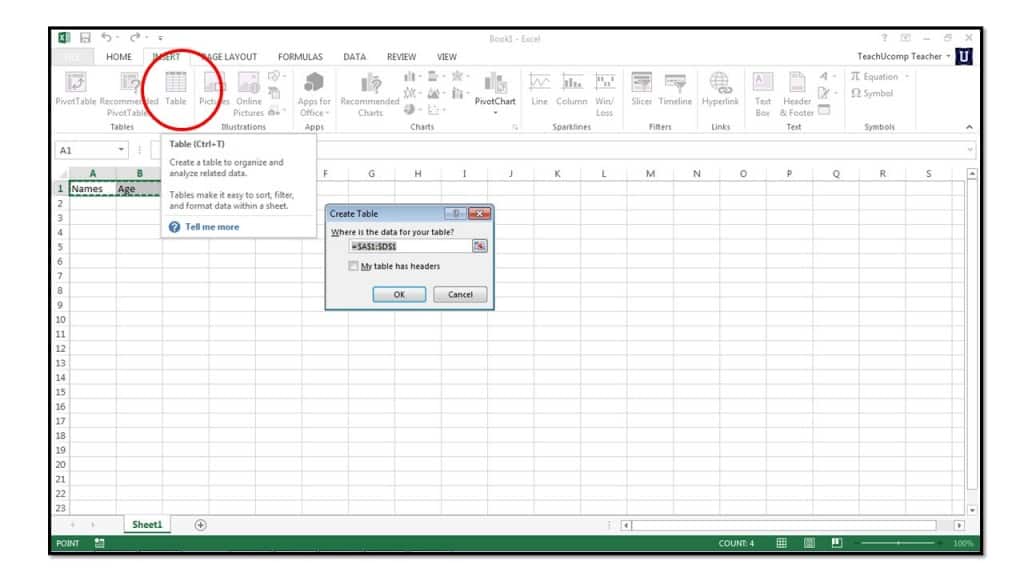
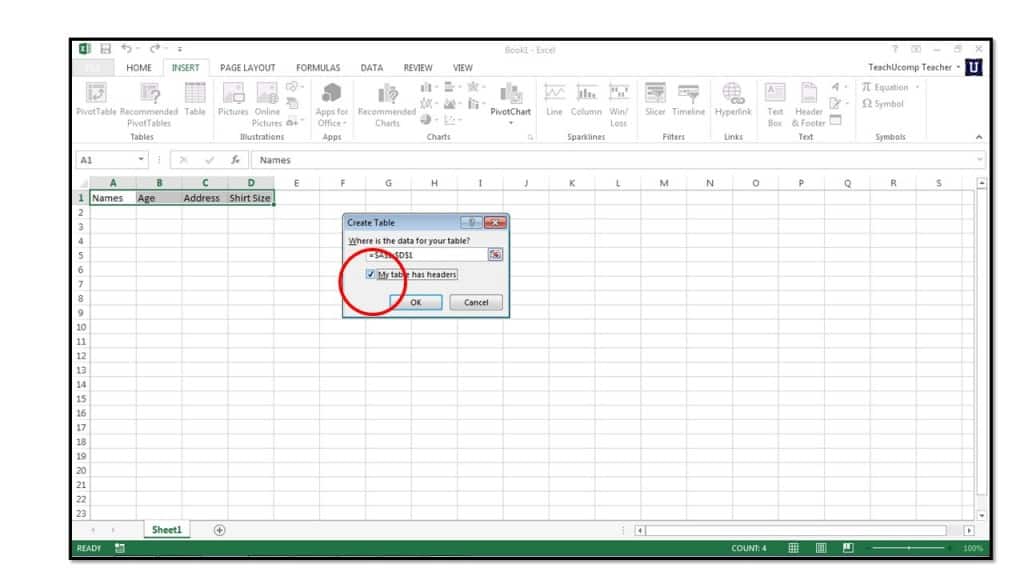
6. In the “Create Table” dialog box, check the “My table has headers” check box and click “OK”.
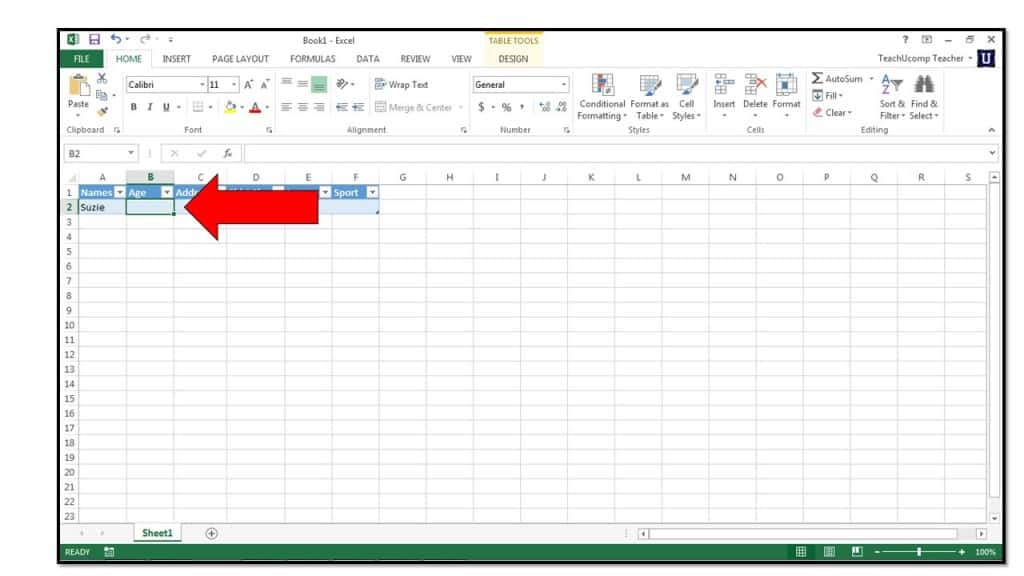
Add Records to the Table
1. Select the first field cell in the next available empty row within the table.
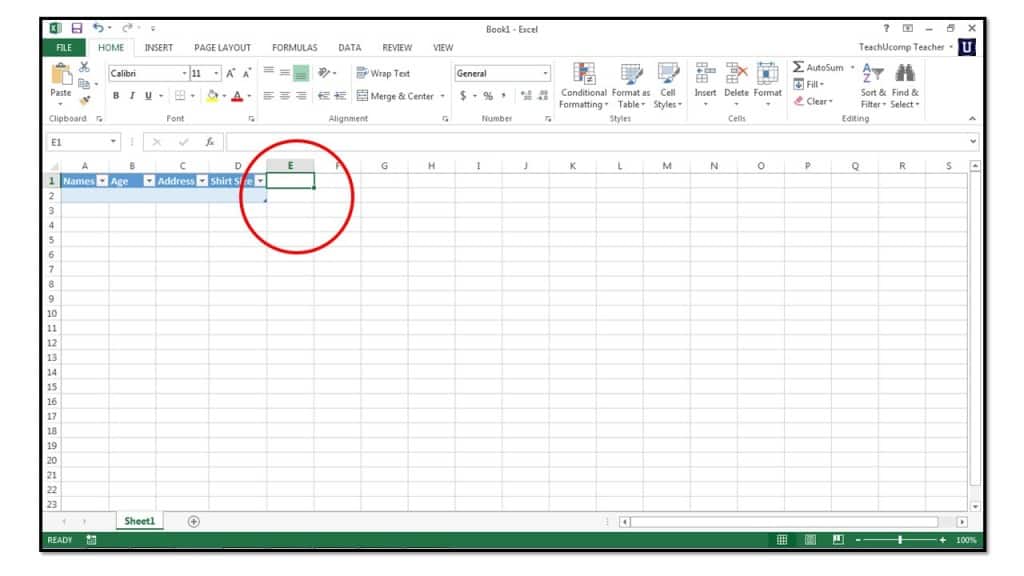
2. Type the information into the field.
3. Press “Tab” on your keyboard to move to the cell to the right and enter the appropriate data for that field.
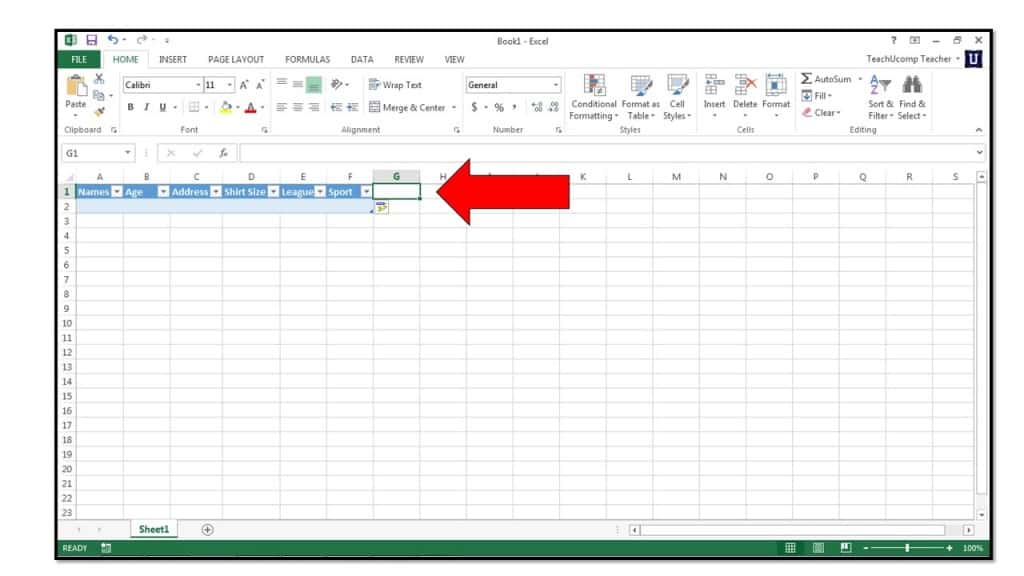
4. Repeat steps 2 and 3 until the new record is fully entered. Then press the “Tab” key on your keyboard to create a new blank row for the next record.