Merge and Split Table Cells in Publisher- Instructions
Merge and Split Table Cells in Publisher: Video Lesson
This video lesson, titled “Merging and Splitting Cells,” shows you how to merge and split table cells in Publisher. This video is from our complete Publisher tutorial, titled “Mastering Publisher Made Easy v.2019 and 365.”
Merge and Split Table Cells in Publisher: Overview
After adding a table to a publication, you can merge and split table cells in Publisher to control its layout. You can merge multiple selected cells together into one larger cell. You can also split a single, selected cell into multiple, smaller cells. This is often performed on layout tables in a publication page. Doing this create cells of various sizes into which you can place page content to precisely align it.
To merge multiple selected cells into a single cell, first select the cells to merge into a single cell. Next, click the “Layout” tab of the “Table Tools” contextual tab in the Ribbon. Then click the “Merge Cells” button in the “Merge” button group. The selected cells are then merged into a single cell.
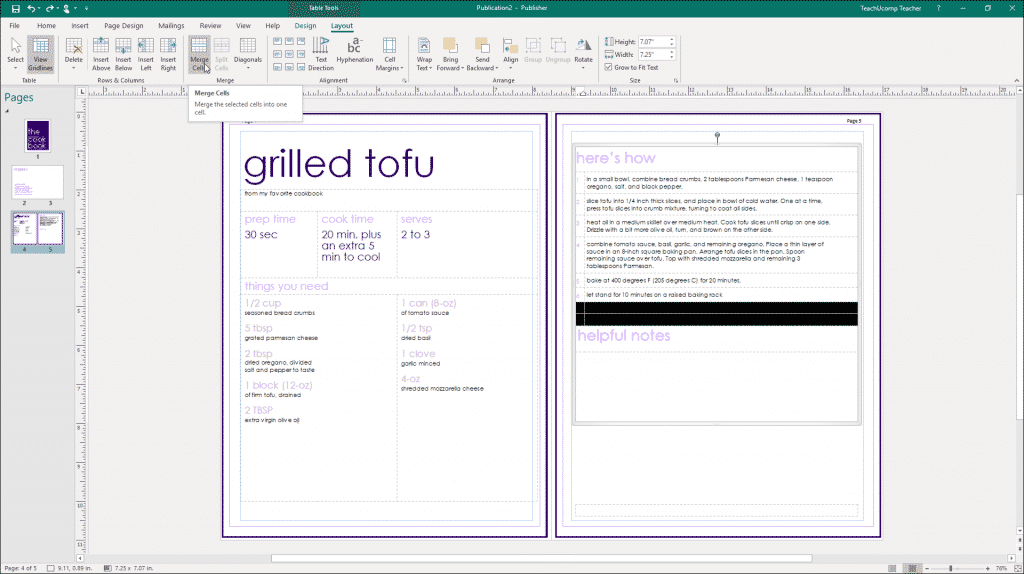
Merge and Split Table Cells in Publisher- Instructions: A picture of a user merging multiple table cells in Publisher.
To split a merged cell back into its component cells, click into the merged cell to split. Next, click the “Layout” tab in the “Table Tools” contextual tab within the Ribbon. Then click the “Split Cells” button in the “Merge” button group. Doing this divides the merged cell back into its component cells within the existing columns and rows.
To display a drop-down menu of all possible cell division choices, select a cell in a table. Then click the “Diagonals” button in the “Merge” button group on the “Layout” tab in the Ribbon. You can select “Divide Down” or “Divide Up” commands to divide the selected cell up or down diagonally.
To remove a diagonal split from a selected cell, click into a table cell that contains a diagonal split. Then select the “No Division” command from the “Diagonals” button’s drop-down menu.
Merge and Split Table Cells in Publisher: Instructions
- To merge multiple selected cells into a single cell, first select the cells to merge into a single cell.
- Click the “Layout” tab of the “Table Tools” contextual tab in the Ribbon.
- Then click the “Merge Cells” button in the “Merge” button group. The selected cells are then merged into a single cell.
- To split a merged cell back into its component cells, click into the merged cell to split.
- Click the “Layout” tab in the “Table Tools” contextual tab within the Ribbon.
- Then click the “Split Cells” button in the “Merge” button group.
- To display a drop-down menu of all possible cell division choices, select a cell in a table.
- Then click the “Diagonals” button in the “Merge” button group on the “Layout” tab in the Ribbon.
- To divide the selected cell up or down diagonally, select either the “Divide Down” or “Divide Up” commands.
- To remove a diagonal split from a table cell, select the “No Division” command, instead.