Add a Drop Cap in Word – Instructions and Video Lesson
Add a Drop Cap in Word: Video Lesson
This video lesson, titled “Inserting Drop Caps,” shows how to add a drop cap in Word. This lesson is from our complete Word tutorial, titled “Mastering Word Made Easy v.2019 and 365.”
Add a Drop Cap in Word: Overview
You can add a drop cap in Word to the beginning of a chapter or section to enhance its appearance. A drop cap is a large capital letter that, typically, has the depth of two or more lines of normal text.
To add a drop cap in Word, select the letter to which to add a drop cap. Then click the “Insert” tab in the Ribbon. Then click the “Drop Cap” drop-down button in the “Text” button group. Three choices and a command then appear in the drop-down menu.
To add a drop cap in Word that is part of the document, choose the “Dropped” choice in the “Drop Cap” button’s drop-down menu. Alternatively, to add a drop cap that is contained in the document’s margin, choose the “In margin” choice. Alternatively, to remove a selected drop cap from your document, select the “None” choice from the button’s drop-down menu.
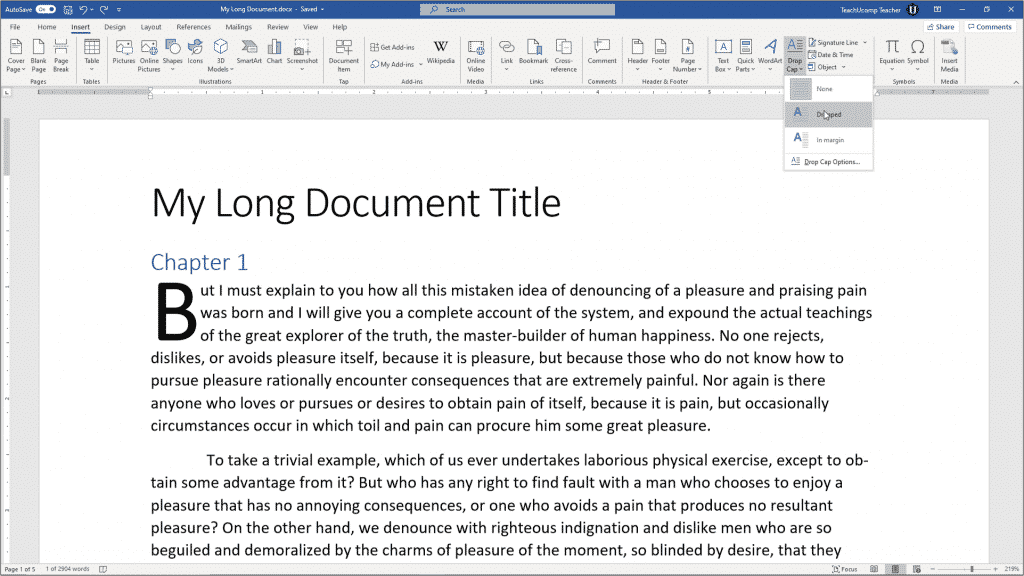
Add a Drop Cap in Word – Instructions: A picture of a user adding a drop cap to a Word document.
Alternatively, to see the full options for adding a drop cap, click the “Drop Cap” button and then choose the “Drop Cap Options…” command. Doing this then opens the “Drop Cap” dialog box. Here you can choose the “Position” of the drop cap. You can also choose the “Font” for the drop cap in the labeled drop-down box. You can use the labeled spinner boxes to set the “Lines to drop:” and the “Distance from text:” for your drop cap. When finished, click “OK” to insert your drop cap and close the dialog box.
Add a Drop Cap in Word: Instructions
- To add a drop cap in Word, select the letter to which to add a drop cap.
- Click the “Insert” tab in the Ribbon.
- Then click the “Drop Cap” drop-down button in the “Text” button group.
- To add a drop cap that is part of the document, choose the “Dropped” option from the “Drop Cap” drop-down button’s menu.
- Alternatively, to add a drop cap that appears in the document’s margin, choose the “In margin” option, instead.
- To remove a drop cap from a document, select the drop cap.
- Then choose the “None” option from the “Drop Cap” drop-down button’s menu.
- To see the full options for adding a drop cap, choose the “Drop Cap Options…” command from the “Drop Cap” drop-down button’s menu to open the “Drop Cap” dialog box.
- Choose the “Position” of the drop cap.
- Choose the “Font” for the drop cap from the labeled drop-down box.
- Set the “Lines to drop:” and the “Distance from text:” in the labeled spinner boxes.
- Click the “OK” button to insert your drop cap and close the dialog box.

