Add a Watermark in Word – Instructions and Video
Add a Watermark in Word: Video Lesson
This video lesson, titled “Applying Watermarks,” shows you how to add a watermark in Word. This video lesson is from our complete Word tutorial, titled “Mastering Word Made Easy v.2019 and 365.”
Add a Watermark in Word: Overview
You can easily add a watermark in Word to apply a background to pages in your document. A watermark is simply an image or text that appears underneath the primary text in a document. Watermarks often display additional information or instructions regarding the primary content. For example, you may see a “DO NOT COPY” watermark appear underneath the text within a legal document to instruct the viewer to not make copies of the file. In this lesson, we will examine how to add a watermark in Word to documents.
To add a watermark in Word to a document, open the document to which to apply a watermark. Then click the “Design” tab within the Ribbon. Then click the “Watermark” button within the “Page Background” button group to display a drop-down menu of choices. At the top of the drop-down menu that appears is a scrollable list. This list shows some of the most commonly-used watermarks. You can simply click a choice within this scrolling list to apply it to all your document’s pages. If you are still editing the document, note that the watermark will also appear on any new document pages.
If you later decide to remove the watermark from the Word document, you can also easily do that, too. To learn how to remove a watermark in Word, please read our related blog post, titled “Remove a Watermark in Word – Instructions.”
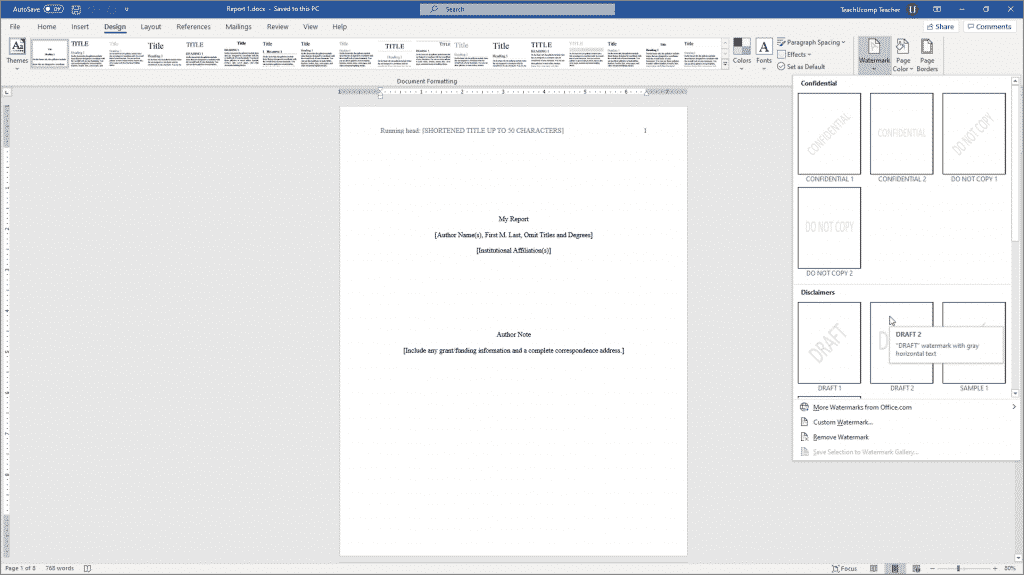
Add a Watermark in Word – Instructions and Video Lesson: A picture of a user adding a watermark in Word.
Add a Watermark in Word: Instructions
- To add a watermark in Word to a document, open the document to which you want to apply a watermark.
- Click the “Design” tab in the ribbon.
- Then click the “Watermark” button in the “Page Background” button group.
- Scroll through the list of preset watermarks and click a watermark to apply it to all the document’s pages.
- Any new pages you create in the document will have the watermark applied, too.

