Add an Image to a Webpage in HTML5- Tutorial
Add an Image to a Webpage in HTML5: Video Lesson
This video lesson, titled “Adding Images to Webpages,” show you how to add an image to a webpage in HTML5. This video on how to add an image to a webpage in HTML5 is from our complete HTML5 and CSS3 training, titled “Mastering HTML5 and CSS3 Made Easy v.1.0.”
Add an Image to a Webpage in HTML5: Overview
Images are a terrific way to add interest to your webpage and come in different forms such as photographs and graphics. There are many different file types used for images in webpages, the most common being JPEG, GIF and PNG. It is important to understand the different file types and how browsers display them.
GIF (Graphics Interchange Format) is most commonly used for simple, less-detailed images, such as graphics, logos, etc. GIF supports 256 colors and is primarily used when your image has only a few colors and basic lines and shapes. GIF is also used to display short, simple animations. JPEG or JPG for short (Joint Photographic Experts Group) supports literally millions of colors (called 24 bit) and is the format used when the image is complex, such as photographs and other detail-rich images. PNG (Portable Network Graphics) combines the 24-bit support of JPG with advanced compression capabilities.
After quality, probably the most important consideration when inserting images into your webpage is download time. When a user visits your webpage, their browser actually downloads the images so they can be viewed. The more images there are and the larger the file sizes, the slower the page downloads. You will need to consider both the number of images in your webpage as well as the individual image sizes. It is generally considered best practice to keep individual image sizes at 100K and below. Your pages load time is also dependent on the user’s connection speed. There are many different image and graphics editing programs on the market today to help edit your images. Corel PaintShop Pro and Adobe Photoshop Elements are two of the most popular and strongly recommended. They will allow you to optimize your images before you insert them into your HTML code. With the image-editing program of your choice, you should crop the image to remove any extraneous parts, which helps reduce the file size. These programs will allow you to adjust the resolution of the image (the higher the resolution, the higher the file size and download time) and compression of the file size while you monitor quality.
To add an image to your webpage, use the <img> tag and specify the file name with the SRC (source) attribute. The value is the name of the image, including the file extension. If the image is hosted on a different server, you must list the full path of the image. For example, “https://www.teachucomp.com/images/sunset.jpg”.
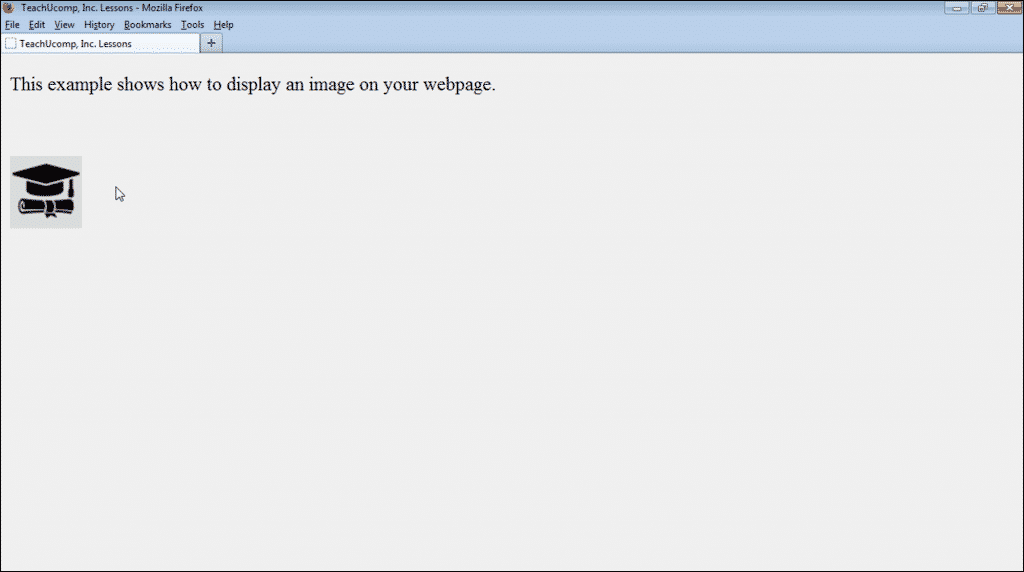
Add an Image to a Webpage in HTML5- Tutorial: A picture of an image shown within an HTML5 webpage.
Add an Image to a Webpage in HTML5: HTML5 Tag and Syntax Example
| Start Tag: | <img> | |
| End Tag: | None | |
| Attributes: | src= | |
| Example: | <img src=“sunset.jpg”> | |
| Result: | Places the image “sunset.jpg” in the desired location on the webpage. |
