Add Images in Acrobat XI Pro- Tutorial
Add Images in Acrobat XI Pro: Video Lesson
This video lesson, titled “Adding and Editing Images,” shows you how to add images in Acrobat XI Pro and edit images in Acrobat XI Pro. This video lesson is from our complete Acrobat XI Pro training, titled “Mastering Acrobat Made Easy v.XI Pro.”
Add Images in Acrobat XI Pro: Overview
To add images in Acrobat XI Pro to a PDF, first select the “Add Image” tool found in the “Content Editing” panel of the Tools pane in the Task Pane. This will launch the “Open” dialog box. Navigate to find the image you want to add to the PDF, select it, and then click the “Open” button within the dialog box. A thumbnail of the image will appear attached to the mouse cursor. Click to place the image within the PDF. The top left corner of the image will correspond to the spot where you click. You can drag the image to a new spot or use the resizing handles on the image’s bounding box to enlarge or shrink the image. Notice how Acrobat displays the image size as it changes.
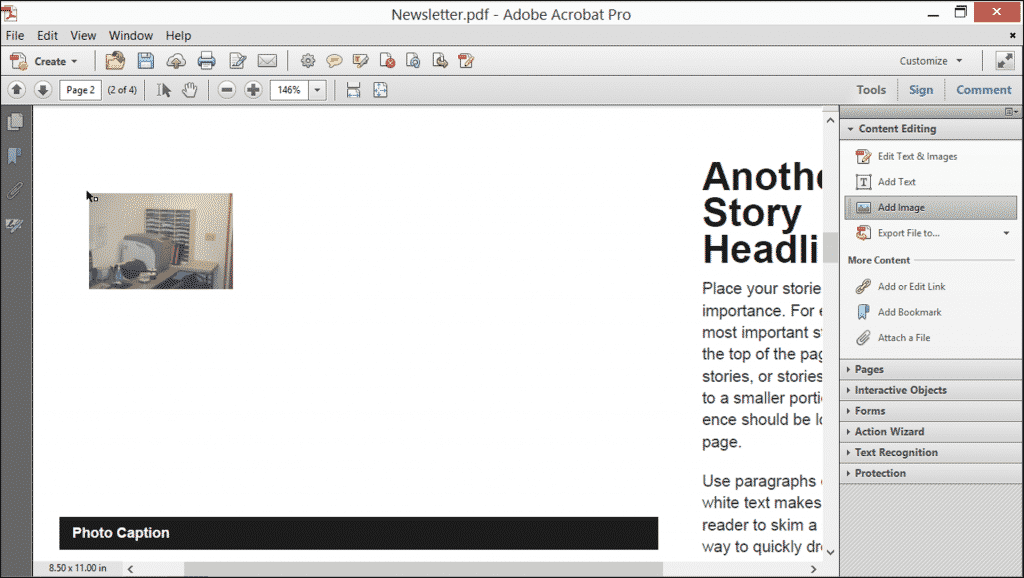
Add Images in Acrobat XI Pro- Tutorial: A picture of a user adding an image to a PDF in Adobe Acrobat XI Pro.
Add Images in Acrobat XI Pro: Instructions
- To add an image to a PDF document, select the “Add Image” tool found in the “Content Editing” panel of the Tools pane in the Task Pane to launch the “Open” dialog box.
- Navigate to find the image you want to add to the PDF, select it, and then click the “Open” button within the dialog box. A thumbnail of the image will appear attached to the mouse cursor.
- Click to place the image within the PDF. The top left corner of the image will correspond to the spot where you click.
- You can drag the image to a new spot or use the resizing handles on the image’s bounding box to enlarge or shrink the image.
