Bounced Checks in QuickBooks Desktop Pro – Instructions
Bounced Checks in QuickBooks Desktop Pro: Video Lesson
This video lesson, titled “How to Handle Bounced Checks in Intuit QuickBooks Desktop Pro 2024,” shows how to handle bounced checks in QuickBooks Desktop Pro. This lesson is from our complete QuickBooks tutorial, titled “Mastering QuickBooks Desktop Pro Made Easy v.2024.”
Overview
There is an easy way to handle bounced checks in QuickBooks Desktop Pro you receive from customers as invoice payments. This method also works to handle bounced checks in QuickBooks Desktop Pro that are received as payments in sales receipts.
This feature marks the previously paid invoice or sales receipt as “Unpaid” and remove the funds received from your bank account. It also lets you enter any bank service fees assessed by your bank. You can then create a new invoice for these fees to give to the customer who bounced the check. This terrific feature lets you easily deal with a situation that often caused many headaches when it occurred.
Instructions on How to Record Bounced Checks in QuickBooks Desktop Pro:
- To record bounced checks in QuickBooks Desktop Pro, select “Customers| Receive Payments…” from the Menu Bar.
- Then find or navigate to the specific customer payment you received that contains the bounced check.
- Display that received payment within this window.
- Then click the “Record Bounced Check” button in the “Main” tab of the Ribbon at the top of the window.
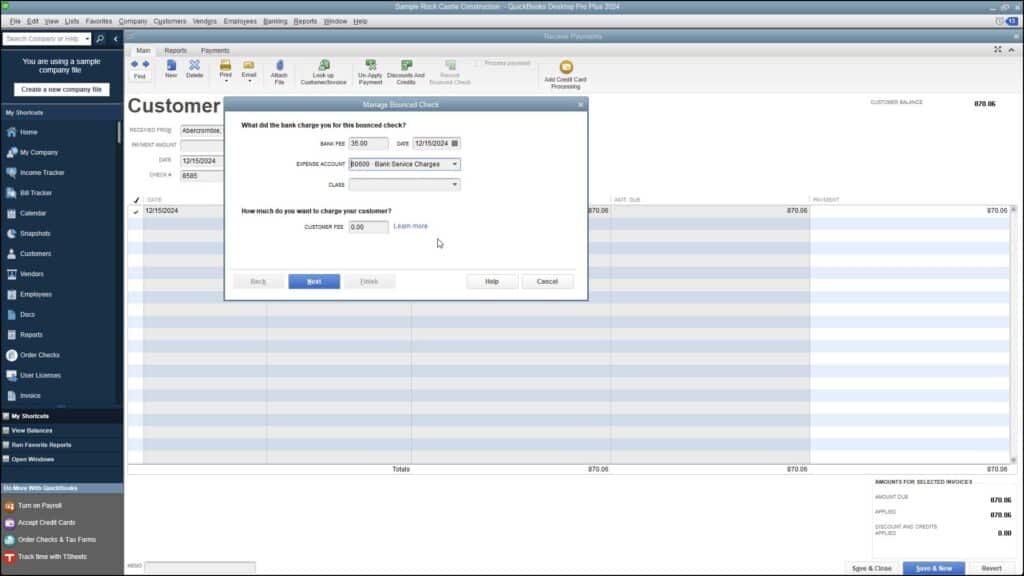
- In the “Manage Bounced Check” window, enter the bank fee amount for this bounced check into the “Bank Fee” field.
- Select the date the bank fee was assessed from the adjacent “Date” field’s calendar drop-down.
- Alternatively, simply type the date value directly into the field.
- Use the “Expense Account” drop-down to select the expense account used to track bank service charges or fees.
- If you enabled class tracking in your company file, use the “Class” drop-down to classify this bank fee.
- Enter the amount to charge the customer for the bounced check into the “Customer Fee” field.
- Click the “Next” button to continue.
- On the next screen, titled “Bounced Check Summary,” a listing of the various actions that QuickBooks takes when you click the “Finish” button appears at the bottom of the window.
- Note the transactions that will occur, and then click the “Finish” button to proceed.
- Then re-invoice the customer with the original invoice and also the new bounced check invoice that QuickBooks Desktop Pro creates.
- Click the “Save & Close button to save and close the “Receive Payments” window when finished.