Create a New Blank Report in Crystal Reports 2013
Create a New Blank Report in Crystal Reports 2013: Video Lesson
This video lesson, titled “Creating a New Blank Report,” shows how to create a new blank report in Crystal Reports 2013 or 2011. This video lesson is from our complete Crystal Reports tutorial, titled “Mastering Crystal Reports Made Easy v.2013-2011.”
Create a New Blank Report in Crystal Reports 2013: Overview
To create a new blank report in Crystal Reports 2013, you can click the “Blank report” hyperlink in the “Start Page” or select “File| New| Blank Report…” from the Menu Bar. This will create a new, blank report and launch the “Database Expert” dialog box where you can select a report data source.
You could also click one of the other report choices within the side menu that appears when you select “File| New” from the Menu Bar or click one of the other report hyperlinks in the “Start Page.” In addition to a blank report, you can also select either “Standard Report…,” “Cross-Tab Report…,” “Mailing Label Report…,” or “OLAP Cube Report…” from the Menu Bar to create a report of that type.
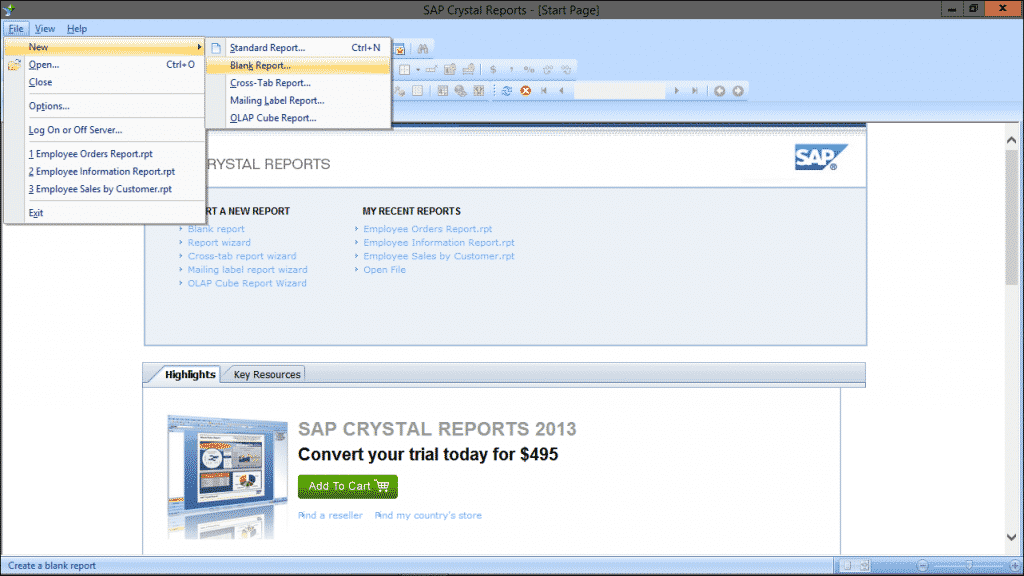
Create a New Blank Report in Crystal Reports 2013: A picture of the report creation options in Crystal Reports 2013.
Create a New Blank Report in Crystal Reports 2013: Instructions
- Click the “Blank Report” hyperlink in the “Start Page,” or select “File| New| Blank Report…” from the Menu Bar.
- This will launch the “Database Expert” dialog box, which you use to select the data source for your report.
- In the “Database Expert” dialog box which appears, expand the desired folder to view/create the necessary data connection to use for the report.
- After creating the data connection, select the desired table(s) to add to the report from the connections shown in the “Available Data Sources:” list.
- Click the right-pointing arrow in the middle of the dialog box to move the selected table(s) to the “Selected Tables:” list.
- When you are finished adding the table or tables needed for the report, click “OK.”
