Enable Power Pivot in Excel – Instructions
Enable Power Pivot in Excel: Video Lesson
This video lesson, titled “Excel for Microsoft 365 Tutorial: How to Enable Power Pivot in Excel,” shows you how to enable Power Pivot in Excel by enabling the Data Analysis add-ins in Excel for Microsoft 365. This video lesson is from our complete Excel tutorial, titled Mastering Excel Made Easy™.
Overview:
This lesson shows you how to turn on the Data Analysis add-ins in Excel, which lets you enable Power Pivot in Excel for Microsoft 365. To enable the data analysis add-ins in Excel for Microsoft 365, which enables Power Pivot and 3D Maps at once, click the “File” tab in the Ribbon to open the backstage view. Then click the “Options” category at the left side of the backstage view to open the “Excel Options” window.
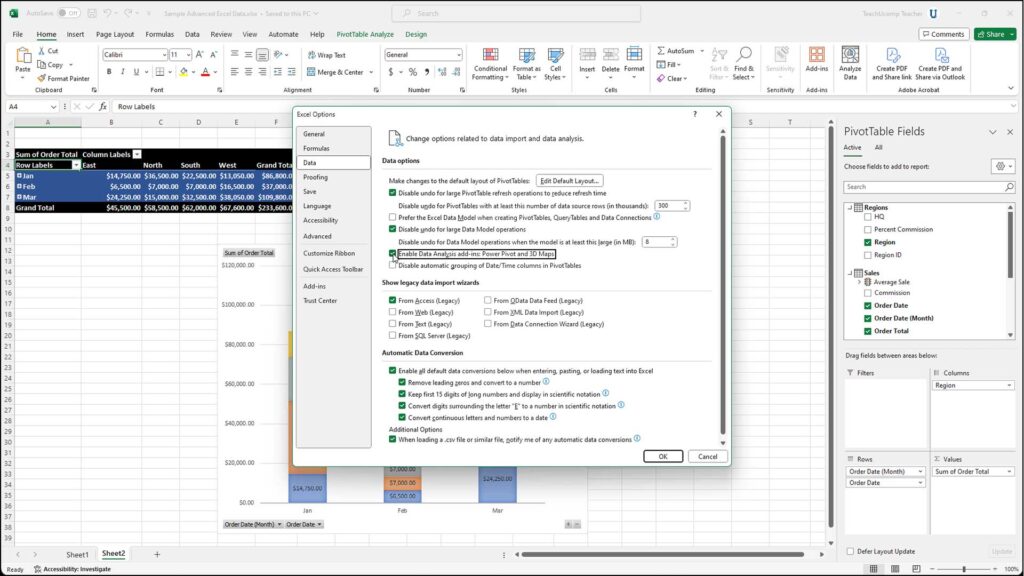
Then click the “Data” category at the left side of the “Excel Options” window. At the right side of this window, under the “Data options” section, check the “Enable Data Analysis add-ins: Power Pivot and 3D Maps” checkbox. Then click the “OK” button in the lower-right corner of the “Excel Options” window to enable those two add-ins.
You should then see a new “Power Pivot” tab appear within the Ribbon. You can click this tab in the Ribbon to view the commands used to manage your Power Pivot data in Excel.
Instructions on How to Enable Power Pivot in Excel:
- To enable Power Pivot in Excel for Microsoft 365 by enabling the Data Analysis add-ins, click the “File” tab in the Ribbon to open the backstage view.
- Then click the “Options” category at the left side of the backstage view to open the “Excel Options” window.
- Then click the “Data” category at the left side of the “Excel Options” window.
- At the right side of this window, under the “Data options” section, check the “Enable Data Analysis add-ins: Power Pivot and 3D Maps” checkbox.
- Then click the “OK” button in the lower-right corner of the “Excel Options” window.
- To then view the commands for Power Pivot in Excel, click the new “Power Pivot” tab that appears in the Ribbon.
