Haze Removal in Photoshop Elements – Instructions
Haze Removal in Photoshop Elements: Video
This video lesson, titled “Learn How to Remove Haze in Adobe Photoshop Elements 2023: A Training Tutorial,” shows how to apply Haze Removal in Photoshop Elements. This video lesson is from our complete Photoshop Elements tutorial, titled “Mastering Photoshop Elements Made Easy v.2023.”
Overview of How to Use Haze Removal in Photoshop Elements:
Haze Removal in Photoshop Elements lets you manually remove haze or fog from an image. This helps if you do not like the results produced by using the “Auto Haze Removal” tool. To apply Haze Removal in Photoshop Elements to manually remove haze or fog, first select the image to adjust. Then select “Enhance| Haze Removal” from the Menu Bar.
At that point, the “Haze Removal…” dialog box opens. In this dialog box, use the “Haze Reduction” slider to adjust the amount of haze to remove. You can use the “Sensitivity” slider to then adjust how sensitive the program is to the haze removal. You can use the “Before/After” toggle button to switch between the before and after views of your image.
After removing the haze, then click the “OK” button to apply your changes. Then save your image before closing Photoshop Elements to ensure you save your changes.
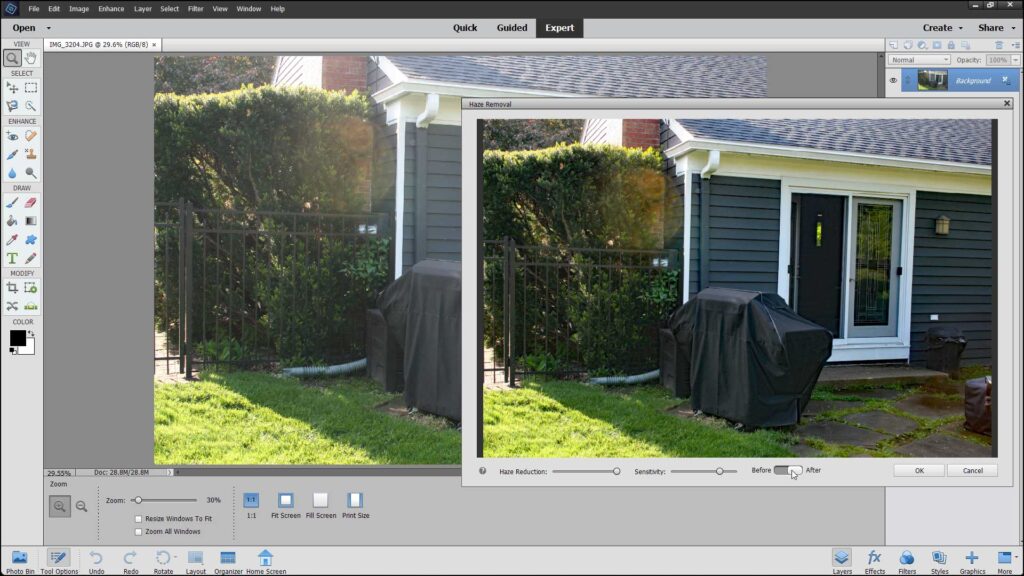
A picture of a user applying Haze Removal in Photoshop Elements.
Instructions on How to Apply Haze Removal in Photoshop Elements:
- To apply Haze Removal in Photoshop Elements to manually remove haze or fog, first select the image to adjust.
- Then select “Enhance| Haze Removal” from the Menu Bar to open the “Haze Removal…” dialog box.
- In this dialog box, use the “Haze Reduction” slider to adjust the amount of haze to remove.
- To adjust how sensitive the program is to the haze removal, then use the “Sensitivity” slider.
- The “Before/After” toggle button lets you switch between the before and after views of your image.
- After removing the haze, then click the “OK” button to apply your changes.
- Save your image before closing Photoshop Elements to ensure you save your changes.

