Adding signatures to emails in Outlook 2013 can make your messages look professional, while saving you time and effort. In this post, we will explore how to create your own custom signatures and insert them into your e-mail.
1. Click the “Insert” tab in the Ribbon of the “Message” window when you are creating a new e-mail.

2. If you have already created a signature, you can insert it by clicking the “Signature” button in the “Include” group. Then select the name of the signature file to insert from the drop-down menu.
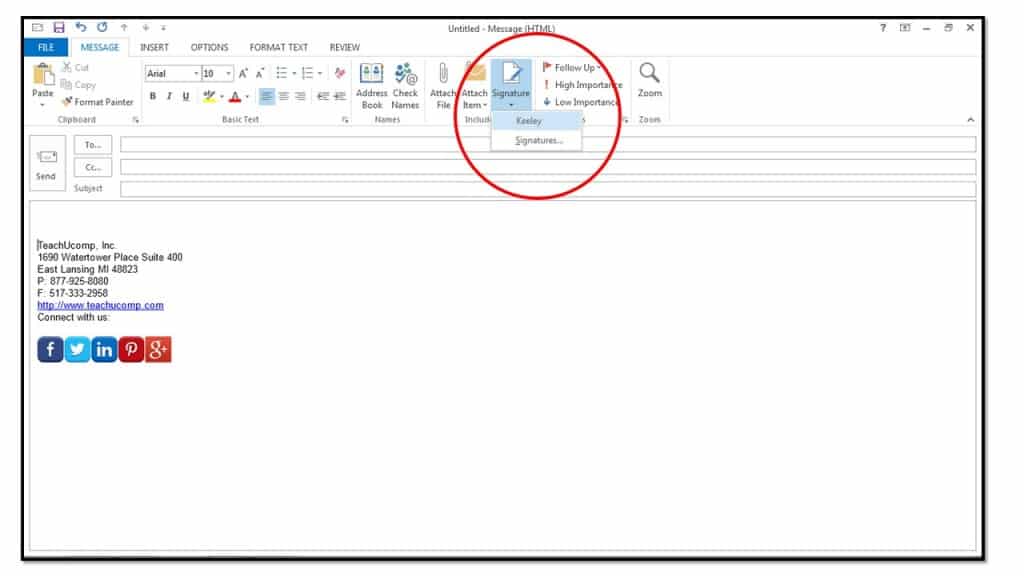
3. If you need to create a signature, click the “Signatures…” command in the drop-down menu to launch the “Signatures and Stationery” dialog box.
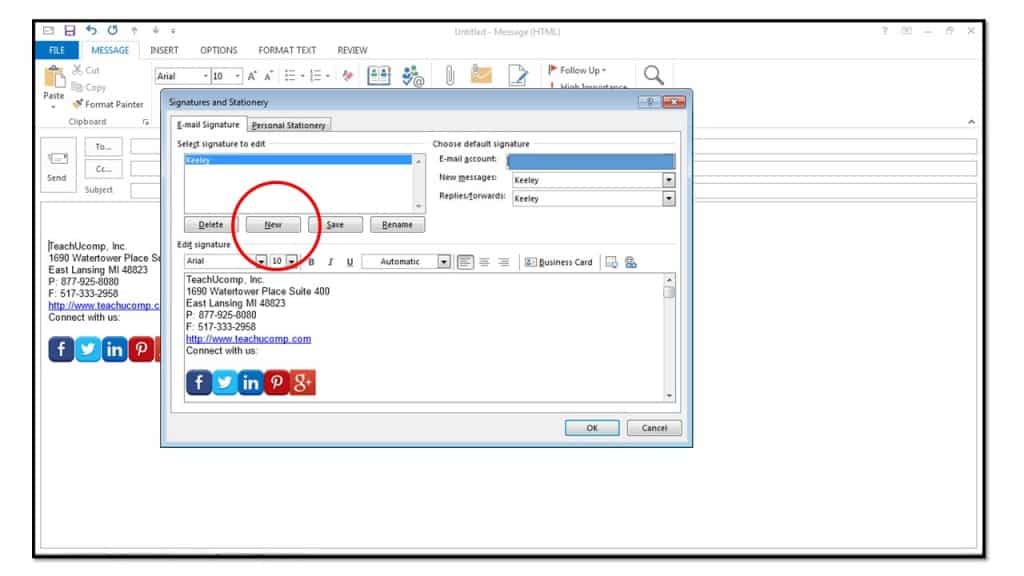
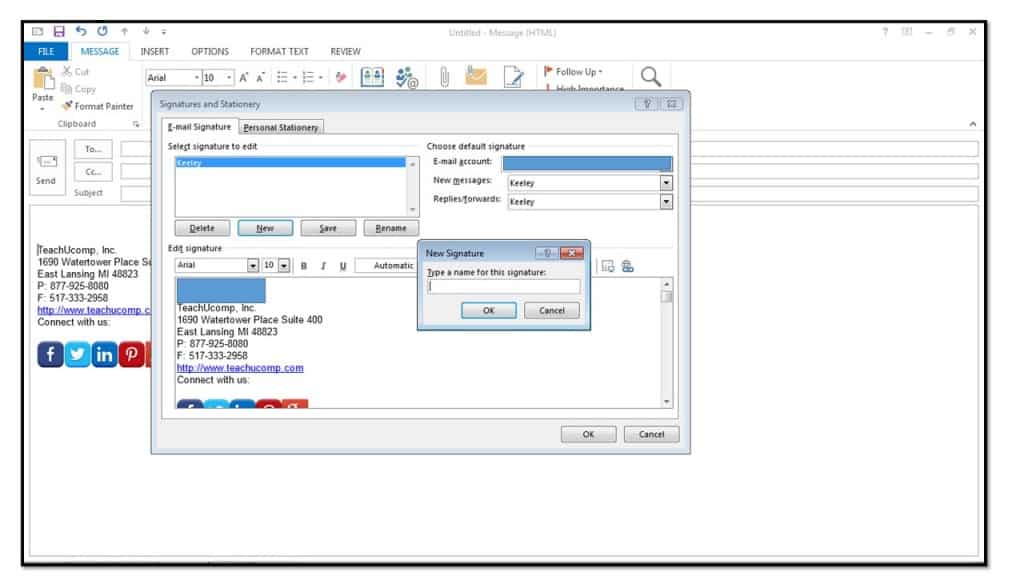
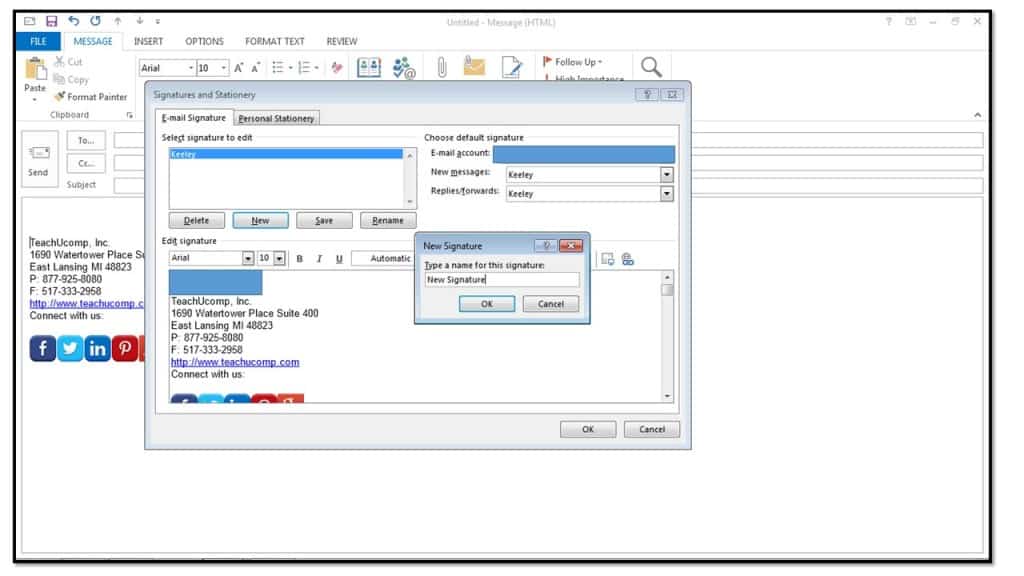
4. To create a new signature, click the “New” button and type a name for your signature file into the “New Signature” dialog box and then click the “OK” button.
5. Type the information you want to appear in the signature into the “Edit signature” text box provided, formatting it as necessary.
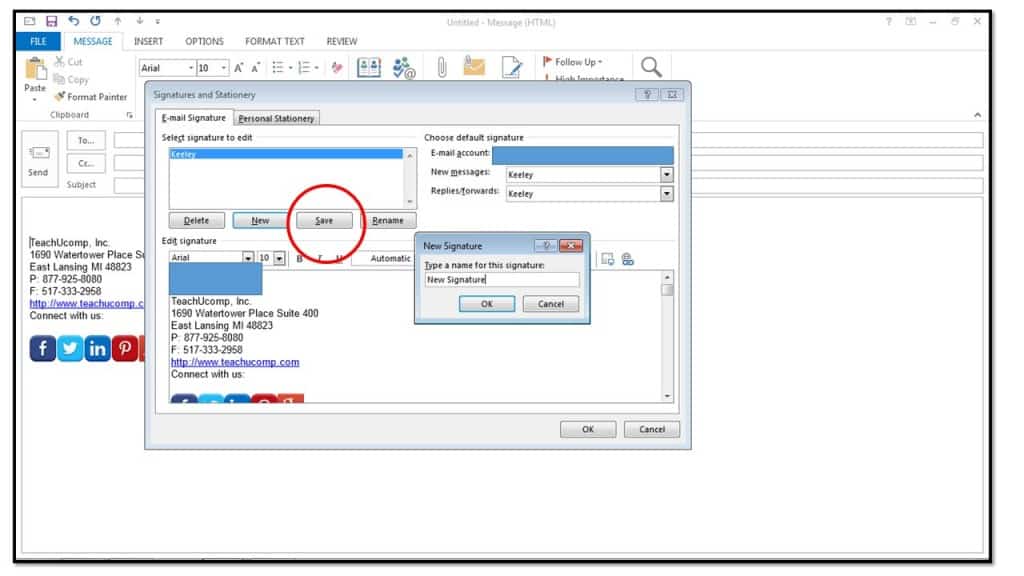
6. Click the “Save” button to save the signature file.
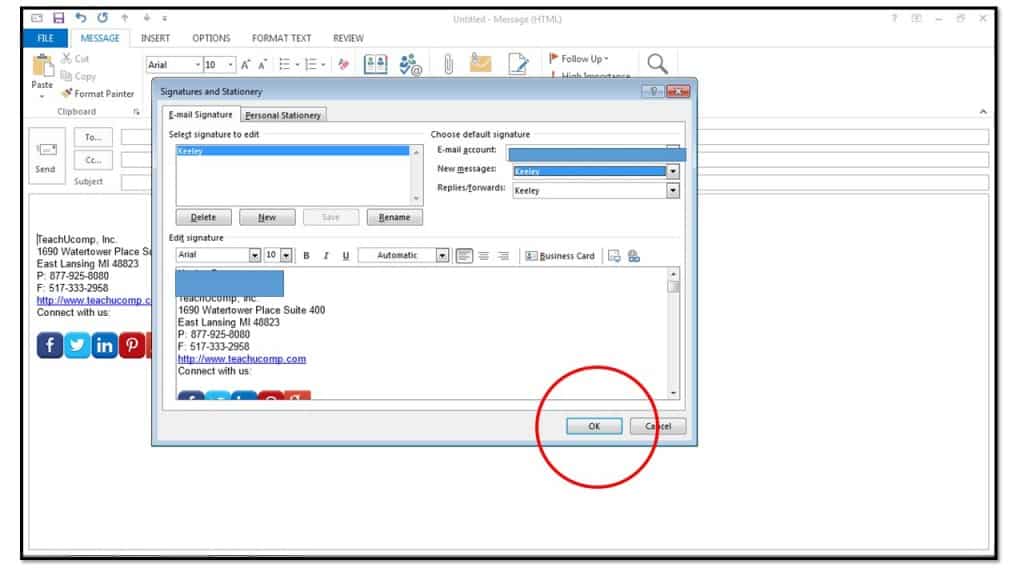
7. In the upper right corner of the dialog box, you can then select which signature files to use by default when creating mail and replying or forwarding mail for your selected e-mail accounts.
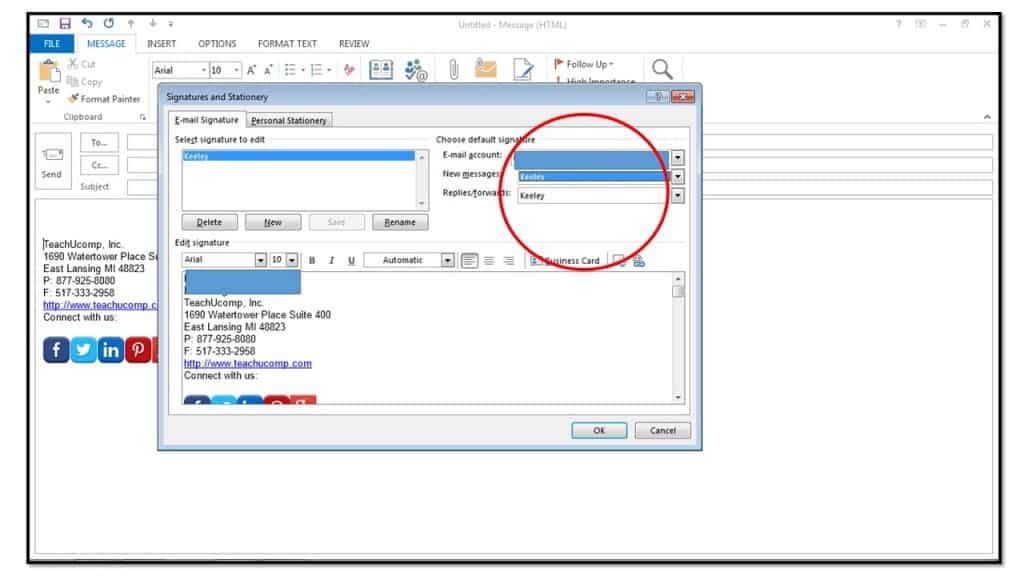
8. When you are finished, click “OK” in the “Signatures and Stationery” dialog box to close it.