How to Add Pictures to Presentations in Microsoft PowerPoint 2013: Video
This video shows how to add pictures to presentations in Microsoft PowerPoint 2013.
Inserting Pictures in PowerPoint 2013: Overview
One of the most useful functions of PowerPoint is the ability to add pictures to your presentation to maximize its overall appearance. PowerPoint provides you with hundreds of images for enhancing your presentations from multiple providers such as Office.com. You can also import picture files that you have on your computer into PowerPoint.
You can add pictures to any slide in “Normal” view. If you already have a content placeholder in your slide, you can click either the “Pictures” or “Online Pictures” buttons within the content placeholder to begin adding pictures to the selected placeholder. If you do not have a placeholder for the Clip Art, then PowerPoint simply inserts your picture into the middle of the slide, by default. Its placement can then be modified after it has been inserted into your slide. You can crop the picture to cut away parts you don’t want, change its size, add lines and fill colors, and perform many other picture formatting tasks.
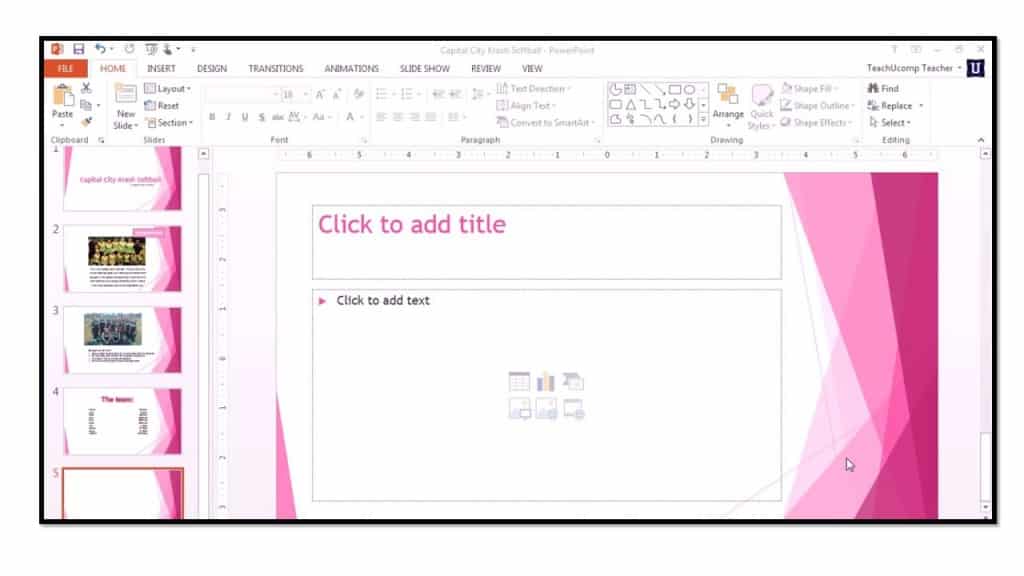
To insert pictures, either click the “Pictures” button within a content placeholder in your slide, or click the “Pictures” button in the “Images” button group on the “Insert” tab in the Ribbon. Performing either task will launch the “Insert Picture” dialog box. Use this to navigate to the folder that contains the picture you want to insert. When you see it within the white area inside the dialog box, click it to select it. You can then click the “Insert” button to insert the selected picture into your presentation slide.