1. To insert shapes into your page click the “Shapes” button in either the “Objects” button group on the “Home” tab or the “Illustrations” button group on the “Insert” tab within the Ribbon.
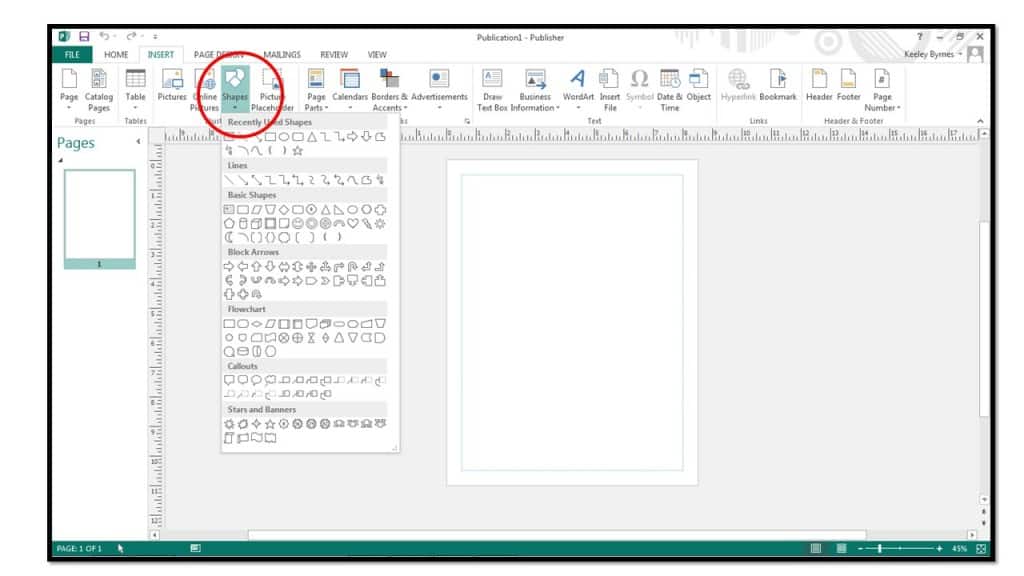 2. Roll your mouse pointer over the shape you want to insert and then click it to select it. Your mouse pointer will appear as a black crosshair when you place it back over the slide. Decide where you want the shape, and then click and drag across the area in the page where you want the selected shape to appear. It will be inserted into your page when you release your mouse button.
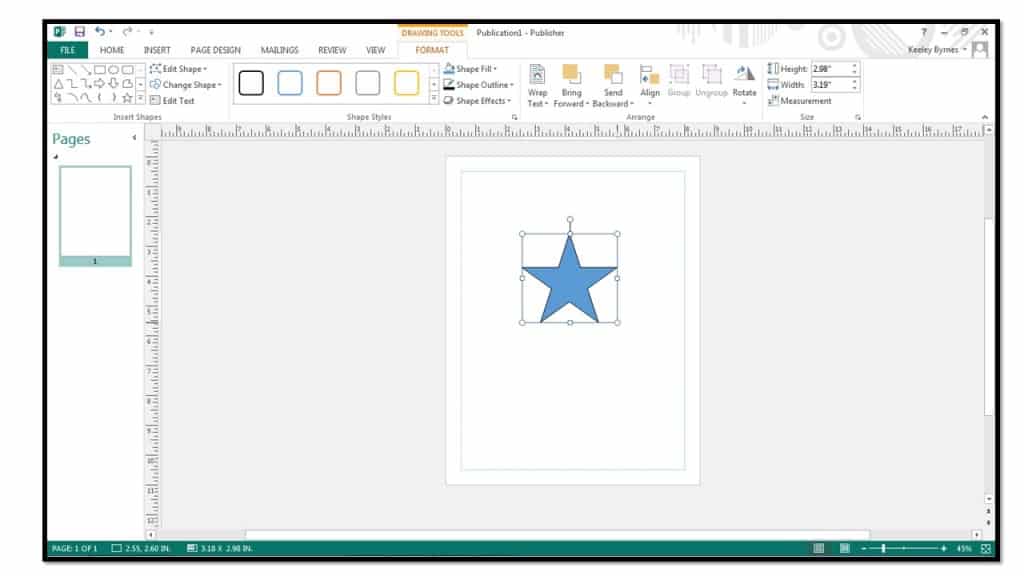
3. You can hold down the “Shift” key as you click and drag while drawing to create a “perfect” version of a selected shape. If you don’t care about setting the size of the shape as you insert it, start by selecting the shape from the Ribbon using the “Shapes” button as you normally would. Next, hold down the “Shift” key on your keyboard. Then click once at the place in the page where you want to position the upper left corner of the shape. Publisher will insert a shape with a default size into the position at which you clicked.
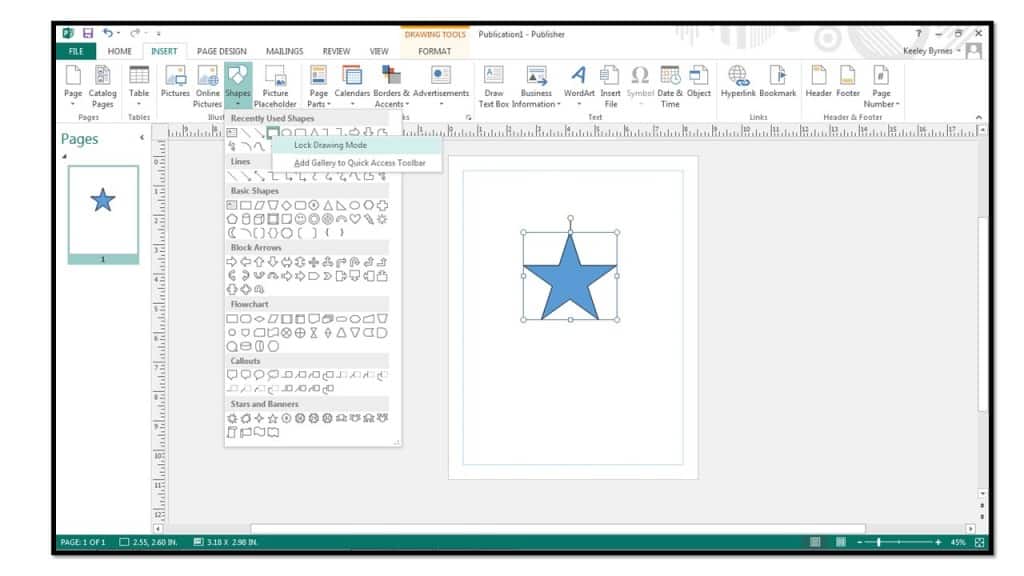
4. To draw several of the same shapes without having to go back and re-select the same shape from the “Shapes” button over and over again, right-click on the shape you want to draw in the drop-down menu, instead of clicking it. From the pop-up menu that appears, click the “Lock Drawing Mode” command. Now you can draw as many instances of the selected shape as you wish. You can cancel the drawing mode lock by pressing the “Esc” key on your keyboard.
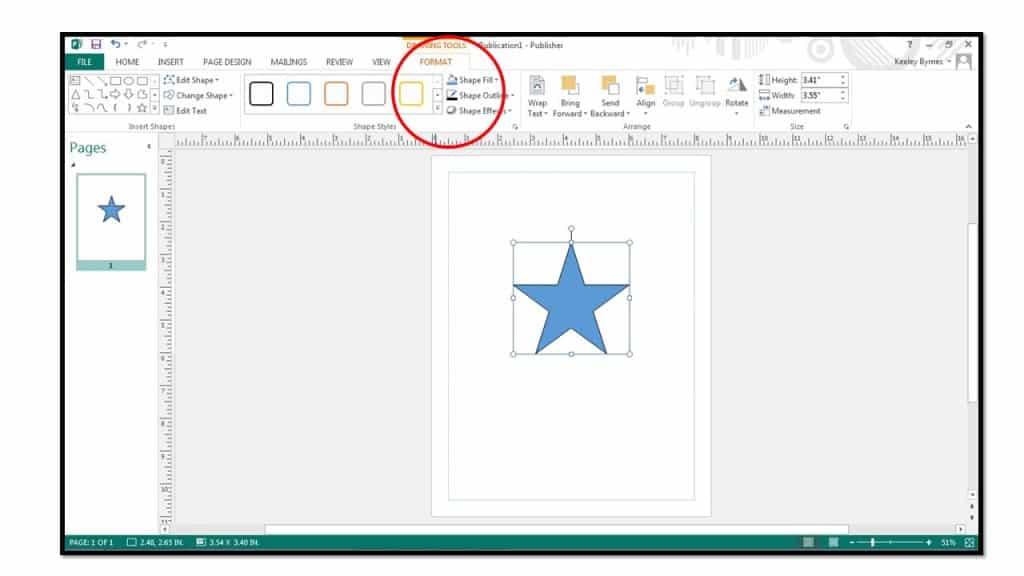
5. To format your shape, use the tools and buttons in the “Drawing Tools” contextual tab that appears when the shape is selected.