How to Control Junk/Spam Email in Microsoft Outlook 2013

Click here for the complete Oulook tutorial
Junk Email is any email that is unwanted by the receiver. It is usually sent in mass quantities to users and contains either unwanted advertising, viruses, spam, malware, phishing websites, or other potentially harmful information. It’s important that all users understand how to control junk email in order to keep their account and computer safe. In this post, we will discuss how to use Microsoft Outlook’s features in order to control junk e-mail.
The Junk E-mail Filter in Outlook is turned on by default, and the protection level is set to “Low”. This level is designed to catch only the most obvious junk e-mail messages. You can make the filter more aggressive, but if you do it may catch legitimate messages sometimes. So it’s important to use the settings and features available to customize your email account. To block junk e-mail, you must first open the folder to filter for junk e-mail.
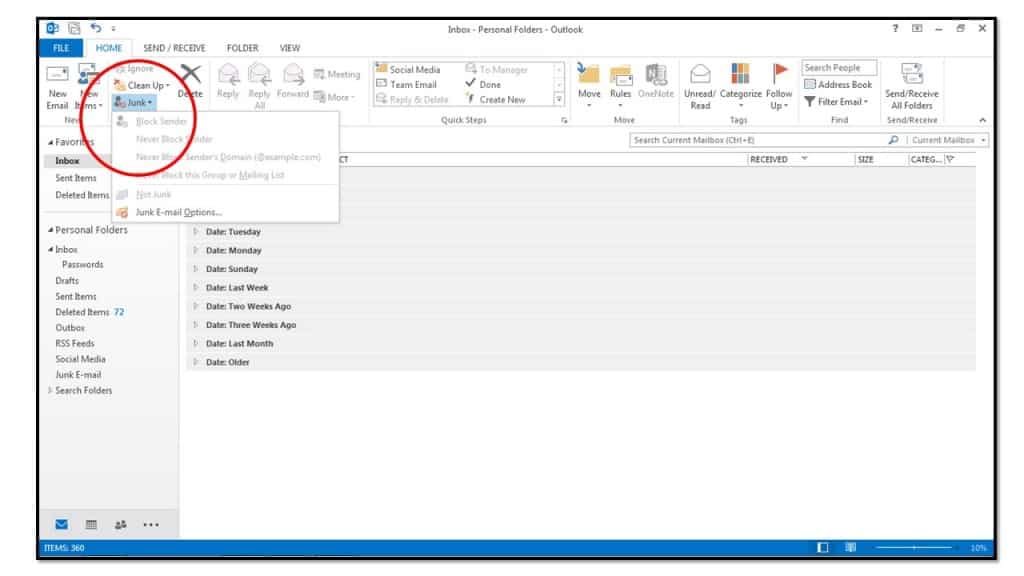
1. Click the “Junk” drop-down button in the “Delete” group on the “Home” tab in the Ribbon and select the “Junk E-mail Options…” command from the button’s drop-down menu.
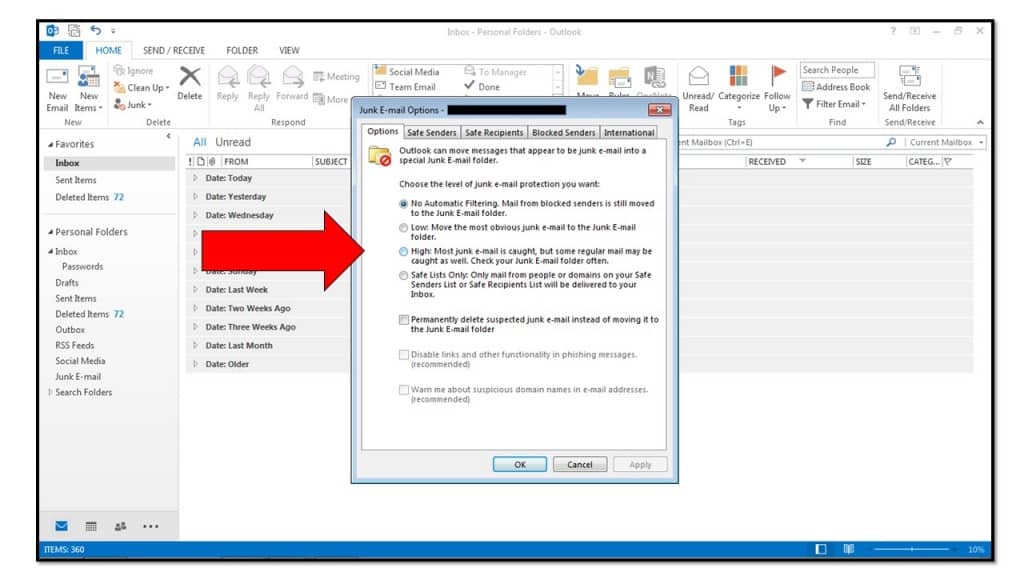
2. You will see the “Junk E-mail Options” dialog box appear. On the “Options” tab, select the option button that corresponds to how you wish Outlook to handle suspected junk mail. Note that you can elect to delete suspected junk e-mail versus moving it into the “Junk E-mail” folder in your folder list by checking the checkmark at the bottom of this tab. Be careful of doing this if you have a very restrictive junk mail filter applied, as it could then potentially delete legitimate messages that Outlook suspects may by junk mail.
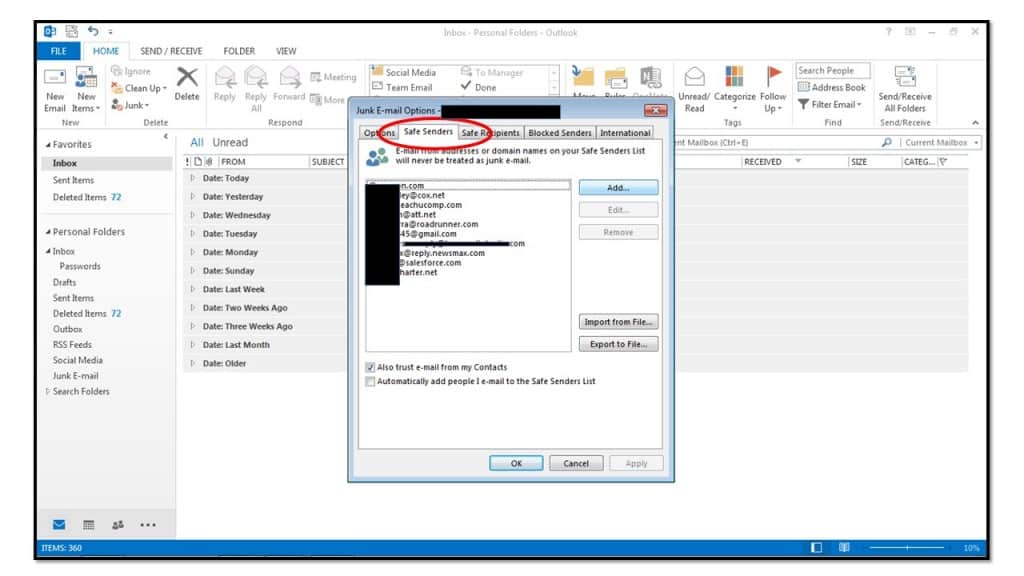
3. If you click the “Safe Senders” tab, you can click “Add…” at the right side of this tab to add an e-mail address or domain name into the “Add address or domain” dialog box. The “Safe Senders” list is the list of people from whom you always wish to receive e-mail in Outlook. Mail from these addresses or domains will never be treated as junk mail by Outlook. You can then click the “OK” button when you have finished.
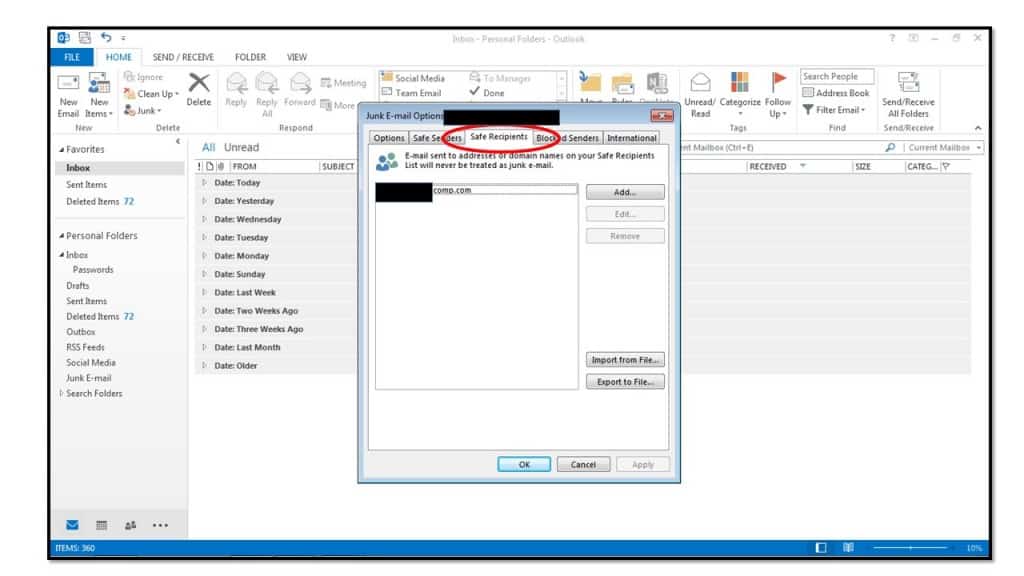
4. On the “Safe Recipients” tab, you can click “Add…” at the right side of this tab to add an e-mail address or domain name into the “Add address or domain” dialog box. The “Safe Recipients” list is the list of people to whom you always wish to send e-mail in Outlook. Mail sent to these addresses or domains will never be treated as junk mail by Outlook. You can then click the “OK” button when you have finished.
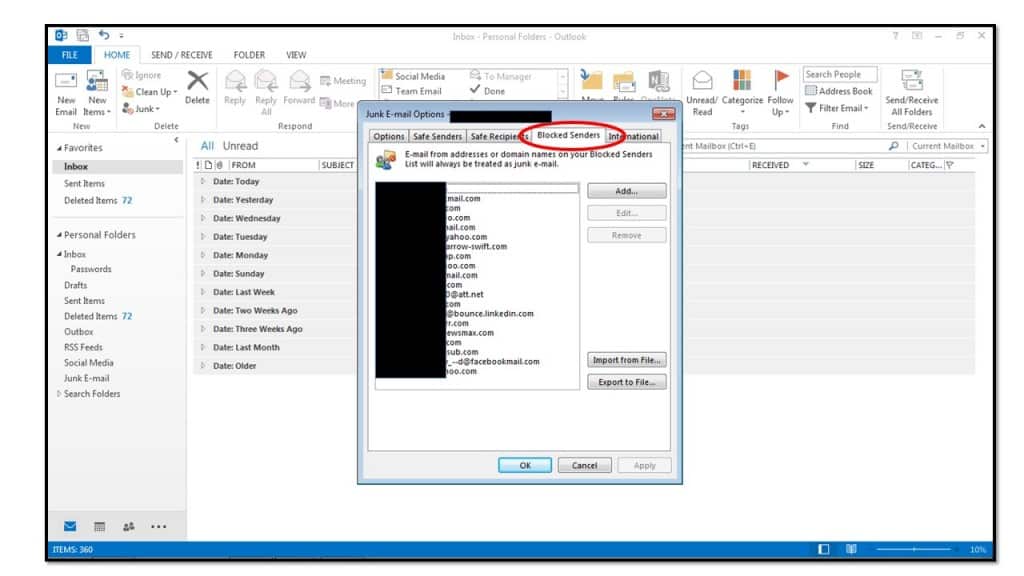
5. On the “Blocked Senders” tab, you click “Add…” at the right side of this tab to add an e-mail address or domain name in the “Add address or domain” dialog box. The “Blocked Senders” list is the list of people from whom you always wish to block e-mail in Outlook. Mail from these addresses or domains will always be treated as junk mail by Outlook. You can then click the “OK” button when you have finished.
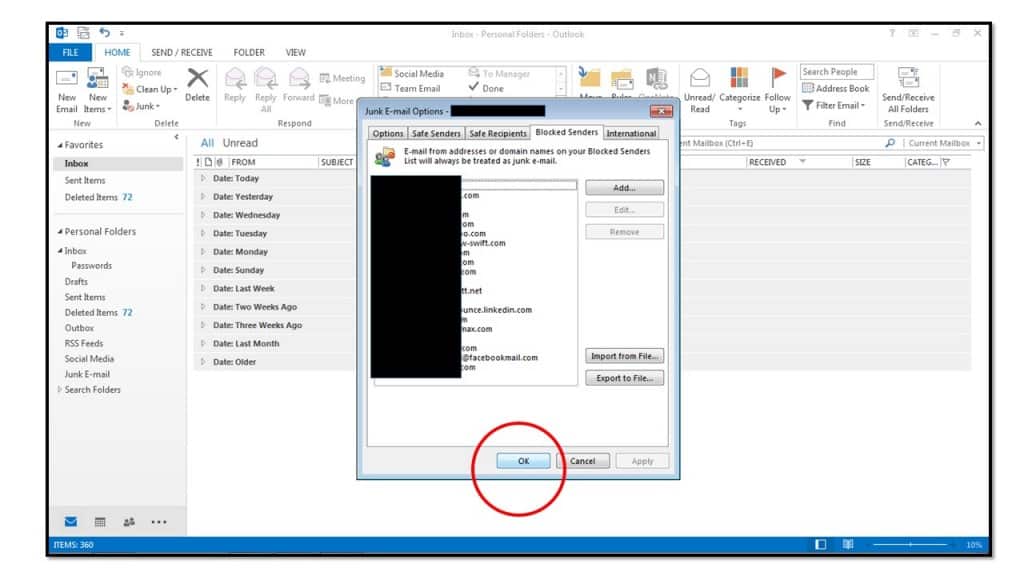
6. When you have finished setting the desired junk mail options, click “OK” in the “Junk E-mail Options” dialog box to set the new rules in place for the selected mail folder.
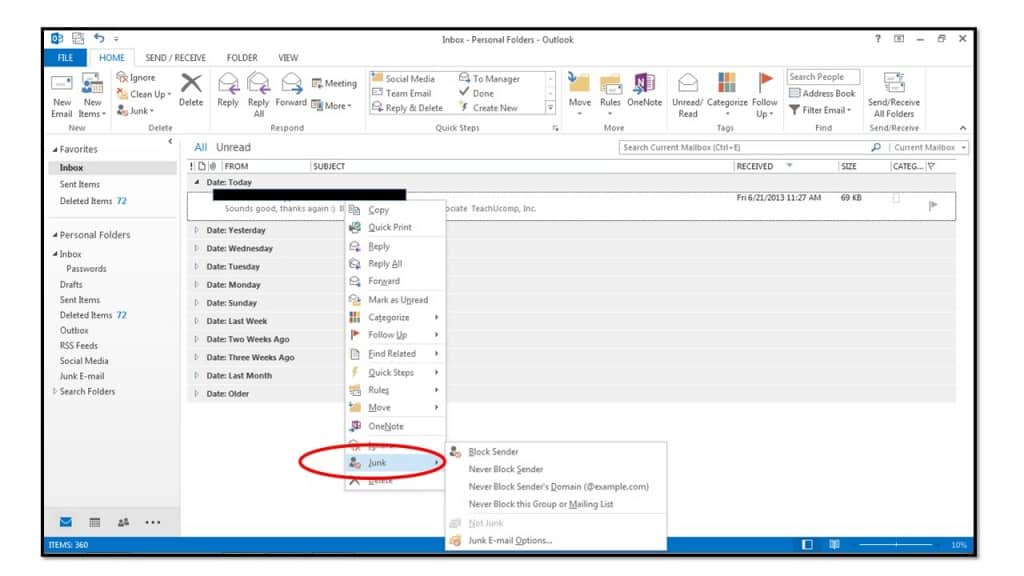
7. In the future, when you receive an e-mail from an address which you wish to add to either the “Safe Senders,” “Safe Recipients,” or “Blocked Senders” tabs, you can easily do that by right-clicking the piece of mail in your mailbox from the desired sender first. Roll over the “Junk” command in the pop-up menu that appears. In the side menu that then appears, select to which e-mail list you wish to add the e-mail address of the sender.