
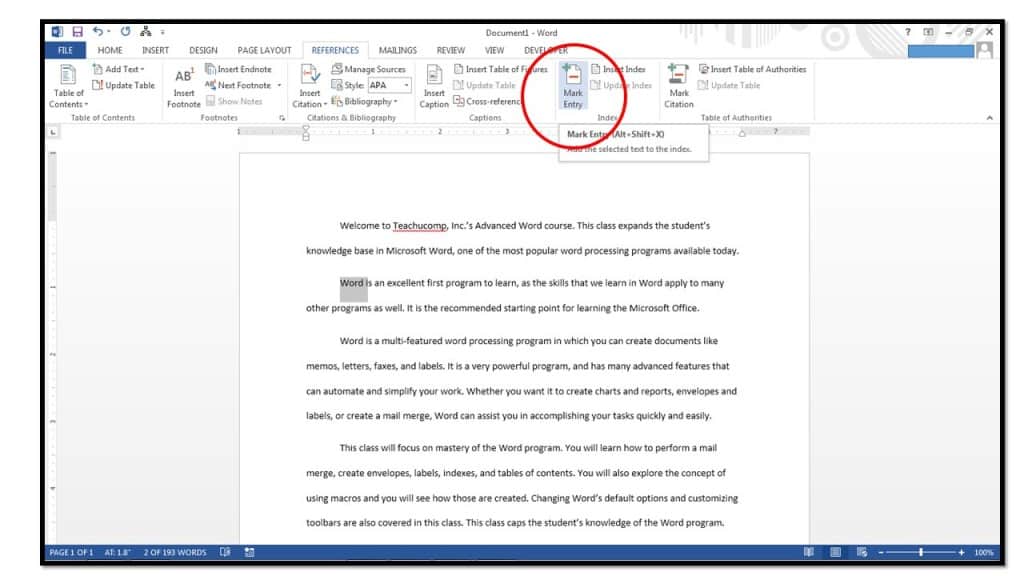
1.Mark the text to include in your index. To include a word or phrase, start by selecting the word or phrase to include from the text in your document.

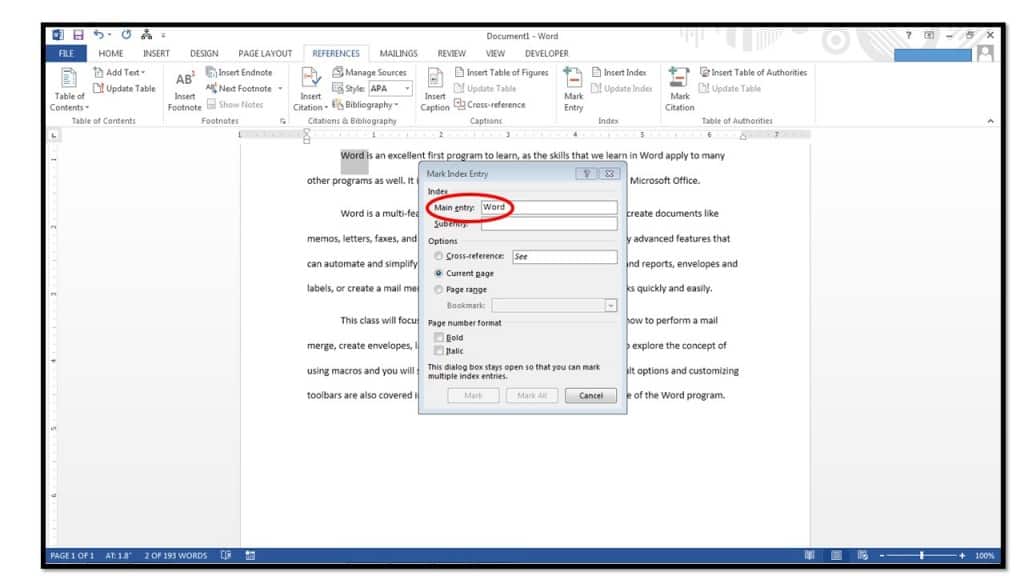
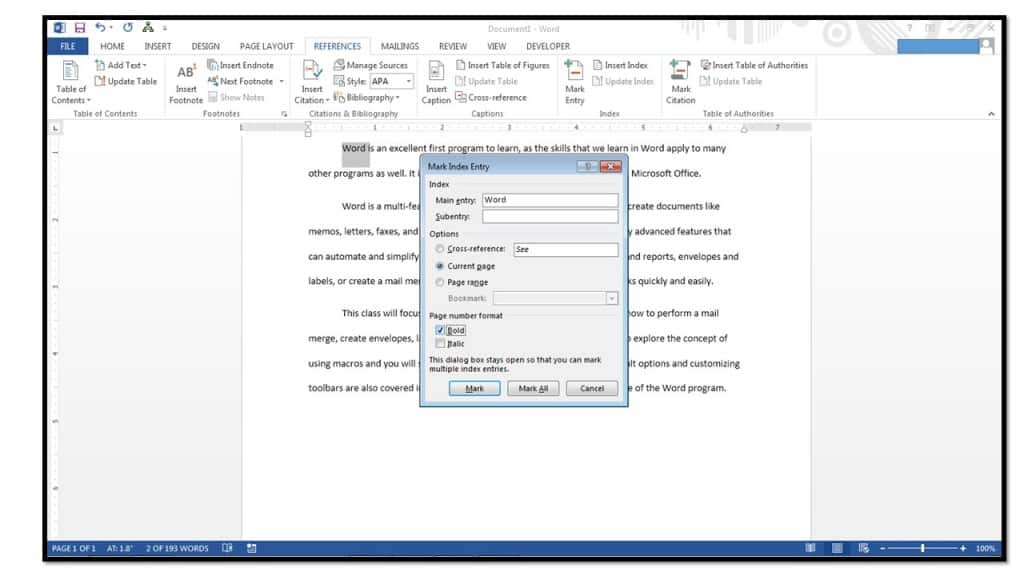
2.Click the “Mark Entry” button in the “Index” button group on the “References” tab in the Ribbon to open the “Mark Index Entry” dialog box. If you selected text from your document, it will appear in the “Main entry:” text box. If you did not select any text, then type the entry to make into the “Main entry:” text box.
3.In the “Subentry:” text box, you can enter an index entry that falls under the more general index entry above, if needed. To create a third level entry, enter the subentry into the “Subentry:” text box, followed by a colon symbol, followed by the third-level index entry.
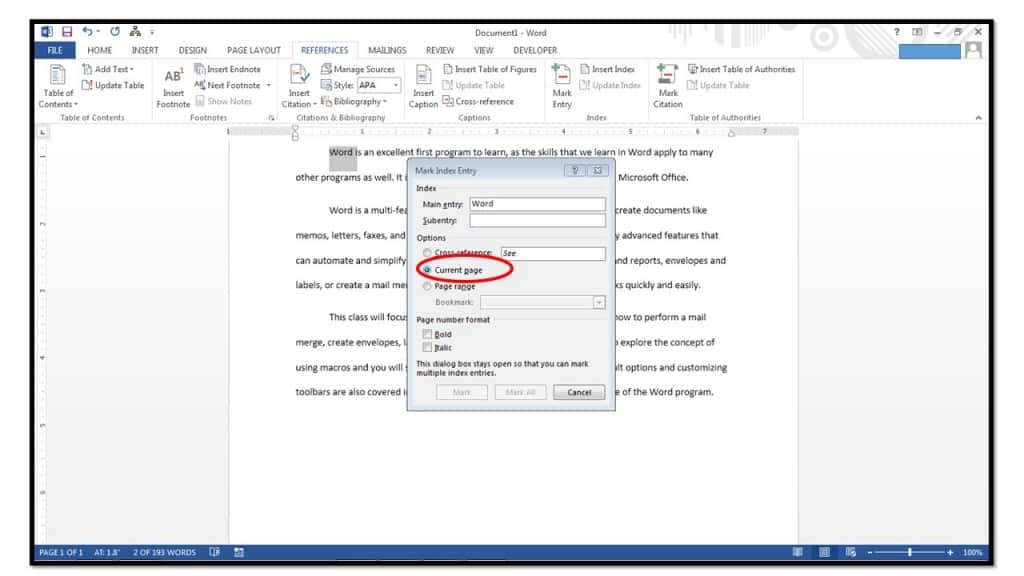
4.In the “Options” section, choose how to present the index entry. To create a cross-reference, choose that option and then enter the text for the cross-referenced index entry after the word “See” in the adjacent text box.
5.To make a normal index entry, select the “Current page” option in the “Options” section.
6.To format the page numbering used for a normal index entry, check either or both the “Bold” or “Italic” checkboxes in the “Page number format” section.
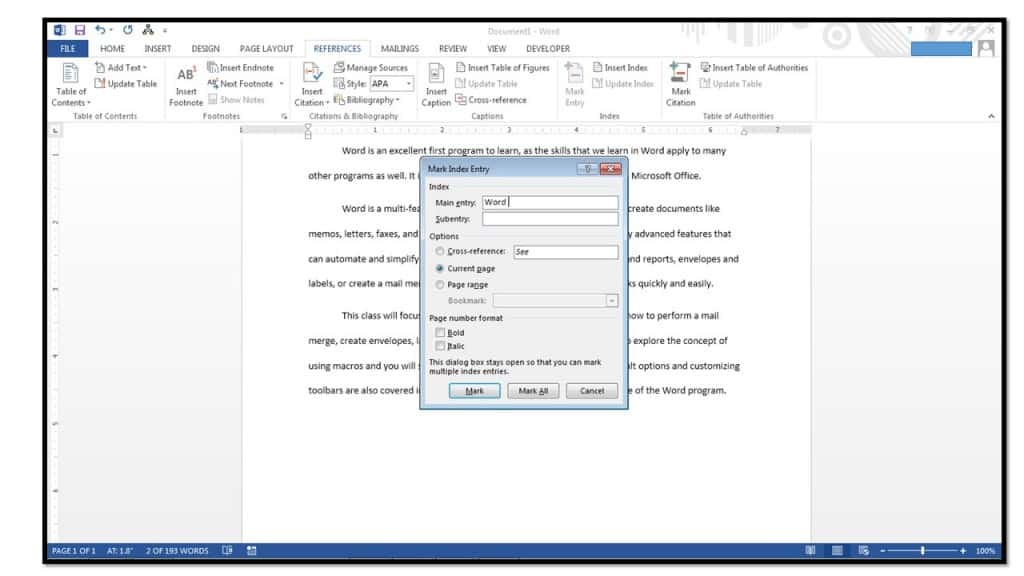
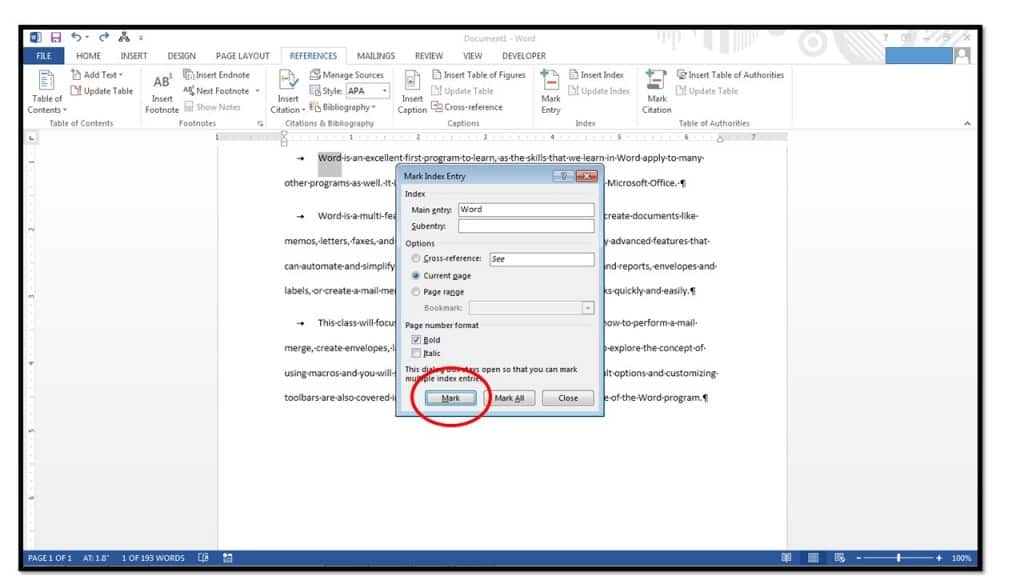
7.To mark only the currently selected text as an index entry, click the “Mark” button. To mark all occurrences of the text within the whole document, select the “Mark All” button, instead. This will insert the index entry field or fields into the selected location or locations in the document. Notice that this dialog box will remain open after marking the text, so that you can continue marking index entries without having to close and reopen the dialog box repeatedly.
8.To make a multi-page index reference, select the range of text to include as a multi-page reference.
9.Then click the “Bookmark” button in the “Links” button group on the “Insert” tab in the Ribbon to open the “Bookmark” dialog box.
10.In the “Bookmark name:” text box, type a name for the bookmark. The name cannot contain spaces, but may contain letters and numbers. Click the “Add” button to add the bookmark to the list shown in this dialog box.
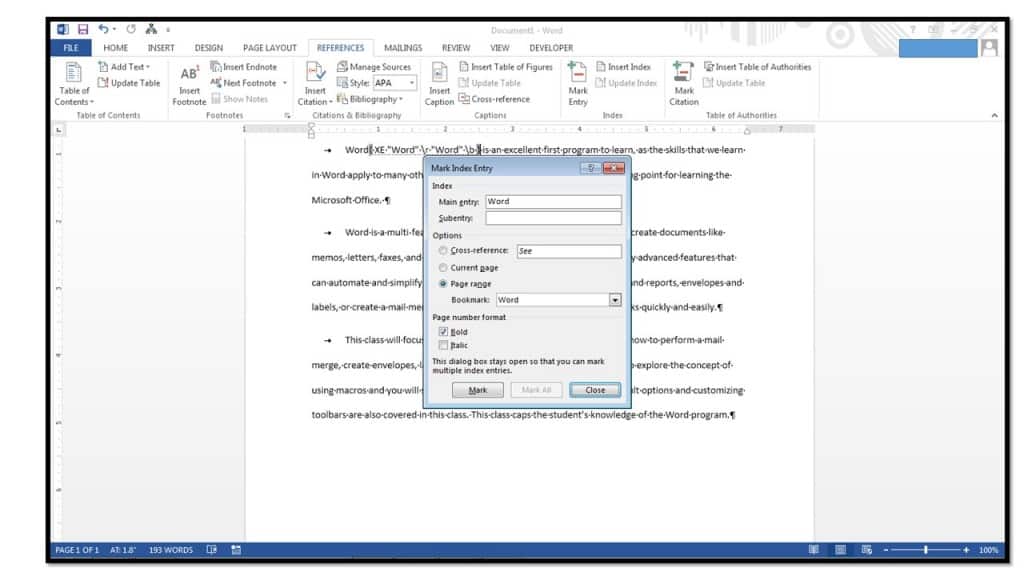
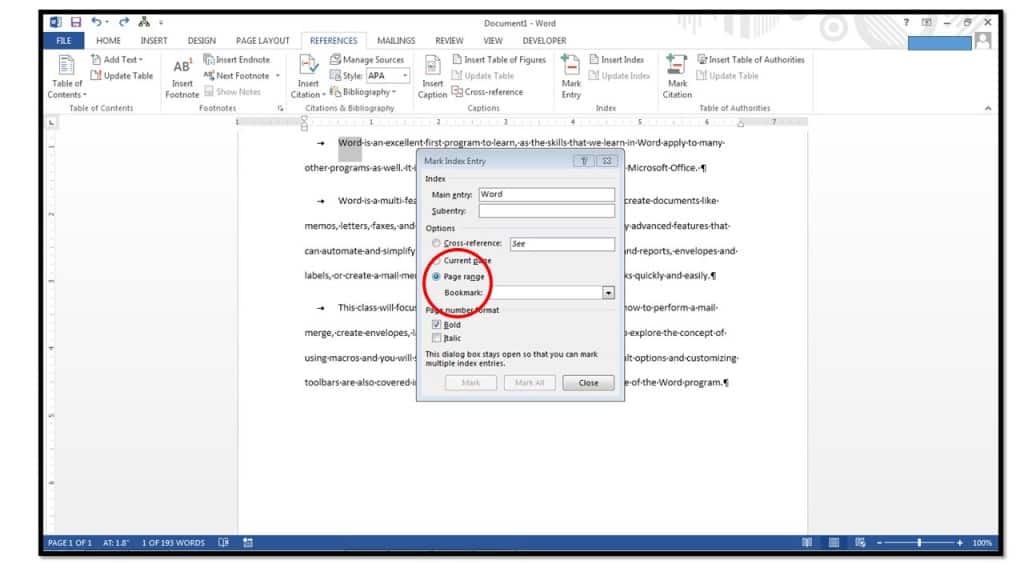
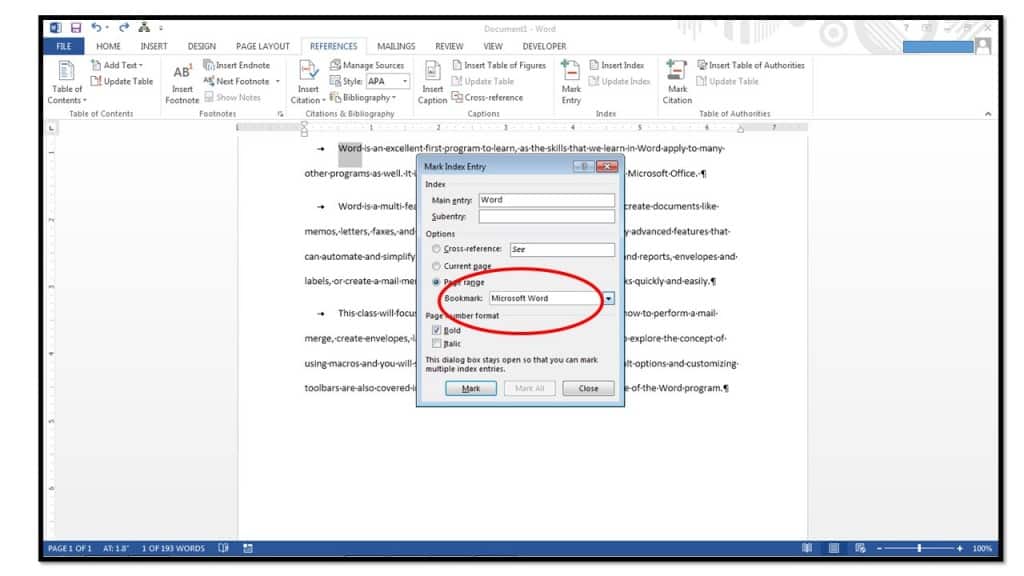
11.Click into the document at the end of the text that you set as a bookmark. Click the “Mark Entry” button in the “Index” button group on the “References” tab of the Ribbon and set the index entry for the marked text, as normal. However, this time, click the “Page range” option button in the “Options” section of the dialog box and then select the name of the bookmark you just created from the adjacent drop-down. Make any other settings, as desired, and then click the “Mark” button to mark the page range entry.
14.After marking the index entries for inclusion, click into your document at the position where you want to insert the index. Then click the “Insert Index” button in the “Index” button group on the “References” tab of the Ribbon. This will open the “Index” dialog box and display the “Index” tab within the dialog box. Here you can set the appearance of the index that will be created.
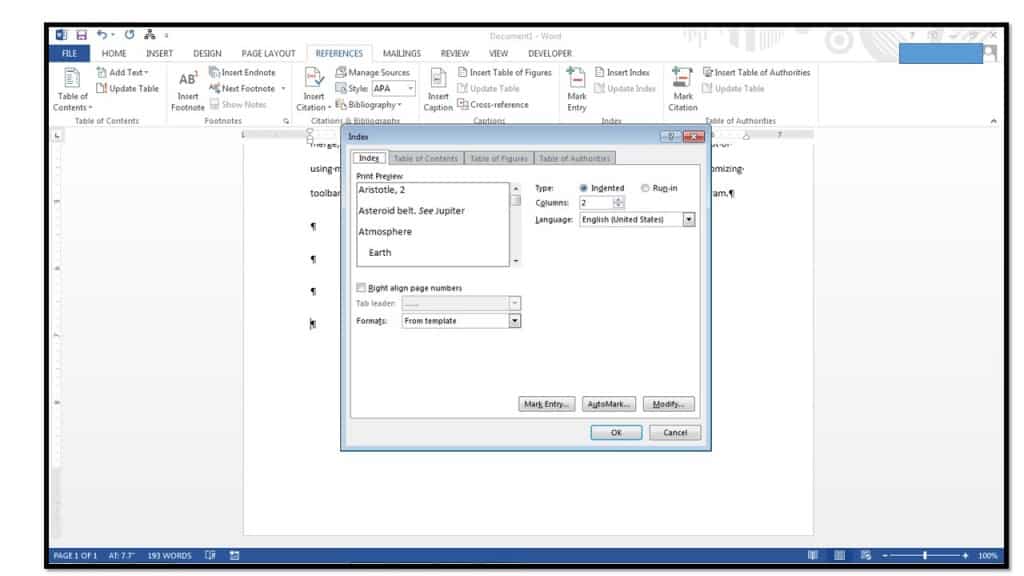
15.In the “Print Preview” section at the top of the dialog box you will see a preview of how the index would appear when printed. To the right of the preview, you will see the “Type:” options: “Indented” or “Run-in.” Select the style that you prefer. Below that, enter the number of columns you want your index to display. Below the preview you can check the “Right align page numbers” checkbox in order to right align the page numbers in your index, if desired. If you choose to right align the page numbers, then select the type of leader to use from the “Tab leader:” drop-down. You can select a different format to use for your index by choosing a different selection from the “Formats:” drop-down.
16.Click the “OK” button at the bottom of the dialog box to insert the index into your document.
17. You can toggle the display of the field code between the index’s contents and the field’s display by clicking into the index and then pressing “Shift” + “F9” on your keyboard to toggle the view.