TeachUcomp, Inc.

 MY CART
  • VIDEO COURSES
    • All-Access Subscriptions
    • Business Licensing
    • Course List
      • Accounting
      • Adobe
        • Acrobat
        • Lightroom Classic
        • Photoshop
        • Photoshop Elements
      • Crystal Reports
      • Employment Skills
        • Interview Skills
        • Resume Skills
      • For Lawyers
        • Excel for Lawyers
        • Outlook for Lawyers
        • QuickBooks for Lawyers
        • Word for Lawyers
      • HTML
      • JavaScript
      • Microsoft Office
        • Access
        • Excel
        • Microsoft Office Suite
        • OneNote
        • Outlook
        • Outlook on the Web
        • PowerPoint
        • Publisher
        • Word
      • Microsoft Project
      • Microsoft Teams
      • QuickBooks Online
      • QuickBooks Pro
      • Sage
        • Peachtree
        • Sage 50
      • SQL
      • Windows
    • Video Course Options
  • SUBSCRIPTIONS
  • MANUALS
    • Adobe
      • Acrobat
      • Lightroom Classic
      • Photoshop
      • Photoshop Elements
    • Crystal Reports
    • For Lawyers
      • Excel for Lawyers
      • Outlook for Lawyers
      • QuickBooks for Lawyers
      • Word for Lawyers
    • HTML
    • JavaScript
    • Microsoft Office
      • Access
      • Excel
      • OneNote
      • Outlook
      • Outlook on the Web
      • PowerPoint
      • Publisher
      • Word
    • Microsoft Project
    • Microsoft Teams
    • QuickBooks Online
    • QuickBooks Pro
    • Sage
      • Peachtree
      • Sage 50
    • SQL
    • Windows
  • REFERENCE CARDS
    • Adobe
      • Acrobat
      • Lightroom Classic
      • Photoshop
      • Photoshop Elements 2025
      • Photoshop Elements 2024
      • Photoshop Elements 2023
      • Photoshop Elements 2022
      • Photoshop Elements 2021
      • Photoshop Elements 2020
      • Photoshop Elements 2019
      • Photoshop Elements 2018
      • Photoshop Elements 15
    • Google
      • Google Classroom for Teachers
      • Google Docs
      • Google Drive
      • Google Forms
      • Google Sheets
      • Google Slides
    • Mac OS
      • Mac OS Keyboard Shortcuts
    • Microsoft Office
      • Excel Formulas and Functions
      • Excel Keyboard Shortcuts
      • Excel Tables PivotTables and Charts
      • Microsoft 365
        • Access for Microsoft 365
        • Excel for Microsoft 365
        • Microsoft Office 365
        • Outlook for Microsoft 365 Classic Edition
        • Outlook for Microsoft 365 (New Outlook)
        • PowerPoint for Microsoft 365
        • Publisher for Microsoft 365
        • Word for Microsoft 365
      • Microsoft Office 2021
        • Access 2021
        • Excel 2021
        • Microsoft Office 2021
        • OneNote for Windows 10
        • Outlook 2021
        • PowerPoint 2021
        • Publisher 2021
        • Word 2021
      • Microsoft Office 2019
        • Access 2019
        • Excel 2019
        • Microsoft Office 2019
        • Outlook 2019
        • PowerPoint 2019
        • Publisher 2019
        • Word 2019
      • Microsoft Office 2016
        • Access 2016
        • Excel 2016
        • Microsoft Office 2016
        • OneNote 2016
        • Outlook 2016
        • PowerPoint 2016
        • Publisher 2016
        • Word 2016
      • Microsoft Office 2013
        • Excel 2013
        • Microsoft Office 2013
        • OneNote 2013
        • Outlook 2013
        • PowerPoint 2013
        • Word 2013
      • Microsoft Office for iPad
        • Microsoft Office for iPad
      • Word Keyboard Shortcuts
    • Microsoft Teams
      • Microsoft Teams
    • QuickBooks Online
      • QuickBooks Online
    • QuickBooks Pro
      • QuickBooks Pro 2024
      • QuickBooks Pro 2023
      • QuickBooks Pro 2022
      • QuickBooks Pro 2021
      • QuickBooks Pro 2020
      • QuickBooks Pro 2019
      • QuickBooks Pro 2018
      • QuickBooks Pro 2017
      • QuickBooks Pro 2016
      • QuickBooks Pro 2015
      • QuickBooks Pro 2014
    • Sage
      • Sage 50 Accounting
    • SQL
      • SQL
    • Windows
      • Windows 11
      • Windows 11 and 10 Keyboard Shortcuts
      • Windows 10
  • STICKERS
    • Chrome OS
      • Chrome OS for Chromebooks
    • Mac OS
      • Mac OS
    • Microsoft Office
      • Word and Excel (Mac) 2022
      • Word and Excel (PC/Windows) 2021-2016 and 365
    • QuickBooks Desktop
      • QuickBooks Desktop (PC/Windows) 2024
      • QuickBooks Desktop (PC/Windows) 2023
      • QuickBooks Desktop (PC/Windows) 2022-2015
    • Windows
      • Windows 11 and 10
  • SUPPORT
    • Company
      • About Us
      • Blog
      • Contact Us
      • Our History
      • Our Philosophy
        • Customer Service
        • Mission
      • Policies
      • Testimonials
    • Contact Us
    • FAQ
    • Help
    • Lost Password
    • Register a Product
  • LOGIN
    • Manage My Account
    • Member Login
    • My Courses
Shop Now

How to Use the Charm Bar in Windows 8

by Keeley Byrnes / Wednesday, August 07 2013 / Published in Latest, Windows 8

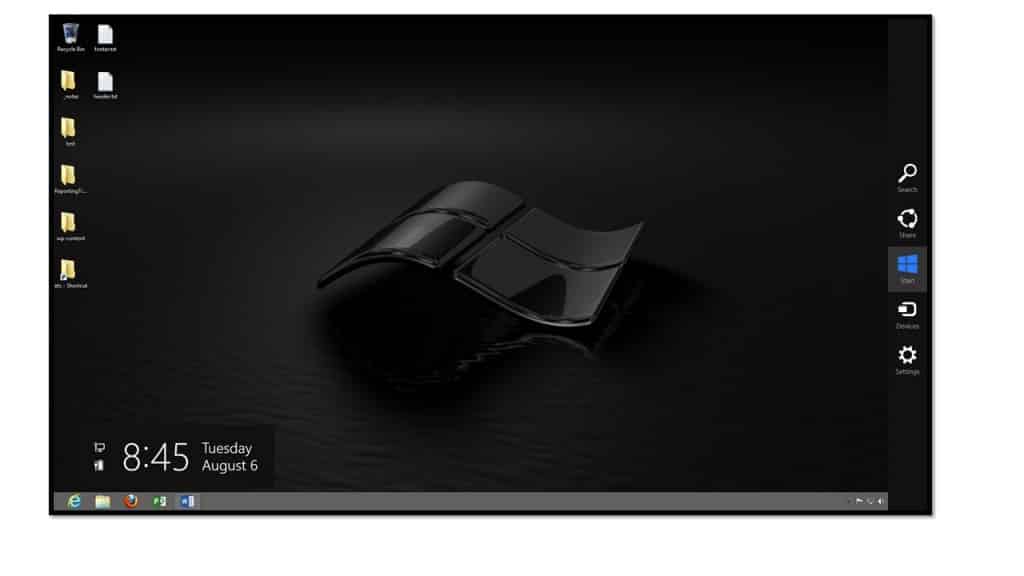
You can use the Charm Bar that appears at the right side of the Windows 8 application to search for content, share content within apps, return to the “Start” screen from an app, manage connected devices, and access your device settings. You can access the Charm Bar at the right side of the window by simply rolling your mouse pointer over to the upper-right or lower-right corners of the screen. The charm bar will then appear and you can roll your mouse pointer over it in order to access its content, displayed as buttons within the Charm Bar. You can also open it by swiping in from the right edge of a touch screen, or by simply pressing the Windows + C keys on your keyboard.


Slide1


To search for content on your computer, click the “Search” button within the Charm Bar. This will display a “Search” pane at the right side of the window.


Slide2


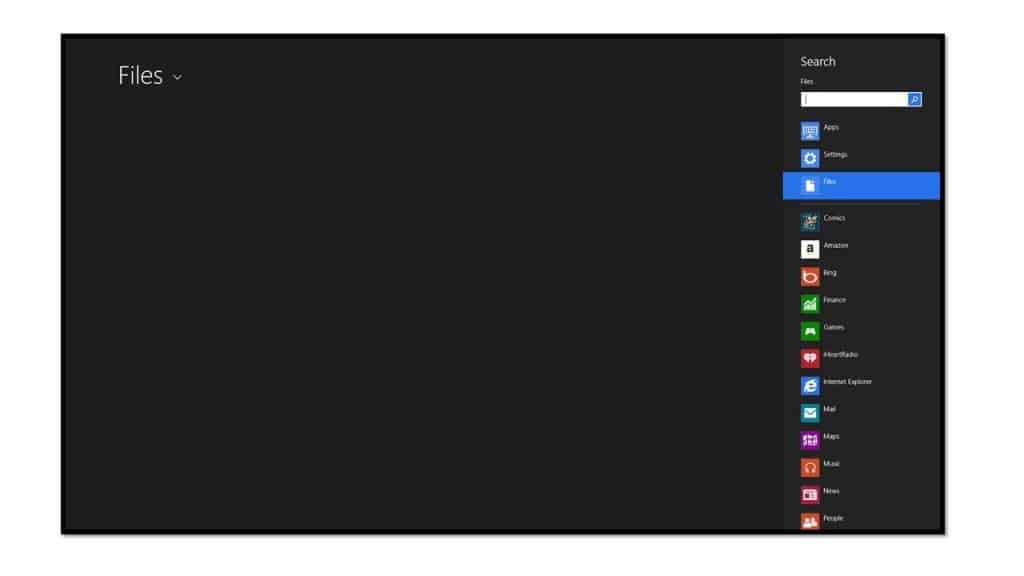
To search for an item, type the text that you are searching for into the text box shown at the top of the “Search” pane. You will then see any matching results for the three categories of results shown immediately below the text box. These categories are “Apps,” “Settings,” and “Files.” The number shown to the right of each category shows the number of matches within that category. You can click on any category shown to then display the matching results in the window to the left of the search pane. You can then click into this window to hide the search pane and scroll through the results. For “Files” you will also see the results, broken down by general file type as subcategories, displayed at the top of the “Files” window. You can click on any one of the subcategories to further filter the matching results shown. When you find the item you want, simply click on the result to open the associated file. If you don’t find a match, you can open the Charm Bar to search again, or simply click the “Start” screen in the lower-left corner of the screen to exit.

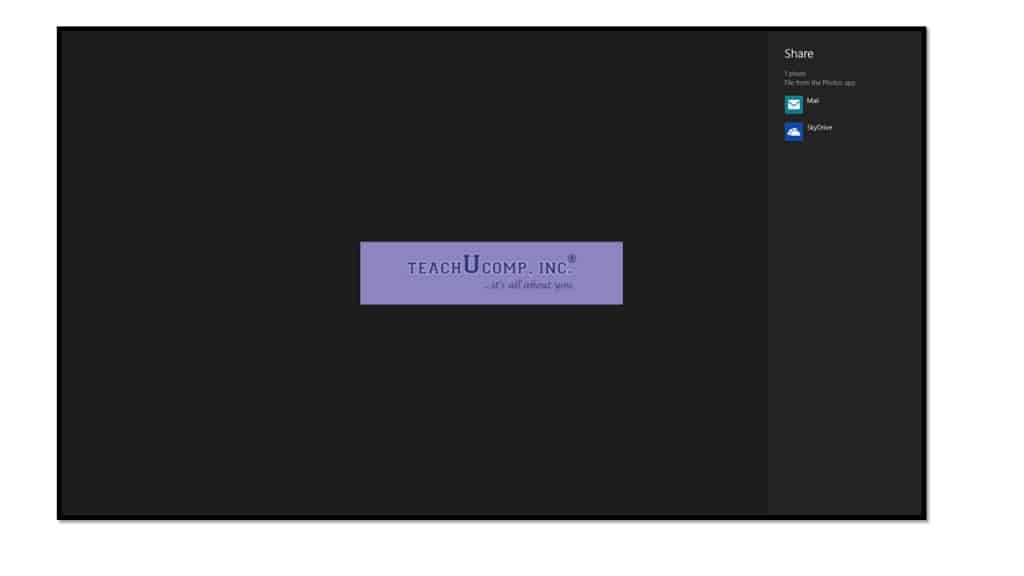
Within apps that support sharing, such as “Photos” or “Videos,” you can select a photo, video, or other shareable item, and then click the “Share” button within the Charm Bar to open a side pane to the right that shows the available apps that you can use to share the selected item. Simply click on the name of the app that you want to use to share the selected item in order to open that app and attach the selected item for sharing.

Slide3


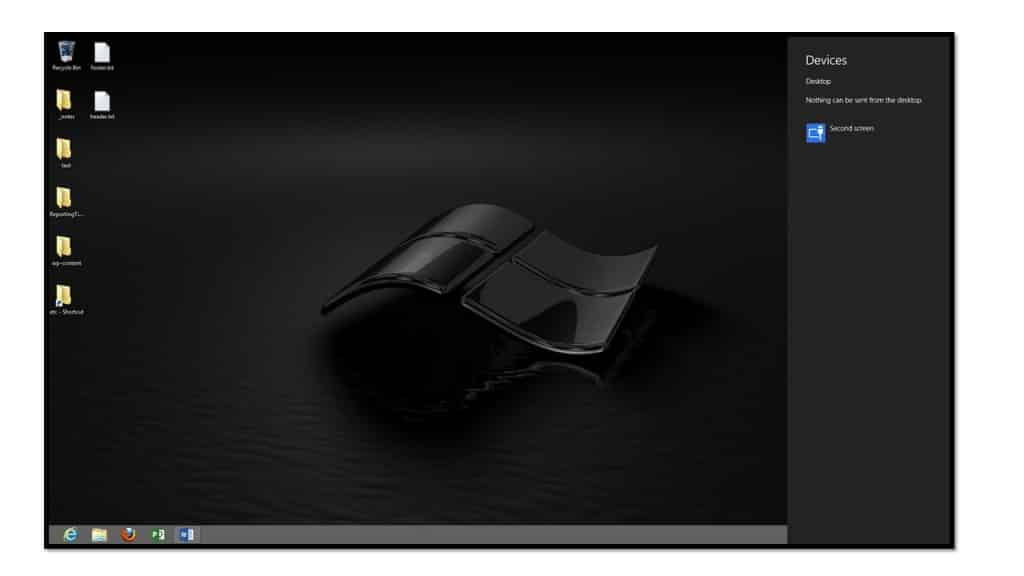
Note that if you click the “Share” button within the Charm Bar within an app that doesn’t support sharing, such as the “Desktop” app, you will see that information displayed in a message within the side pane that appears. You can then click into the area of the window where the pane does not appear to hide the side pane again.

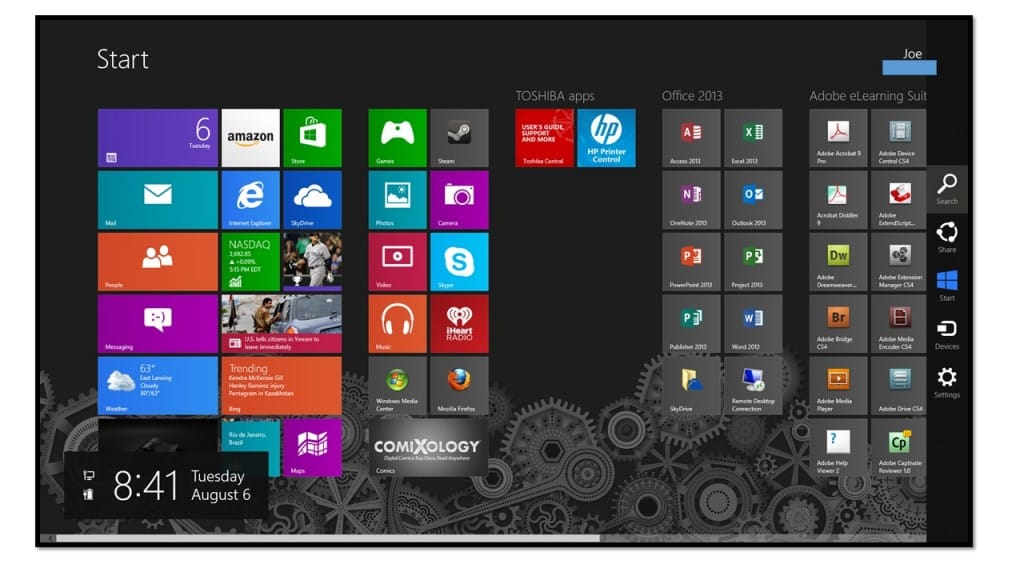
You can click the “Start” button within the Charm Bar to display the “Start” screen again whenever you need it.

Slide4


You can click the “Devices” button within the Charm Bar to display a listing of any connected devices whose settings you can change. For example, if you happen to be running dual monitors, you can click the “Devices” button to display the secondary monitor. You can then click on any device shown to alter its available settings within this pane. Using the example of a secondary monitor, you could then choose how you wish to extend your primary display onto the secondary monitor.


Slide5


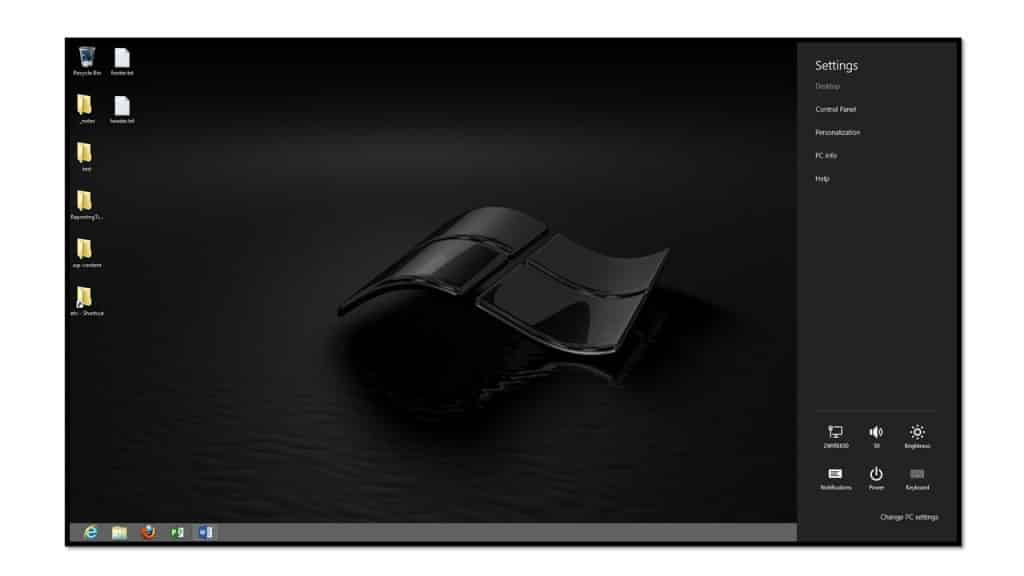
You can click the “Settings” button within the Charm Bar to display a listing of computer settings at the bottom of the side pane that appears. You can also click on the commands shown at the top of the pane to open the various “Control Panel” windows for the associated computer settings, or to access “Help” within Windows 8.

Slide6


Tagged under: apps, bar, charm, charm bar, microsoft, office, search, sharing, Windows, windows 8

About Keeley Byrnes

Keeley is our Director of Marketing and has been with TeachUcomp since 2010. Keeley manages all aspects of our Marketing Department, acts as liaison for our reseller and affiliate partners and also authors courses in software and taxation.
Save $150! One Year Online Entire Library $49. Click here for more info.


Categories

  • GET SOCIAL

© 2001-2025 Copyright TeachUcomp, Inc. All rights reserved.

TOP
SALE! $49 All-Access 7 Days 17 Hours 57 Minutes 51 Seconds      $199 $49 Entire Library!
See Deal