How to Use the Simple Query Wizard in Microsoft Access 2013
How to Use the Simple Query Wizard in Microsoft Access 2013: Video
This videos shows how to use the Simple Query Wizard in Microsoft Access 2013. Click here for the complete tutorial
The Simple Query Wizard in Access 2013: Overview
A query in Access is a way to retrieve in formation in a database. In Microsoft Access, you use a query to answer a question that you have about the information stored in the database tables. You can then further analyze the results that the queries pull to produce even more information than the query itself displays. Reports are often based on query results, upon which they then can perform additional mathematical and statistical calculations. Queries are also an excellent way to show information from related tables in a single result set, as the results that you pull from queries aren’t limited to a single table. The power and flexibility of query design is the entire reason you use database programs. They can quickly access, calculate, and summarize the records that they pull from the various tables.
Access provides you with a simple query wizard which you can use to initially create queries. However, do not rely too heavily on this tool, as at some point you will inevitably have to create a query that is more complex than this tool allows. For advanced queries, you must learn how to create a query in query design view, versus using the wizard to create them.
However, to create a simple query using the wizard, click the “Query Wizard” button in the “Queries” group (“Other” group in 2007) on the “Create” tab in the Ribbon. In the “New Query” dialog box that appears, you can see the ways in which you can create queries. Select the “Simple Query Wizard” choice, and then click “OK” to begin.
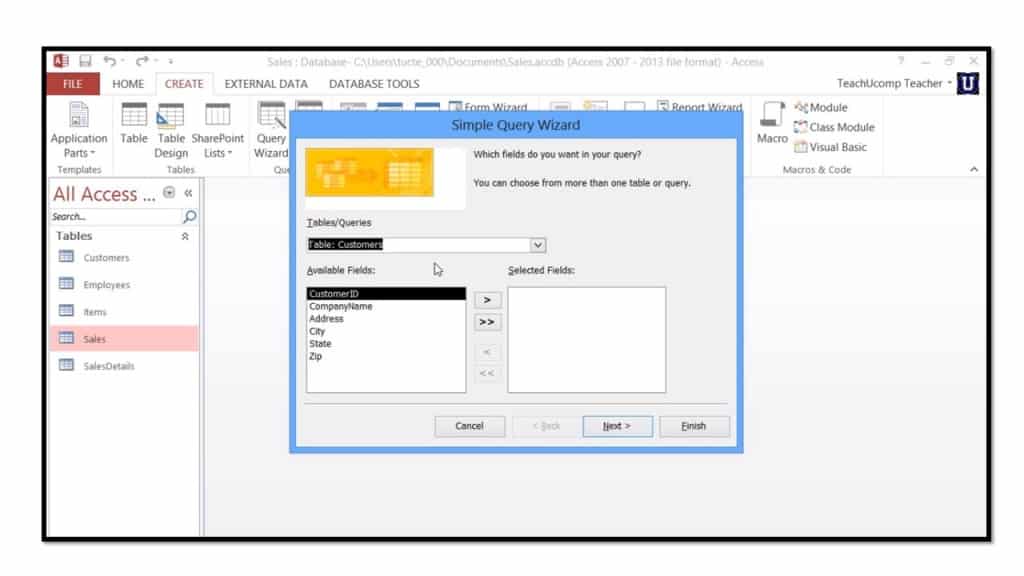
In the first screen of the wizard, you must select the first table from which you will pull data by using the “Tables/Queries” drop-down. Once you have selected a table, the fields from that table will display in the “Available fields:” list. To add a field from the table into the query, select its name from the “Available fields:” list and click the “>” button to move it into the “Selected fields:” list. Repeat this as needed, selecting the fields that you will want to see in the query. When you are finished, click “Next >” to continue.
If you only selected fields from a single table in the first screen, then when you click the “Next >” button to continue, you will only need to provide the query with a name and then click the “Finish” button to finish creating the query. If, however, you picked data fields from two or more related tables, then when you click the “Next >” button, you will instead view a second screen which asks if you would like a “Detail” or “Summary” query. You can select the option button for the type of query that you wish to create. If you select “Summary,” then you will be able to click the “Summary Options…” button to open the “Summary Options” dialog box. In this dialog box, you can select what type of summary to perform over a selected field. Make your selections, and then click the “OK” button to return to the “Simple Query Wizard.”
Click “Next >” to continue. In the next screen, if you selected “Detail” on the previous screen, you will only need to name your query and then click “Finish” to create the query. If you selected “Summary” and your summary includes dates, you may be presented with additional date grouping options. Continue to answer any questions, as appropriate for your query and click “Next >” to continue until you reach the final screen where you must type a name for your query, and then click “Finish” to create the query.
