Merge Changes in Copies of Shared Workbooks in Excel
Merge Changes in Copies of Shared Workbooks in Excel: Video
This video lesson, titled “Compare and Merge Workbooks,” shows how to merge changes in copies of shared workbooks in Excel. This lesson is from our complete Excel tutorial, titled “Mastering Excel Made Easy v.2016-2013.”
Merge Changes in Copies of Shared Workbooks in Excel: Overview
This lesson shows you how to merge changes in copies of shared workbooks in Excel. This is an older method of reviewing changes to a shared workbook in Excel, but it still works. You can merge changes in copies of shared workbooks in Excel if you have copies of a shared workbook into which different users have made changes. In this case, you can take those workbook files and merge the changes together into a single workbook.
There are a few requirements the files must meet before you can merge them together. First, all merged workbooks must be copies of the original shared workbook. They must all have different files names, but must all be located in the same folder. They cannot have passwords applied to them. The workbooks must also have change tracking in effect since you created the copies. They must also have been tracking the change history. Also note that if you merge multiple copies, changes in the last workbook copy you merge replace any conflicting changes in the workbook into which you are merging.
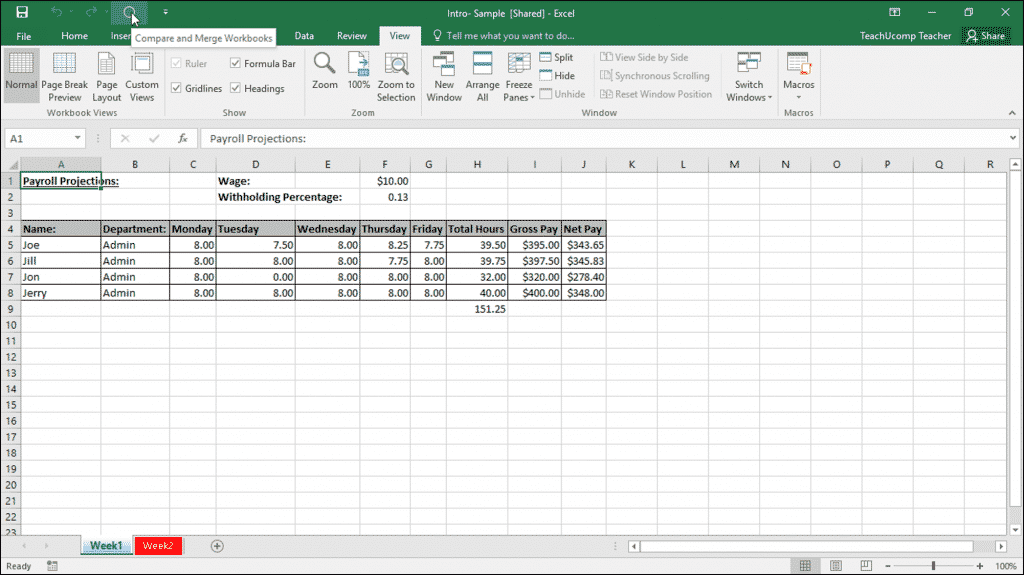
Merge Changes in Copies of Shared Workbooks in Excel: A picture of a user clicking the “Compare and Merge Workbooks” button that has been added to the Quick Access toolbar in Excel.
To merge changes in copies of shared workbooks in Excel, make sure you have all the copies to merge in the same folder with different file names. Next, you must add a button to the Quick Access toolbar for this function. It does not appear in the Ribbon, by default. To do this, click the “Customize Quick Access Toolbar” button at the right end of the Quick Access toolbar. Then select the “More commands…” choice from the button’s drop-down menu. In the “Excel Options” window that appears, select the “All commands” choice from the “Choose commands from” drop-down menu. Then scroll through the list of commands until you find the “Compare and Merge Workbooks…” command. Click it to select it, and then click the “Add >>” button to move it to the list at the right. Then click the “OK” button to finish.
Next, click the “Compare and Merge Workbooks” button in the Quick Access toolbar. You can save the workbook, if prompted. Doing this then launches the “Select Files to Merge into Current Workbook” dialog box. Here, select the copies of the workbook to merge into the open copy or original shared workbook. If you select more than one copy in this dialog box, the order in which they appear is the order in which you merge them into the open workbook. After selecting the file or files to merge into the open workbook, click “OK.”
Merge Changes in Copies of Shared Workbooks in Excel: Instructions
- Before you can merge changes in copies of shared workbooks in Excel, the merged workbooks must be copies of the original shared workbook. They must all have different files names, but must all be located in the same folder. They cannot have passwords applied to them. The workbooks must also have change tracking in effect since you created the copies. They must also have been tracking the change history
- To add a button to the Quick Access Toolbar to compare and merge copies of a shared workbook, click the “Customize Quick Access Toolbar” button at the right end of the Quick Access toolbar.
- Select the “More commands…” choice from the button’s drop-down menu.
- In the “Excel Options” window that appears, select the “All commands” choice from the “Choose commands from:” drop-down menu.
- Scroll through the list of commands until you find the “Compare and Merge Workbooks…” command.
- Click it to select it.
- Then click the “Add >>” button to move it to the list at the right.
- Click the “OK” button to finish.
- To then merge changes in copies of shared workbooks in Excel, click the “Compare and Merge Workbooks” button in the Quick Access toolbar.
- You can save the workbook, if prompted.
- In the “Select Files to Merge into Current Workbook” dialog box, select the copies of the workbook to merge into the open copy or original shared workbook.
- If you select more than one copy in this dialog box, the order in which they appear is the order in which you merge them into the open workbook.
- After selecting the file or files to merge into the open workbook, click “OK.”
