Mouse and Touchpad Settings in Windows 10 – Tutorial
Mouse and Touchpad Settings in Windows 10: Video Lesson
This video lesson, titled “Mouse and Touchpad Settings,” shows how to manage mouse and touchpad settings in Windows 10. This video lesson is from our complete Windows 10 training, titled “Mastering Windows Made Easy v.10.”
Mouse and Touchpad Settings in Windows 10: Overview
To manage the mouse and touchpad settings in Windows 10, open the “Settings” window. Then click the “Devices” button in the middle of the screen to display device settings for your computer. Then click the “Mouse and touchpad” category at the left side of the screen. Doing this then shows mouse and touchpad settings in the area to the right.
Under the “Mouse” section are two drop-downs. The first drop-down lets you select which mouse button is your primary mouse button. The second drop-down lets you choose what will happen when you roll the mouse wheel. If you choose “Multiple lines at a time” from the second drop-down, you can use the slider underneath it to set the number of lines to scroll when you roll your mouse wheel. You can enable or disable the ability to scroll inactive windows when hovering over them by changing the “Scroll inactive windows when I hover over them” setting to either the “On” or “Off” position.
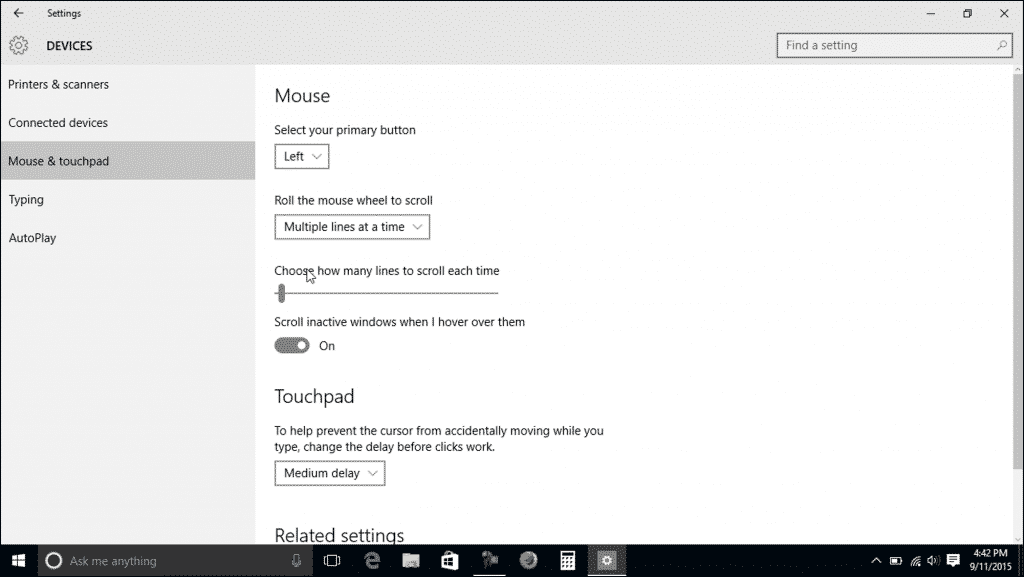
Mouse and Touchpad Settings in Windows 10 – Tutorial: A picture of the mouse and touchpad settings in Windows 10.
Under the “Touchpad” section, use the drop-down to set the amount of delay before clicks to the touchpad are recognized. A longer setting makes the touchpad less responsive to accidental touching. To view additional mouse settings, click the “Additional mouse options” link under the “Related settings” section. Doing this then opens the “Mouse Properties” dialog box. You can close it by clicking the “X” button in the upper-right corner when you are finished to return to the “Mouse & touchpad” settings window.
Mouse and Touchpad Settings in Windows 10: Instructions
- To manage the mouse and touchpad settings in Windows 10, open the “Settings” window.
- Then click the “Devices” button in the middle of the screen.
- Then click the “Mouse and touchpad” category at the left side of the screen.
- The mouse and touchpad settings appear in the area to the right.
- To select which mouse button is your primary mouse button, use the first drop-down under the “Mouse” section.
- To choose what happens when you roll the mouse wheel, use the second drop-down under the “Mouse” section.
- If you choose “Multiple lines at a time” from the second drop-down, you can use the slider underneath it to set the number of lines to scroll when you roll your mouse wheel.
- To enable or disable the ability to scroll inactive windows when hovering over them, change the “Scroll inactive windows when I hover over them” setting to either the “On” or “Off” position.
- To set the amount of delay before clicks to the touchpad will be recognized, use the drop-down under the “Touchpad” section.
- You can view additional mouse settings by clicking the “Additional mouse options” link under the “Related settings” section to open the “Mouse Properties” dialog box.
- You can close it by clicking the “X” button in the upper-right corner when you are finished to return to the “Mouse & touchpad” settings window.
