OneDrive Folders in File Explorer in Windows 10 – Tutorial
OneDrive Folders in File Explorer in Windows 10: Video Lesson
This video lesson, titled “OneDrive Folders in File Explorer,” shows you how to use the OneDrive Folders in File Explorer in Windows 10. This video lesson is from our complete Windows 10 training, titled “Mastering Windows Made Easy v.10.”
OneDrive Folders in File Explorer in Windows 10: Overview
If you are signed in with a Microsoft account and have enabled OneDrive, you will see your OneDrive folders in File Explorer in Windows 10 appear in the Navigation pane at the left side of the File Explorer window. This makes accessing your OneDrive files, and keeping them synched across your devices, easy. You can easily move or copy existing files to the OneDrive folders in File Explorer in Windows 10. Many applications, like Microsoft Office, also allow you to save directly to your OneDrive folders when initially saving your documents.
The folders within OneDrive will sync automatically with the OneDrive folders in File Explorer in Windows 10. However, if you want to save room on your PC, you can also select the OneDrive folders to sync. If you do this, you can still access the folders at OneDrive.com, but they will not appear within File Explorer.
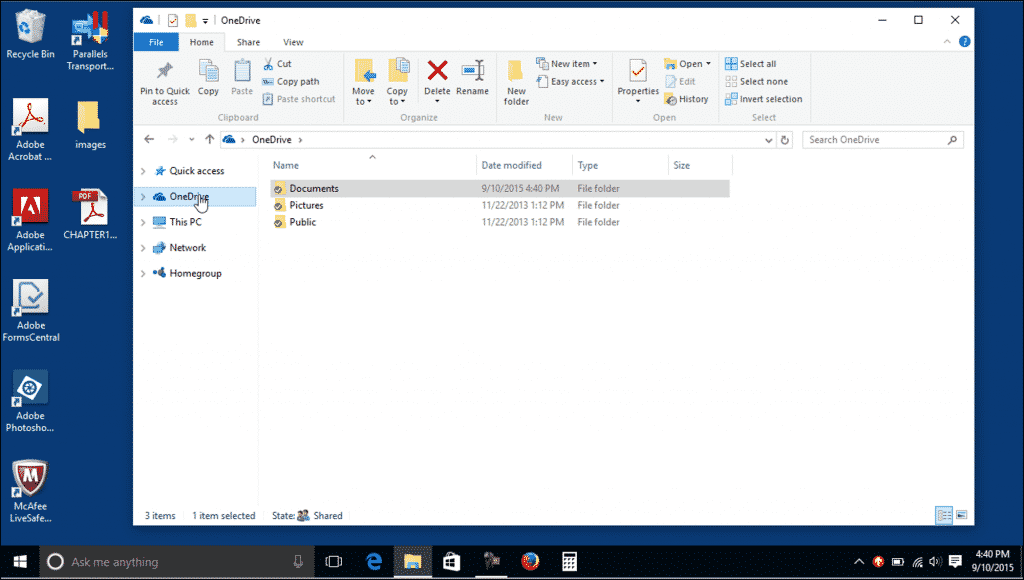
OneDrive Folders in File Explorer in Windows 10 – Tutorial: A picture of the OneDrive folder in File Explorer in Windows 10.
To choose the folders to sync, right-click the “OneDrive” cloud icon shown in the list of icons at the right end of the Taskbar within the Desktop. Then click the “Settings” command in the pop-up contextual menu that appears to open the “Microsoft OneDrive” dialog box. Click the “Choose folders” tab in the dialog box and then click the “Choose folders” button within the tab. In the window that appears, uncheck the folders you do not want to sync. A message box will appear to warn you that files in the local copy of unchecked folders will be deleted. You can click “OK” in this message to continue. After selecting the folders to sync, click the “OK” button to apply your changes. Then click the “OK” button again to finish.
OneDrive Folders in File Explorer in Windows 10: Instructions
- If you are signed in with a Microsoft account and have enabled OneDrive, you will see your OneDrive folders appear in the Navigation pane at the left side of the File Explorer window in Windows 10.
- You can easily move or copy existing files to the OneDrive folders shown in the File Explorer window.
- The folders within OneDrive will sync automatically with the OneDrive folders in File Explorer.
- If you want to save room on your PC, you can select the OneDrive folders to sync. If you do this, you can still access the folders at OneDrive.com, but they will not appear within File Explorer.
- To choose the folders to sync, right-click the “OneDrive” cloud icon shown in the list of icons at the right end of the Taskbar within the Desktop.
- Click the “Settings” command in the pop-up contextual menu that appears to open the “Microsoft OneDrive” dialog box.
- Click the “Choose folders” tab in the dialog box and then click the “Choose folders” button within the tab.
- In the window that appears, uncheck the folders you do not want to sync.
- A message box will appear to warn you that files in the local copy of unchecked folders will be deleted. You can click “OK” in this message to continue.
- To apply your changes after selecting the folders to sync, click the “OK” button.
- To finish, click the “OK” button again.
