Print a Chart in Excel – Instructions and Video Lesson
Print a Chart in Excel: Video Lesson
This video lesson, titled “Excel for Microsoft 365 Tutorial: How to Print a Chart in Excel,” shows you how to print charts in Excel. This video lesson is from our complete Excel tutorial, titled Mastering Excel Made Easy™.
Overview
To print a chart in Excel that appears embedded in a worksheet without printing the rest of the worksheet, select the chart or one of the chart’s elements, first. Alternatively, to print a chart in Excel that appears embedded in a worksheet along with its accompanying worksheet data, click into one of the worksheet cells first. Alternatively, to print a chart that appears on its own Excel worksheet page, just select the worksheet tab containing the chart.
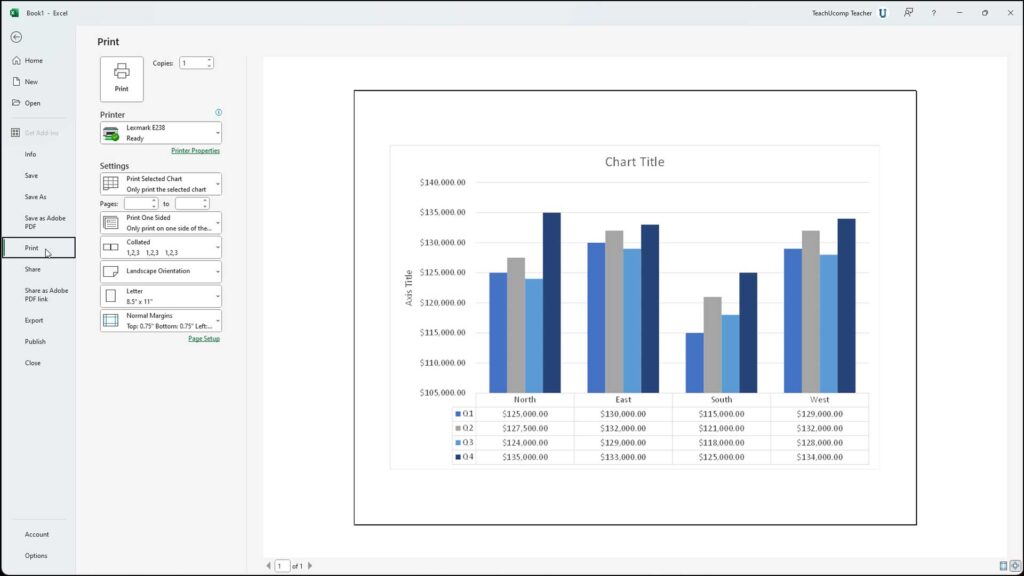
After making your selection, then click the “File” tab in the Ribbon. Then click the “Print” command at the left side of the backstage view. A preview of the selected chart then appears to the right. You can then click the “Print” button to print the selected chart.
Print a Chart in Excel: Instructions
- To print a chart in Excel that appears embedded in a worksheet without printing the rest of the worksheet, select the chart or one of the chart’s elements.
- Alternatively, to print a chart in Excel that appears embedded in a worksheet along with its accompanying worksheet data, click into one of the worksheet cells.
- Alternatively, to print a chart that appears on its own Excel worksheet page, select the worksheet tab containing the chart.
- After making your selection, then click the “File” tab in the Ribbon.
- Then click the “Print” command at the left side of the backstage view.
- A preview of the selected chart then appears to the right.
- To print the selected chart, click the “Print” button.

