Print Contacts in Outlook – Instructions
Print Contacts in Outlook: Video Lesson
The following video lesson, titled “Printing Contacts,” shows you how to print contacts in Outlook. This video lesson is from our complete Outlook tutorial, titled “Mastering Outlook Made Easy v.2019 and 365.”
Print Contacts in Outlook: Overview
You can print contacts in Outlook to create a hard copy of your contact list. You can choose to print only selected contacts or the entire Contacts folder. To print only selected contacts in Outlook, you must first select the contacts to print in the “Contacts” folder.
To print contacts in Outlook, click the “File” tab in the Ribbon. Then click the “Print” command at the left side of the Backstage View that appears. To the right, you will see a preview of your current printout in the “print preview” area. To set any additional options, click the “Print Options” button to open the “Print” dialog box.
In the “Print” dialog box, click a choice in the “Print style” list to choose the layout for the contacts. Select and/or enter the number of pages and/or copies to print in the “Copies” section. In the “Print range” section, select either “All items” to print all contacts or “Only selected items” to print only the selected contacts.
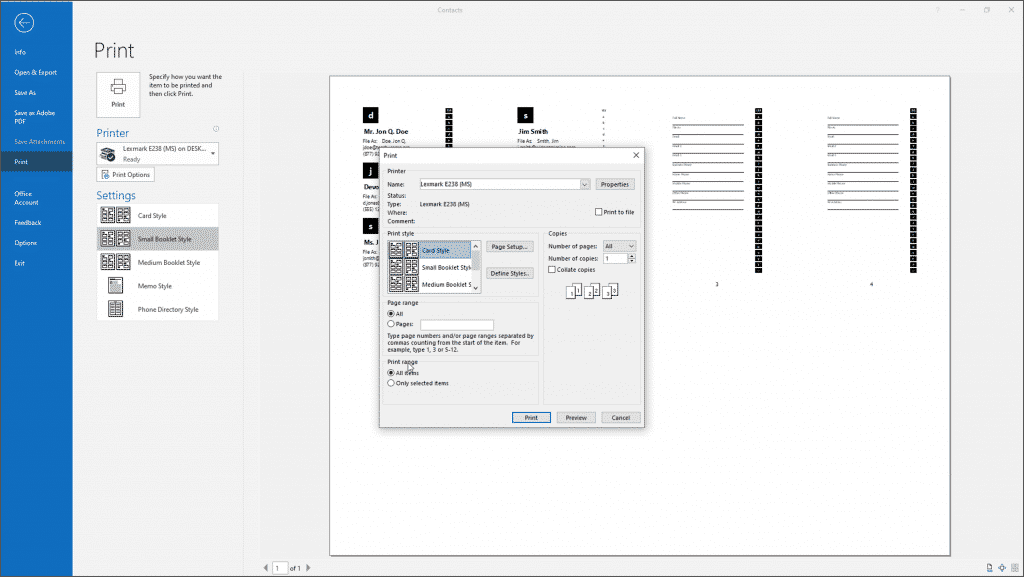
Print Contacts in Outlook – Instructions: A picture of the “Print” dialog box that appears when printing contacts in Outlook.
After changing any print settings, click the “Print” button to begin printing immediately. Alternatively, to preview the contacts before printing them, click the “Preview” button. Doing that returns you to the print preview in the backstage view. In the backstage view, then click the “Print” button.
Print Contacts in Outlook: Instructions
- To print only specific contacts in Outlook, first select the contacts to print in the “Contacts” folder.
- To print contacts in Outlook, click the “File” tab in the Ribbon.
- Then click the “Print” command at the left side of the Backstage view that appears.
- To the right, a preview of your current printout appears in the “print preview” area.
- To set any additional printing options, click the “Print Options” button to open the “Print” dialog box.
- In the “Print” dialog box, click a choice in the “Print style” list to choose the layout for the contacts.
- Select and/or enter the number of pages and/or copies to print in the “Copies” section.
- In the “Print range” section, select either “All items” to print all contacts or “Only selected items” to print only the selected contacts.
- After changing any print settings, click the “Print” button to start printing immediately.
- Alternatively, to preview the contacts before printing them, click the “Preview” button to return to the print preview in the backstage view.
- In the backstage view, then click the “Print” button.