Printers and Scanners in Windows 10- Tutorial
Printers and Scanners in Windows 10: Video Lesson
This video lesson, titled “Managing Printers and Scanners,” shows you how to manage the printers and scanners in Windows 10 that you have attached to your device. This video lesson on printers and scanners in Windows 10 is from our complete Windows 10 training, titled “Mastering Windows Made Easy v.10.”
Printers and Scanners in Windows 10: Overview
To manage the printers and scanners in Windows 10 that are connected to your computer, open the “Settings” window and click the “Devices” button in the middle of the screen to display device settings for your computer. Then click the “Printers & scanners” category at the left side of the window to display your connected printers and scanners in Windows 10 in the area to the right. If you have connected a printer or scanner that is not automatically recognized, you can click the “Add a printer or scanner” button in the “Add printers & scanners” section to have Windows attempt to automatically search for and install it.
In the “Printers” section is a listing of the available printing devices. To remove a printer from this list, click the name of the printer and then click the “Remove device” button that appears. Note that you cannot manage printer settings from this window. It is recommended that you leave the “Download over metered connections” option set to the “Off” position so that you will not download device software over a metered connection. However, if a metered internet connection is your only connection option, you may consider turning this “On,” if needed. Under the “Related settings” section, you can click the “Devices and printers” link to open the “Devices and Printers” window within the Control Panel. You can click the “Device Manager” link to open the “Device Manager” window, if needed. You can close either of these windows after opening them by clicking the “Close” button, which looks like an “X” in the upper-right corner of either window, to return to the “Printers & scanners” settings window.
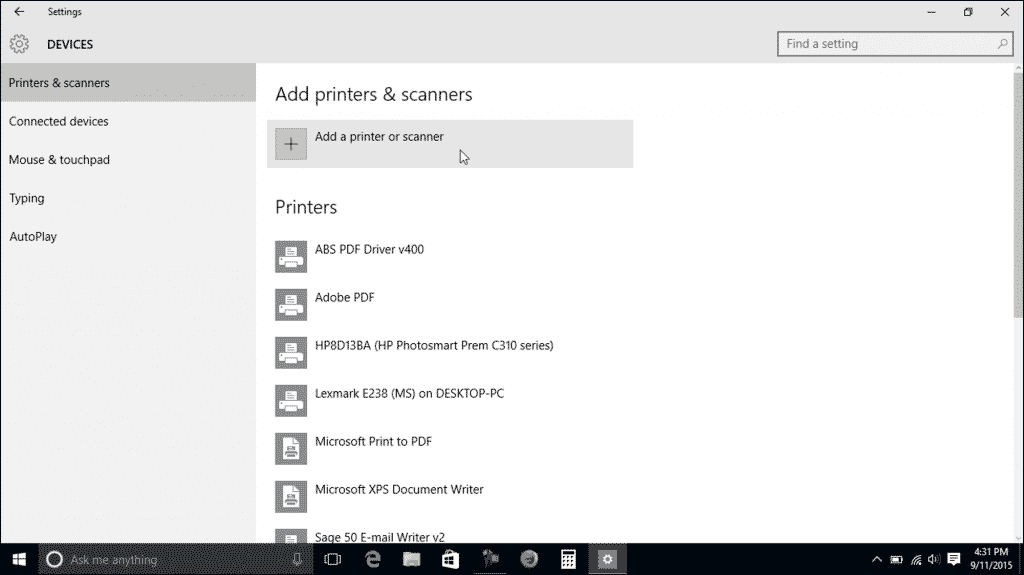
Printers and Scanners in Windows 10- Tutorial: A picture of the “Printers & scanners” category within the “Devices” settings in Windows 10.
Printers and Scanners in Windows 10: Instructions
- To manage the printers and scanners in Windows 10 that are connected to your computer, open the “Settings” window and click the “Devices” button in the middle of the screen.
- To display your connected printers and scanners in Windows 10 in the area to the right, click the “Printers & scanners” category at the left side of the window.
- To have Windows attempt to automatically search for and install a printer or scanner that is not automatically recognized, click the “Add a printer or scanner” button in the “Add printers & scanners” section.
- In the “Printers” section is a listing of the available printing devices.
- To remove a printer from this list, click the name of the printer and then click the “Remove device” button that appears. Note that you cannot manage printer settings from this window.
- It is recommended that you leave the “Download over metered connections” option set to the “Off” position so that you will not download device software over a metered connection. However, if a metered internet connection is your only connection option, you may consider turning this “On,” if needed.
- Under the “Related settings” section, you can click the “Devices and printers” link to open the “Devices and Printers” window within the Control Panel.
- You can click the “Device Manager” link to open the “Device Manager” window, if needed.
- You can close either of these windows after opening them by clicking the “Close” button, which looks like an “X” in the upper-right corner of either window, to return to the “Printers & scanners” settings window.
