Quick Edit Mode in Photoshop Elements- Instructions
How to Use Quick Edit Mode in Photoshop Elements: Video
This video lesson, titled “Learn How to Use Quick Edit Mode in Adobe Photoshop Elements 2023: A Training Tutorial,” shows you how to use Quick Edit Mode in Photoshop Elements. This video lesson on how to use Quick Edit Mode in Photoshop Elements is from our complete Photoshop Elements tutorial, titled “Mastering Photoshop Elements Made Easy v.2023.”
Overview of How to Use Quick Edit Mode in Photoshop Elements:
Quick Edit mode in Photoshop Elements has far fewer features than Expert Edit mode. There are notable differences between the two modes. In Quick Edit mode, the Toolbox limits the available tools. The only tools provided are the Zoom Tool, the Hand Tool, the Selection Tools, the Red Eye Removal Tool, the Whiten Teeth Tool, the Straighten Tool, the Text Tools, the Healing Brush Tools, the Crop Tool and the Move Tool. These tools, however, work the same way in both edit modes when performing manual fixes.
Also, when using Quick Edit mode in Photoshop Elements, several commands are no longer available in the Menu Bar. These commands appear “grayed out” within the Menu Bar to indicate that they cannot be selected. In addition, the Panel Bin changes to display different “quick fix edits” that you use to change image elements. These elements include things like lighting, color and sharpness. The other panels from Expert Edit mode are not available.
To apply a quick fix edit in the Panel Bin, click the drop-down next to the fix’s name. Then use the buttons, sliders, and other available controls for that fix to make your changes. If you use the sliders and controls, then you have more control over the outcome. Alternatively, you can click the “Auto” button to automatically apply a quick fix to an image. Doing this lets Elements do the work for you. This works fine for most small fixes, but for greater precision, use the sliders. To switch back to Expert Edit mode, simply click the “Expert” button in the Shortcuts Bar.
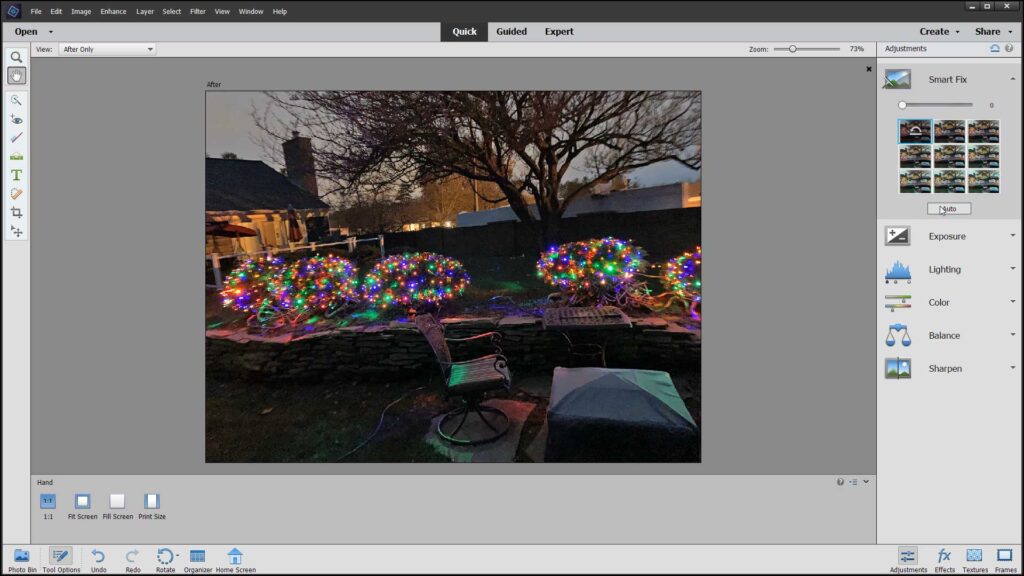
A picture of a user editing an image in Quick edit mode in Photoshop Elements.
Instructions on How to Use Quick Edit Mode in Photoshop Elements:
- To switch to Quick Edit Mode in Photoshop Elements, click “Quick” in the Shortcuts Bar.
- To apply a quick fix edit in the Panel Bin, click the drop-down next to the fix’s name.
- Then use the buttons, sliders, and other available controls for that fix to make your changes.
- If you use the sliders and controls, then you have more control over the outcome.
- Alternatively, to let Elements automatically apply a quick fix for you, click the “Auto” button.
- To switch back to Expert Edit mode, click the “Expert” button in the Shortcuts Bar.

