Remove a Watermark in Word – Instructions
Remove a Watermark in Word: Video Lesson
This video lesson, titled “Removing Watermarks,” shows you how to remove a watermark from a Word document. This video lesson is from our complete Word tutorial, titled “Mastering Word Made Easy v.2016-2013.”
Remove a Watermark in Word: Overview
This lesson shows you how to easily remove a watermark in Word. A watermark is simply an image or text that appears underneath the primary text in a document. Watermarks often display additional information or instructions regarding the primary content. For example, you may see a “DO NOT COPY” watermark appear underneath the text within a legal document to instruct the viewer to not make copies of the file.
After you have applied a watermark to a document, you may find that you no longer need it. Removing a watermark is as easy as adding a watermark. If you want to learn how to apply a watermark to a Word document, please read our related blog post, titled “Add a Watermark in Word – Instructions and Video Lesson.”
You can remove a watermark in Word that you applied to a document by clicking the “Design” tab in the Ribbon. Then click the “Watermark” button in the “Page Background” button group. Then select the “Remove Watermark” command from the drop-down menu that appears. Doing this then removes the applied watermark from the Word document.
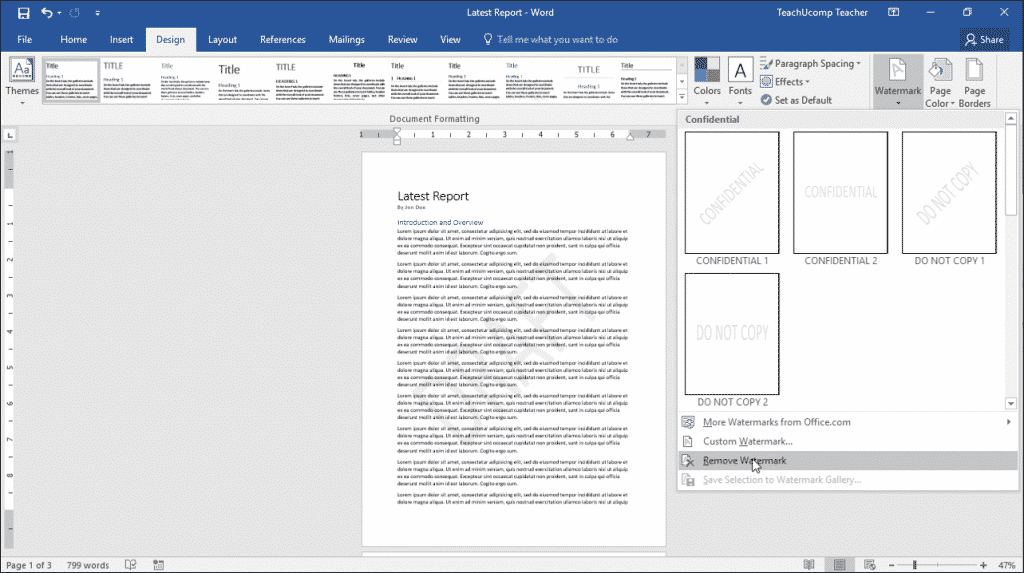
Remove a Watermark in Word – Instructions: A picture of a user removing a watermark from a Word document.
Remove a Watermark in Word: Instructions
- To remove a watermark from a Word document, click the “Design” tab in the Ribbon.
- Then click the “Watermark” button in the “Page Background” button group.
- Then choose the “Remove Watermark” command to remove the watermark from your Word document.

