Set a Picture as a Background in OneNote – Tutorial
Set a Picture as a Background in OneNote: Video Lesson
This video lesson, titled “Adding a Background Graphic,” shows you how to set a picture as a background in OneNote. This video lesson is from our complete OneNote 2016 training, titled “Mastering OneNote Made Easy v.2016-2013.”
Set a Picture as a Background in OneNote: Overview
You can set a picture as a background in OneNote to add more visual interest to a page. The image then becomes part of the page and is not editable, similar to some images in the background of some page templates.
To set a picture as a background in a selected page, click the “Insert” tab in the Ribbon and then the “Pictures” button in the “Images” group. In the “Insert Picture” dialog box, navigate to the desired picture’s location, click to select it and then click the “Insert” button. At this point, you can still re-size the image and move it on the page just like any other image you insert, if you wish. Once the image is the desired size and in the location of your choosing, right click on the image and then left-click on “Set Picture as Background” from the menu that appears.
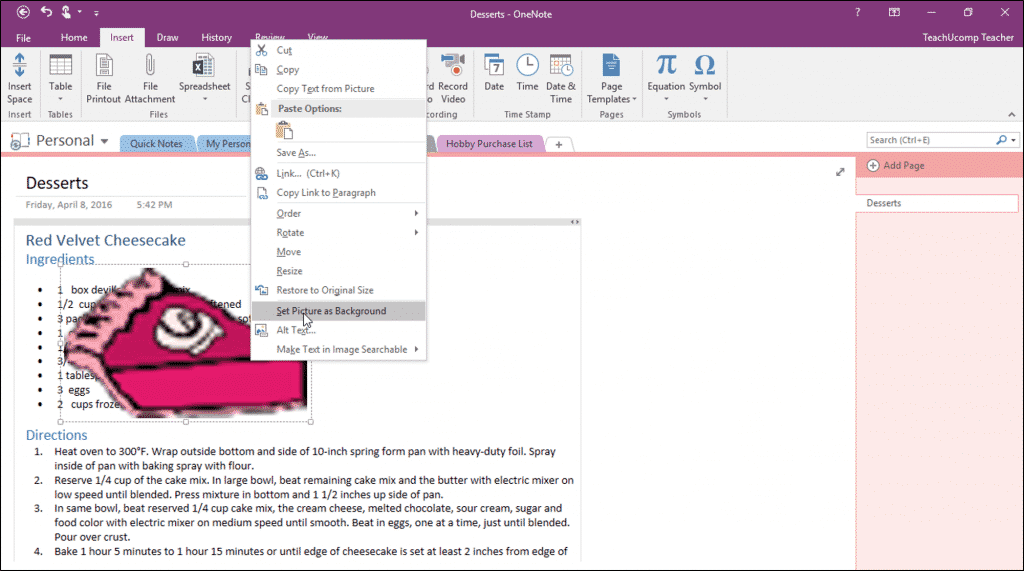
Set a Picture as a Background in OneNote – Tutorial: A picture of a user setting a background image in a page in OneNote 2016.
If you want to edit or remove an image from the background, right-click on the background image to reveal the same menu. This time, there will be a checkmark next to the “Set Picture as Background” command, indicating its current status. Click to de-select the command and remove the image from the background. Now that the image is moved to the foreground, you can edit, move and delete it.
Set a Picture as a Background in OneNote: Instructions
- To set a picture as a background in a selected page, click the “Insert” tab in the Ribbon and then the “Picture” button in the “Images” group.
- In the “Insert Picture” dialog box, navigate to the desired picture’s location, click to select it and then click the “Insert” button.
- Click to select the image and resize the image, as needed, using the resizing handles.
- Once the image is the desired size and in the location of your choosing, right click the image and then left-click on “Set Picture as Background” from the menu that appears.
- To edit or remove an image from the background, right-click on the background image to reveal the same menu.
- This time, there will be a checkmark next to the “Set Picture as Background” command, indicating its current status.
- Click to de-select the command and remove the image from the background.
