Shapes in PowerPoint- Instructions and Video Lesson
How to Insert Shapes in PowerPoint: Video
This video lesson, titled “Inserting Shapes,” shows how to insert shapes in PowerPoint. This video lesson about shapes in PowerPoint is from our complete PowerPoint tutorial, titled “Mastering PowerPoint Made Easy v.2019 and 365.”
Overview of Inserting Shapes in PowerPoint:
How to Insert a Shape in PowerPoint:
You can insert shapes in PowerPoint into slides. To insert shapes into a PowerPoint slide, click the “Insert” tab in the Ribbon. Then click the “Shapes” button in the “Illustrations” button group. A drop-down menu of all the various shapes you can insert then appears. Roll your mouse pointer over the shape to insert. Then click it to select it.
Your mouse pointer then appears as a black crosshair when you place it back over the slide area. Decide where to insert the shape in the slide. Then click and drag from the upper-left corner, down and to the right, over the area in the slide where you want the shape to appear. The shape is then inserted when you release your mouse button.
How to Create a Perfect Shape in PowerPoint:
You also have a few techniques available to help you create shapes in PowerPoint. For example, to create a “perfect” version of a selected shape, hold down the “Shift” key on your keyboard before you start to click and drag to draw the selected shape. For example, holding the “Shift” key before drawing a line makes the line perfectly straight. You can create perfect circles and squares by simply using this same method in conjunction with either the “Oval” or “Rectangle” shape, as needed.
How to Create a Shape with a Default Size in PowerPoint:
If you don’t care about setting the size of a shape as you insert it, then you can use a different method to insert shapes in PowerPoint with a default size. Using this method, you still start by selecting the shape from the Ribbon by using the “Shapes” button, as normal. Then hold down the “Shift” key on your keyboard. Then simply click once at the place in the document where you want to place the upper-left corner of the shape. PowerPoint then inserts a shape of a default size and places its upper-left corner at the place you clicked.
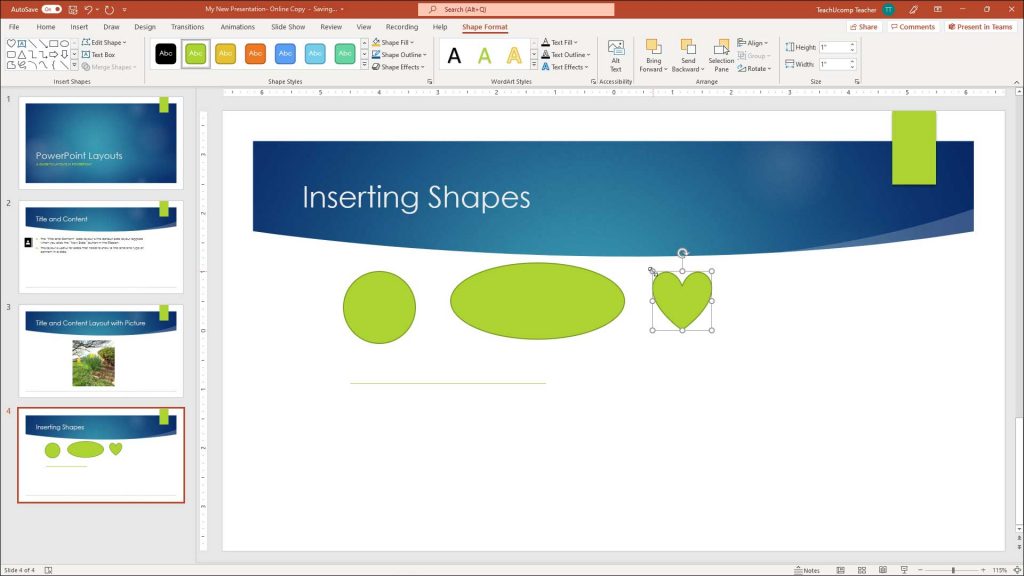
A picture of a user inserting shapes in PowerPoint. The user is inserting a heart shape with a default size.
How to Lock Drawing Mode in PowerPoint:
After inserting a shape into a slide, the mouse pointer returns to its default behavior. You also exit PowerPoint’s drawing mode. However, sometimes you may want to draw several versions of the same shape without going back to re-select the same shape from the “Shapes” drop-down button repeatedly. In this case, you may want to lock PowerPoint into its drawing mode when you select the desired shape from the “Shapes” button’s drop-down menu.
To draw a shape and lock PowerPoint into its drawing mode, just right-click the shape to draw in the “Shapes” button’s drop-down menu instead of clicking it. From the pop-up menu that appears, then select the “Lock Drawing Mode” command. Then return to your slide and draw as many instances of the selected shape as you wish. To cancel the drawing mode lock, press the “Esc” key on your keyboard.
To Show Shape Formatting Options in PowerPoint:
After drawing a shape, the shape should appear selected in the slide. However, if it is not selected, then click it to select it before formatting it. After it is selected, then the “Shape Format” contextual tab appears in the Ribbon. This tab provides you with several formatting options for the selected shape. Many of the formatting options are like the options available when formatting selected pictures.
If selecting a text-containing shape, you must note whether you selected the entire shape or just selected text in the shape before performing an action on it. When text inside the shape is selected, either the text in the shape appears highlighted or the insertion mark cursor appears in the shape’s text. If this happens, click the shape’s border to select the entire shape, versus selecting text within the shape.
This is important, for example, if pressing the “Delete” or “Del” key on your keyboard. If text is selected in the shape, it deletes the selected text. If the whole shape is selected, it instead deletes the entire shape.
Instructions on How to Insert Shapes in PowerPoint:
- To insert shapes in PowerPoint into a slide, click the “Insert” tab in the Ribbon.
- Then click the “Shapes” button in the “Illustrations” button group.
- A drop-down menu of all the various shapes you can insert then appears.
- Roll your mouse pointer over the shape to insert.
- Then click it to select it.
- Your mouse pointer then appears as a black crosshair when you place it back over the slide area.
- Decide where to insert the shape in the slide.
- Then click and drag from the upper-left corner, down and to the right, over the area in the slide where you want the shape to appear.
- The shape is then inserted when you release your mouse button.
- Alternatively, to create a “perfect” version of a selected shape, repeat steps 1 through 7, above, but hold down the “Shift” key on your keyboard before you start to click and drag in step 8 to draw the selected shape.
- Alternatively, to insert a shape of a default size and place its upper-left corner at the place at which you click, repeat steps 1 through 7, above, and then hold down the “Shift” key on your keyboard.
- Then simply click once at the place in the document where you want to place the upper-left corner of the shape.
- After inserting a shape into a slide, the mouse pointer returns to its default behavior, and you exit PowerPoint’s drawing mode.
- Alternatively, to lock PowerPoint into its drawing mode when you select the desired shape from the “Shapes” button’s drop-down menu, follow step 1 through 4, above, but then right-click the shape to draw in the “Shapes” button’s drop-down menu instead of clicking it for step 5.
- From the pop-up menu that appears, then select the “Lock Drawing Mode” command.
- Then repeat step 6 through 9 to draw as many instances of the selected shape as you wish.
- To cancel the drawing mode lock, press the “Esc” key on your keyboard.
- After drawing a shape, the shape should appear selected in the slide.
- However, to select a shape in a slide, if needed, click it to select it.
- After a shape is selected, then the “Shape Format” contextual tab appears in the Ribbon. This tab provides you with several formatting options for the selected shape.
- If you select a text-containing shape, you should note whether you selected the entire shape or just selected text in the shape before performing an action on the shape.
- When text inside the shape is selected, the text in the shape appears highlighted or shows the insertion mark cursor appear within the shape’s text.
- If this happens, click the shape’s border to select the entire shape, versus selecting text within the shape. This is important, for example, if pressing the “Delete” or “Del” key on your keyboard. If text is selected in the shape, it deletes the selected text. If the whole shape is selected, it instead deletes the entire shape.