Split Tasks in Project- Instructions and Video Lesson
Split Tasks in Project: Video Lesson
This video lesson, titled “Interrupting Tasks,” shows you how to split tasks in Project. This video lesson on how to split tasks in Project is from our complete Project training, titled “Mastering Project Made Easy v.2016-2013.”
Split Tasks in Project: Overview
This tutorial shows you how to split tasks in Project to account for interruptions to task work. Despite your best efforts in planning, inevitably, there are times when task work is interrupted. This may happen due to an unplanned event or even a task reprioritization. Either way, you can interrupt task work by using the split task function in Microsoft Project. This feature lets you split, or interrupt, a task to accommodate planned and unplanned breaks in the task work.
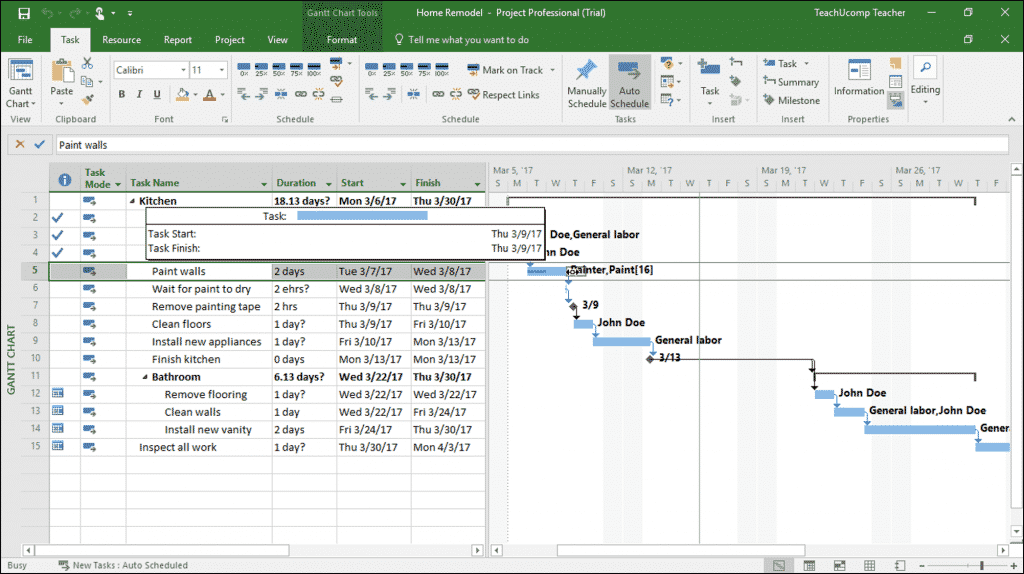
To split tasks in Project, select a task to split in the Gantt Chart view of the project file. Then click the “Task” tab in the Ribbon. Then click the “Split Task” button in the “Schedule” button group. After doing this, your mouse pointer icon changes into the “split task” icon.
Split Tasks in Project- Instructions and Video Lesson: A picture a user splitting a task in Project.
Place this icon over the date at which to split the task in the bar chart part of the Gantt Chart view. Then click and drag the task to the right to create a split. As you click and drag, the new task start date appears in a text box. This shows the start date for the second segment of the split task. When the date shown is correct, release the mouse button.
If you dragged the second segment to the wrong date by accident, just click and drag the second segment until its start date is on the desired date. This can happen when first learning to split tasks with your mouse.
Also, note that you can split tasks in Project multiple times, as needed. However, you can only split a task into the smallest increments shown on the timescale view in the bar chart area of the Gantt Chart. For example, to split a task by hours, ensure that the smallest time increment that appears in the timescale area are hours.
Split Tasks in Project: Instructions
- To split tasks in Project, select the task to split within the Gantt Chart view in the project file.
- Then click the “Task” tab in the Ribbon.
- Then click the “Split Task” button in the “Schedule” button group.
- After doing this, your mouse pointer icon changes into the “split task” icon.
- Place this icon over the date at which to split the task in the bar chart part of the Gantt Chart view.
- Then click and drag the task to the right to create a split.
- As you click and drag, the new task start date appears in a text box.
- When the date shown is correct, release the mouse button.
- If you dragged the second segment to the wrong date by accident, just click and drag the second segment until its start date is on the desired date.
- You can split a task multiple times, if needed.
- Note that you can only split a task into the smallest increments shown on the timescale view in the bar chart area of the Gantt Chart. For example, to split a task by hours, ensure that the smallest time increment that appears in the timescale area are hours.
