The Magic Eraser Tool in Photoshop Elements – Instructions
The Magic Eraser Tool in Photoshop Elements: Video
This video lesson, titled “Learn How to Use the Magic Eraser Tool in Adobe Photoshop Elements 2023: A Training Tutorial,” shows you how to use the Magic Eraser Tool in Photoshop Elements. This video is from our complete Photoshop Elements tutorial, titled “Mastering Photoshop Elements Made Easy v.2023.”
Overview of How to Use the Magic Eraser Tool in Photoshop Elements:
You can use the Magic Eraser Tool in Photoshop Elements to change similar pixels throughout an image. However, if you use this tool in a layer after manually locking its transparent pixels, the selected pixels instead change to the background color. Otherwise, the pixels are erased to transparency, even in a “Background” layer, which is converted into a normal layer by using this tool. You can use this tool to either erase contiguous, meaning touching, pixels or all pixels that are similar in color.
To use the Magic Eraser Tool in Photoshop Elements, select it from the Toolbox. Make sure to also select it within the Tool Options Bar, if needed. It shares a button in the Toolbox with the Eraser Tool and Background Eraser Tool. To define the range of colors to remove, use the “Tolerance:” slider in the Tool Options Bar. A low tolerance erases pixels with a color very similar to the one you select. A higher tolerance erases pixels with a broader range of color similarity.
To adjust the opacity of the erased pixels, use the “Opacity” slider. A 100% opacity completely erases all the selected pixels. A lower opacity only partially erases the pixels. To make the erased selection have smooth edges versus jagged edges, check the “Anti-aliasing” checkbox. To erase only pixels touching the pixel color you select, check the “Contiguous” checkbox. If unchecked, all pixels of the selected color anywhere in the image are erased. To sample the color to erase using the combined data from all visible layers, check the “Sample All Layers” checkbox.
To erase the pixels after applying the settings you want, select the layer from which to erase pixels in the Layers panel. Then click into the image on the pixel color in the part of the selected layer to erase.
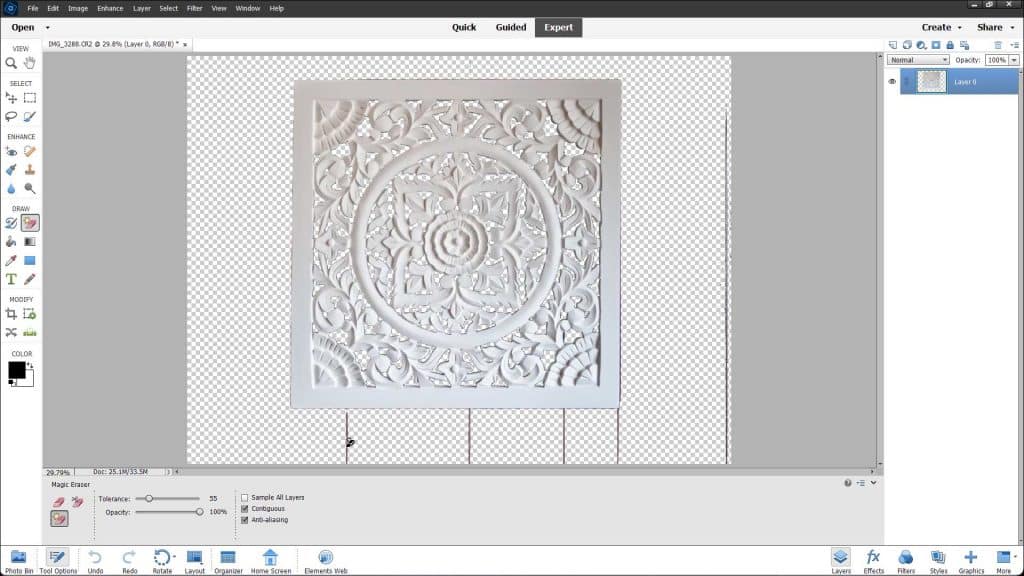
A picture of a user removing pixels by using the Magic Eraser Tool in Photoshop Elements.
Instructions on How to Use the Magic Eraser Tool in Photoshop Elements:
- To use the Magic Eraser Tool in Photoshop Elements, select it from the Toolbox and, if needed, the Tool Options Bar.
- To define the range of colors to remove, use the “Tolerance:” slider in the Tool Options Bar.
- To adjust the opacity of the erased pixels, use the “Opacity” slider.
- Optionally, to make the erased selection have smooth edges versus jagged edges, check the “Anti-aliasing” checkbox.
- To erase only pixels touching the pixel color you select, check the “Contiguous” checkbox.
- If unchecked, all pixels of the selected color anywhere in the image are erased.
- To sample the color to erase using the combined data from all visible layers, check the “Sample All Layers” checkbox.
- To erase the pixels after applying the settings you want, select the layer from which to erase pixels in the Layers panel.
- Then click into the image on the pixel color in the part of the selected layer to erase.

