The Magnetic Lasso Tool in Photoshop Elements – Instructions
How to Use the Magnetic Lasso Tool in Photoshop Elements: Video
This video lesson, titled “Learn How to Use the Magnetic Lasso Tool in Adobe Photoshop Elements 2023: A Training Tutorial,” shows how to use the Magnetic Lasso Tool in Photoshop Elements. This video lesson is from our complete Photoshop Elements tutorial, titled “Mastering Photoshop Elements Made Easy v.2023.”
Overview of How to Use the Magnetic Lasso Tool in Photoshop Elements:
The Magnetic Lasso Tool in Photoshop Elements is a great selection tool that lets the selection’s border “snap” to the pixilated edges of an element you trace in an image. This tool helps you select objects with complex, irregular edges set against a high-contrast background. To use the Magnetic Lasso Tool in Photoshop Elements, click the “Lasso Tools” button in the Toolbox. Then click the “Magnetic Lasso Tool” button in the Tool Options Bar. The first few options shown in the Tool Options Bar for this tool are the same you can set for any selection tools. However, the Magnetic Lasso Tool has a few more options.
The first option is the “Width” slider, which lets you set a pixel range from the pointer within which the Magnetic Lasso Tool will look for the border of the item it is tracing. The “Contrast” option slider lets you set a percentage to choose the sensitivity of the Magnetic Lasso Tool to variations in the contrast between pixels. This is how the tool finds the edges of image elements. Setting a higher percentage makes the tool only find edges that sharply contrast with their surroundings. A lower percentage detects lower-contrast variations in color.
The “Frequency” slider lets you set a number between 0 and 100. A high value increases the frequency with which the Magnetic Lasso Tool sets its fastening points at the edge of the image element as you trace its border. The “Feather” slider softens the edge of the selection. The higher the setting, the softer the edge.
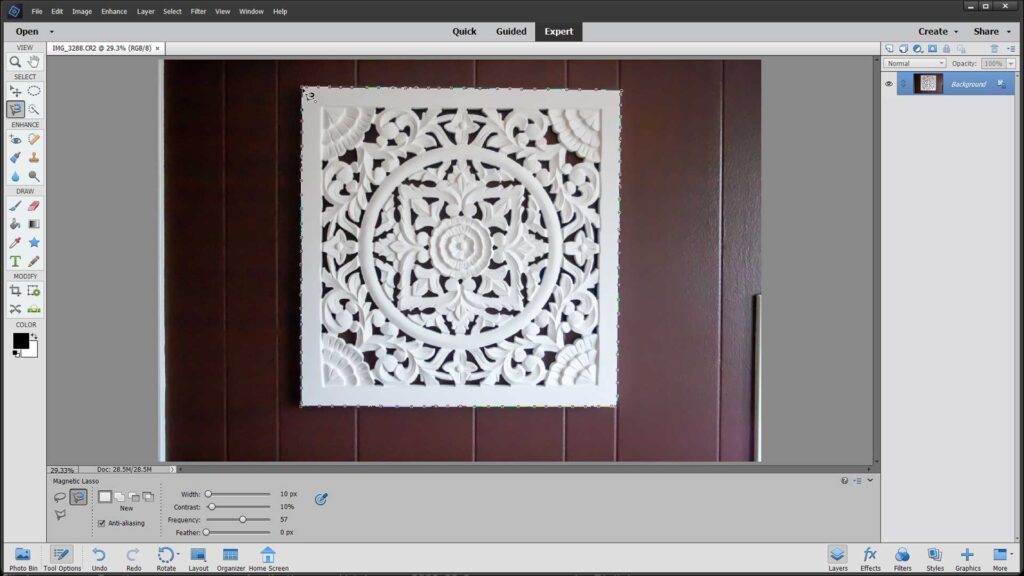
A picture of a user making a selection with the Magnetic Lasso Tool in Photoshop Elements.
If using a stylus tablet, you can click the “Use tablet pressure to change pen width” button in the Tool Options Bar to toggle this feature both on and off. If enabled, the button appears selected with light gray shading in a square around it. If enabled, an increase on the pen pressure when using the Magnetic Lasso Tool causes the edge width setting to decrease. To turn it off, simply click the same button again.
After you have the settings you desire, click and drag the pointer of the Magnetic Lasso Tool mouse pointer icon around the border of the image element you are trying to select. As you do this, the tool adds fastening point anchors where it discerns the edges of the object.
If it adds an anchor point you would rather not have, press “Delete” on your keyboard to delete the previously added fastening points you have created as you drag. Then back up and re-drag the line at the edge of the element. You can also manually click at any point as you are dragging to manually set an anchor point. You may need to do this in crevasses and corners of the image element.
To finish the selection, trace your way back to the starting point and place the Magnetic Lasso Tool over the origin point until you see a small circle appear next to the tool’s mouse pointer icon. At that point, click to close the selection. You can also close a selection you have made by double-clicking at any point along the way, which draws a line from the point at which you double-clicked back to the origin point.
Instructions on How to Use the Magnetic Lasso Tool in Photoshop Elements:
- To use the Magnetic Lasso Tool in Photoshop Elements, select the Magnetic Lasso Tool from the Toolbox and Tool Options Bar.
- In the Tool Options Bar, choose the selection type to create: “New Selection,” “Add to Selection,” “Subtract from Selection,” or “Intersect with Selection.”
- To soften the edges of the selection, enter the width of the feathered border in pixels into the “Feather:” text box or use the slider.
- To ensure the selection has smoother edges for its curves, check the “Anti-aliasing” checkbox.
- Use the “Width:” slider or type a number of pixels into the adjacent text box to set the pixel range within which the Magnetic Lasso Tool will look for the border of the item of which it is tracing.
- To set the sensitivity of the Magnetic Lasso Tool to variations in the contrast between pixels, which is how this tool finds the edges of image elements, use the “Contrast:” slider or text box.
- To set the frequency with which the Magnetic Lasso Tool sets its anchor points for the edge of the image element as you trace its border, use the “Frequency:” slider or text box to set a number between 0 and 100. A high value increases the frequency.
- If using a stylus tablet, you can click the “Use tablet pressure to change pen width” button in the Tool Options Bar to toggle this feature, which causes the edge width setting to decrease when you increase the pen pressure, both on and off.
- After applying the desired tool and selection settings, click and drag the pointer of the Magnetic Lasso Tool around the border of the image element to select.
- As you do this, it adds anchor points where it discerns the edges of the object.
- To delete the previously added fastening points you created as you drag, press “Delete” on your keyboard.
- To manually set a fastening point as you are dragging, click at any point where you want to set a fastening point.
- To finish the selection, trace your way back to the starting point and place the Magnetic Lasso Tool over the origin point until you see a small circle appear next to the tool’s mouse pointer icon.
- At that point, click to close the selection.
- Alternatively, to close any selection you made before tracing back to the starting point, which draws a line from this point back to the origin, double-click at any point along the way as you drag.

