The Paint Bucket Tool in Photoshop Elements- Instructions
How to Use the Paint Bucket Tool in Photoshop Elements: Video
This video lesson, “Learn How to Use the Paint Bucket Tool in Adobe Photoshop Elements 2023: A Training Tutorial,” shows how to use the Paint Bucket Tool in Photoshop Elements. This video lesson is from our complete Photoshop Elements tutorial, titled “Mastering Photoshop Elements Made Easy v.2023.”
Overview of How to Use the Paint Bucket Tool in Photoshop Elements:
The Paint Bucket Tool in Photoshop Elements fills adjacent pixels that are similar in color value to pixels you select. It fills these pixels with either the selected foreground color or with a pattern. To use the Paint Bucket Tool in Photoshop Elements, click the “Paint Bucket Tool” in the Toolbox. Then look in the Tool Options Bar.
In the Tool Options Bar, select a button to set the type of fill applied by this tool. The fill defaults to using the “Foreground color fill.” If you select “Pattern fill,” then use the “Pattern” drop-down to the right to select which pattern to use.
Next, for either fill type, use the “Opacity” slider to set the transparency percentage for the fill. Use the “Tolerance” slider to set a value from 0 to 255. A lower number only fills colors in the image very similar in color to the pixels you select. A higher number selects a broader range of similarly-colored pixels in the image. Then use the “Mode” drop-down to select a blending mode to use for the fill.
In the next section, if the “All Layers” checkbox is checked, the fill affects the color selected in all layers. If unchecked, it only fills pixels in the currently selected layer. You can ensure the fill has smoother curves, versus jagged ones, by checking the “Anti-aliasing” checkbox. To select only pixels in the tolerance range specified that are adjacent to the pixels you click, check the “Contiguous” checkbox.
To then apply the fill, place your mouse pointer over the pixels in the image that are the color you want to replace with your currently selected fill. Then click to apply the fill to those pixels.
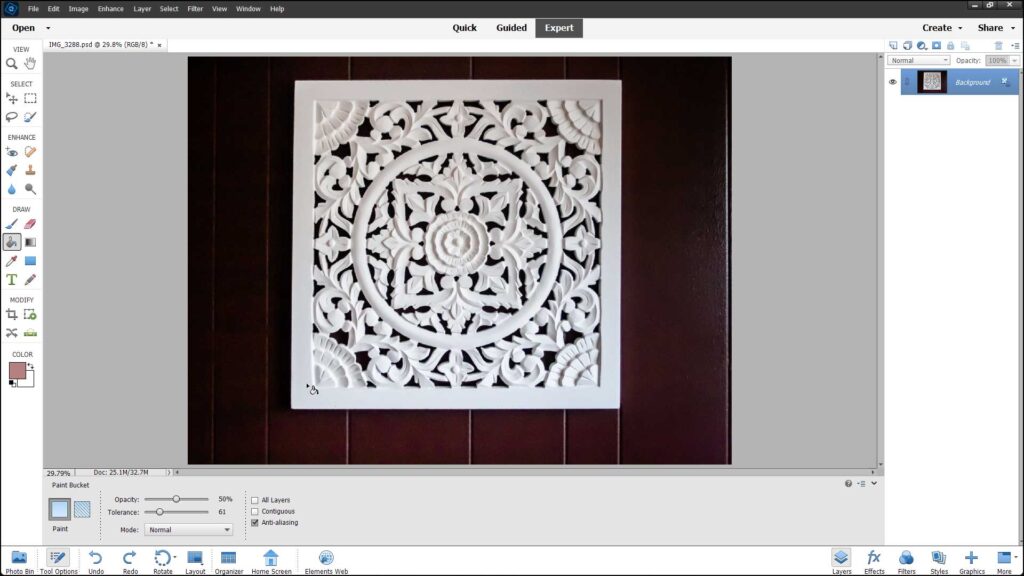
A picture of a user applying the Paint Bucket Tool in Photoshop Elements.
Instructions on How to Use the Paint Bucket Tool in Photoshop Elements:
- To use the Paint Bucket Tool in Photoshop Elements, click the “Paint Bucket Tool” in the Toolbox.
- In the Tool Options Bar, select either the “Foreground color fill” or “Pattern fill” choice.
- If you select “Pattern fill,” then use the “Pattern” drop-down to the right to select which pattern to use.
- To set the transparency percentage for the fill for either fill type, use the “Opacity” slider.
- Use the “Tolerance” slider to set a value from 0 to 255. A lower number only fills colors in the image very similar in color to the pixels you select. A higher number selects a broader range of similarly-colored pixels in the image.
- To select a blending mode to use for the fill, use the “Mode” drop-down.
- If the “All Layers” checkbox is checked, the fill affects the color selected in all layers. If unchecked, it only fills pixels in the currently selected layer.
- You can ensure the fill has smoother curves, versus jagged ones, by checking the “Anti-aliasing” checkbox.
- To select only pixels within the tolerance range specified that are adjacent to the pixels you click, check the “Contiguous” checkbox.
- To then apply the fill, place your mouse pointer over the pixels in the image that are the color you want to replace with your currently selected fill.
- Then click to apply the fill to those pixels.

