The Polygonal Lasso Tool in Photoshop Elements – Instructions
How to Use the Polygonal Lasso Tool in Photoshop Elements: Video
This video lesson, titled “Learn How to Use the Polygonal Lasso Tool in Adobe Photoshop Elements 2023: A Training Tutorial,” shows how to use the Polygonal Lasso Tool in Photoshop Elements. This video lesson is from our complete Photoshop Elements tutorial, titled “Mastering Photoshop Elements Made Easy v.2023.”
Overview of How to Use the Polygonal Lasso Tool in Photoshop Elements:
The Polygonal Lasso Tool in Photoshop Elements lets you draw straight-edged selections to make irregular polygonal selection shapes. To use the Polygonal Lasso Tool in Photoshop Elements, click the “Lasso Tools” button in the Toolbox. In the Tool Options Bar, be sure the “Polygonal Lasso Tool” is selected. Also choose the type of selection to make in the Tool Options Bar, just as you did with the Marquee Tools.
Then click from point to point where you want to draw straight lines for your selection. Once again, you want to finish by clicking the initial starting point of the selection. A small circle appears next to the lasso tool’s mouse pointer icon when you are hovering over the selection’s starting point in the image. Click at that point to finish the selection.
Like the Lasso Tool, if you hold down the “Alt” key on your keyboard when using the “Polygonal Lasso Tool,” you can draw a freehand line until you release the “Alt” key. So, this is the inverse of the same behavior you see when using the Lasso Tool.
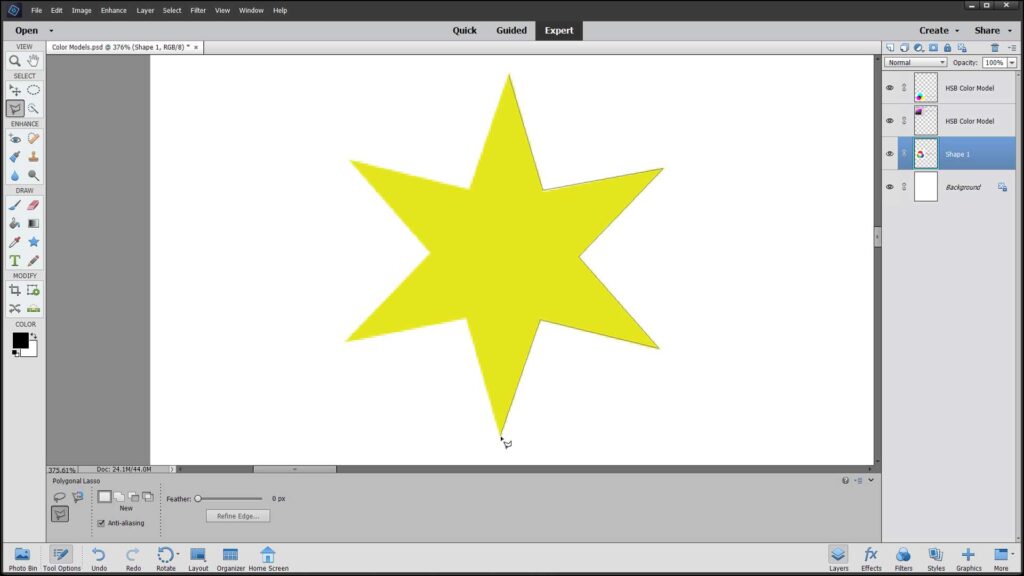
A picture of a user making a selection with the Polygonal Lasso Tool in Photoshop Elements.
Instructions on How to Use the Polygonal Lasso Tool in Photoshop Elements:
- To use the Polygonal Lasso Tool in Photoshop Elements, select the Polygonal Lasso Tool from the Toolbox and Tool Options Bar.
- In the Tool Options Bar, click the button for the selection type to create: “New Selection,” “Add to Selection,” “Subtract from Selection,” or “Intersect with Selection.”
- Optionally, to soften the edges of the selection, enter the width of the feathered border in pixels into the “Feather:” text box or use the slider.
- Optionally, to ensure the selection has smoother edges for its curves, check the “Anti-aliasing” checkbox.
- Then click from point to point around the area to select to create straight lines between the places at which you click, returning to the starting point with your last click to close the selection.
- Optionally, to create a freehand line as you click and drag, hold down the “Alt” key on your keyboard.

