Use the Bcc Field for Confidentiality with Contact Groups- Outlook Training for Lawyers
Use the Bcc Field for Confidentiality with Contact Groups: Video
This video, titled “Using the Bcc Field for Confidentiality with Contact Groups,” shows you how to use the Bcc field for confidentiality with contact groups in Outlook when sending email using Outlook 2013 or earlier versions.
Use the Bcc Field for Confidentiality with Contact Groups: Overview
In this lesson, you will learn about creating contact groups and how to use the Bcc field for confidentiality when sending emails to your contact groups. Note that contact groups were called “distribution lists” in Outlook 2007, however they retain the same functionality in both versions.
After you have created a contact group, you can send the group an email message by simply addressing the email to the selected group name. To maintain contact confidentiality, however, you should NOT use the “To” or “CC” fields when sending the message! Doing that exposes the individual email addresses of the contacts in the group within the header of the email to all of the members who receive a copy!
Therefore, for confidentiality purposes, it is better to add the contact group to the “Bcc” field when addressing and sending the email. When you do this, each member of the contact group will receive a copy of the message, but will not be able to see the email addresses of the other members.
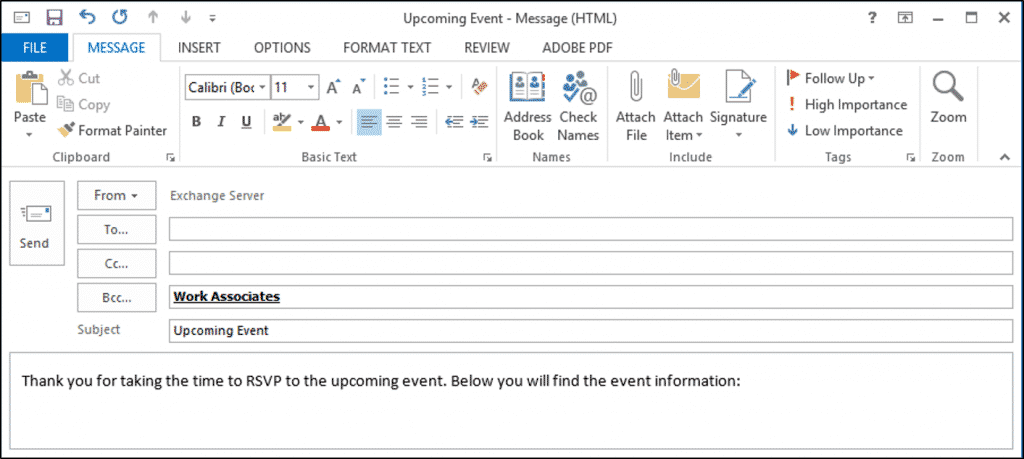
Use the Bcc Field for Confidentiality with Contact Groups: A picture of an email with a contact group name addressed within the “Bcc” field.
Use the Bcc Field for Confidentiality with Contact Groups: Instructions
- To create a contact group, called a “distribution list” in Outlook 2007 and use the Bcc field for confidentiality, you need to have the individuals who will be added to the group listed in the Contacts folder with valid email addresses.
- If using Outlook 2013:2010, open the “Contacts” folder and then click the “New Contact Group” button in the “New” button group on the “Home” tab within the Ribbon.
- If using Outlook 2007, select “File| New| Distribution List” from the Menu Bar.
- In the “Contact Group” window (“Distribution List” window in 2007), type a name for the group into the “Name:” box at the top of the window.
- Click the “Add Members” button (“Select Members” button in 2007) in the “Members” group on the “Contact Group” tab (“Distribution List” tab in 2007) within the Ribbon. If using Outlook 2013:2010, you will then need to select the “From Outlook Contacts” command from the drop-down menu that appears.
- This will bring up the “Select Members” dialog box. If using Outlook 2007, use the “Address Book:” drop-down to select the “Contacts” folder. The names of the individuals that you have entered into your “Contacts” folder will appear in this window.
- Select any contact from the list to add to the contact group, and then click the “Members” button to move them into the box that lists the names of the contact group members at the bottom of this window.
- Repeat this process, as needed, until you have added all of the members to the contact group.
- Click the “OK” button in the “Select Members” dialog box.
- You should see the names of the members shown in the “Contact Group” window (“Distribution List” window in 2007).
- To save the contact group, click the “Save and Close” button in the “Actions” group on the “Contact Group” tab (“Distribution List” tab in 2007) in the Ribbon of the “Contact Group” window (“Distribution List” window in 2007) to create the contact group in your “Contacts” folder.
- To use the Bcc field for confidentiality of the e-mail addresses, click either the “To…” or “Cc…” buttons within a new email to open a “Select Names” dialog box that lists the possible address fields.
- To view your contact group, use the “Address Book” drop-down at the top of the dialog box to select the contact folder that contains your contact group.
- Select the name of the contact group in the list and then click the “Bcc ->” button, or simply type the name of the contact group into the “Bcc” field.
- To finish, click the “OK” button.
