View Project Costs in Microsoft Project – Instructions
View Project Costs in Microsoft Project: Video Lesson
This video lesson, titled “Monitoring Project Costs,” shows you how to view project costs in Microsoft Project. This video lesson is from our complete Microsoft Project training, titled “Mastering Project Made Easy v.2016-2013.”
View Project Costs in Microsoft Project: Overview
This lesson shows you how to view project costs in Microsoft Project. Monitoring project costs is a very important aspect of many projects. You can see much of the cost data you need to monitor in the “Cost” table of your project file. You can switch the view of your project file to display this data easily.
To view project costs in Microsoft Project, click into the table at the left side of the “Gantt Chart” view. Then click the “View” tab in the Ribbon. Then click the “Tables” drop-down button in the “Data” button group. Finally, select the “Cost” command from the drop-down menu.
Also notice that you can select the “Entry” command from this same drop-down menu. Doing this then changes the display of the table area within the view back to the basic task entry view. You can do this when you are finished examining project costs, if desired.
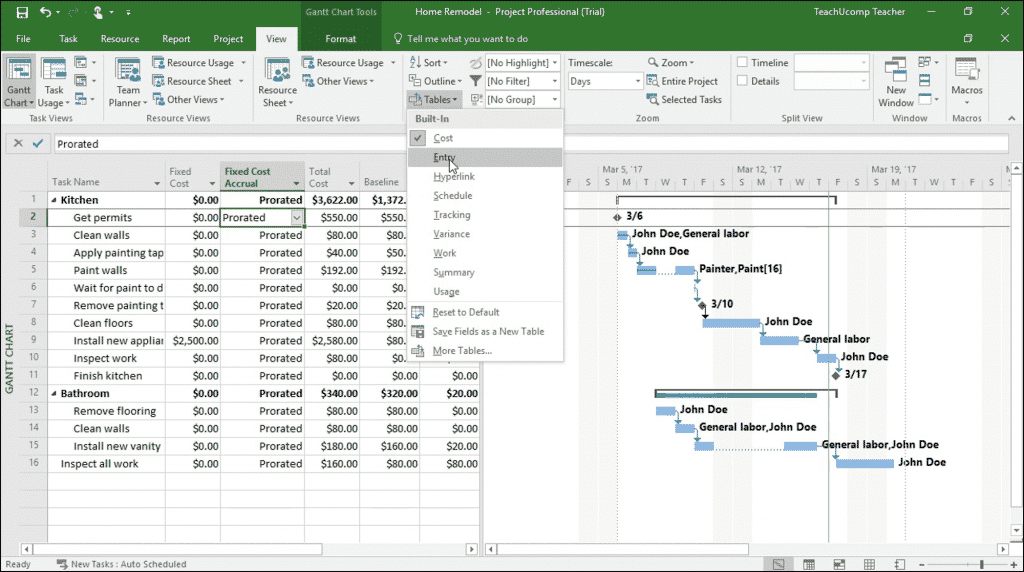
View Project Costs in Microsoft Project – Instructions: A picture of the “Cost” table within the “Gantt Chart” view of a project file in Project.
Some of the most important project costs appear in the “Cost” table. However, you can also generate reports that display this type of data within Project, as well. You can see baseline costs, which are the scheduled costs that were saved as part of the project baseline.
You can also see current costs, which are the costs that are scheduled for the task. After costs have been incurred, this shows the actual costs plus remaining costs. This information is displayed in the “Costs” or “Total Costs” column.
You can also see the actual costs, which are the costs that have been incurred for tasks, assignments, and resources. You can also see remaining costs. The remaining cost is the difference between the current costs and the actual costs for the task, assignment, or resource.
View Project Costs in Microsoft Project: Instructions
- To view project costs in Microsoft Project, click into the table in the “Gantt Chart” view.
- Then click the “View” tab in the Ribbon.
- Then click the “Tables” drop-down button in the “Data” button group.
- Finally, select the “Cost” command from the drop-down menu.
- To switch back to the task entry table view, select the “Entry” command from this same drop-down menu.
