Zoom Slider in PowerPoint – Instructions
How to Use the Zoom Slider in PowerPoint: Video
This video lesson, titled “The Zoom Slider,” shows you how to use the Zoom slider in PowerPoint to change the slide magnification level. This video lesson is from our complete PowerPoint tutorial, titled “Mastering PowerPoint Made Easy v.2019 and 365.”
Overview of How to Use the Zoom Slider in PowerPoint:
The Zoom slider in PowerPoint appears in the lower-right corner of the application window in the Status Bar. You use this tool to change the magnification level of the slide. This does not modify the slide at all, but only changes your perception of how close or far away it appears onscreen.
You can easily change the magnification level by using the Zoom slider in PowerPoint. To decrease the magnification level, click and drag the slider left, towards the minus symbol. The magnification level appears as a percentage to the left of the zoom slider.
If you increase the slide magnification to the point that it can no longer fully appear onscreen horizontally, the horizontal scroll bar then appears below the slide. You can then use it to scroll left and right to fully inspect the slide at your desired magnification level. Clicking directly on either the plus or minus sign also increases or decreases the slide’s magnification level.
To reset the slide to fit within the available slide area in the view, click the “Fit slide to current window” button to the right of the Zoom slider. Alternatively, click the “View” tab in the Ribbon. Then click the “Fit to Window” button in the “Zoom” button group in the Ribbon.
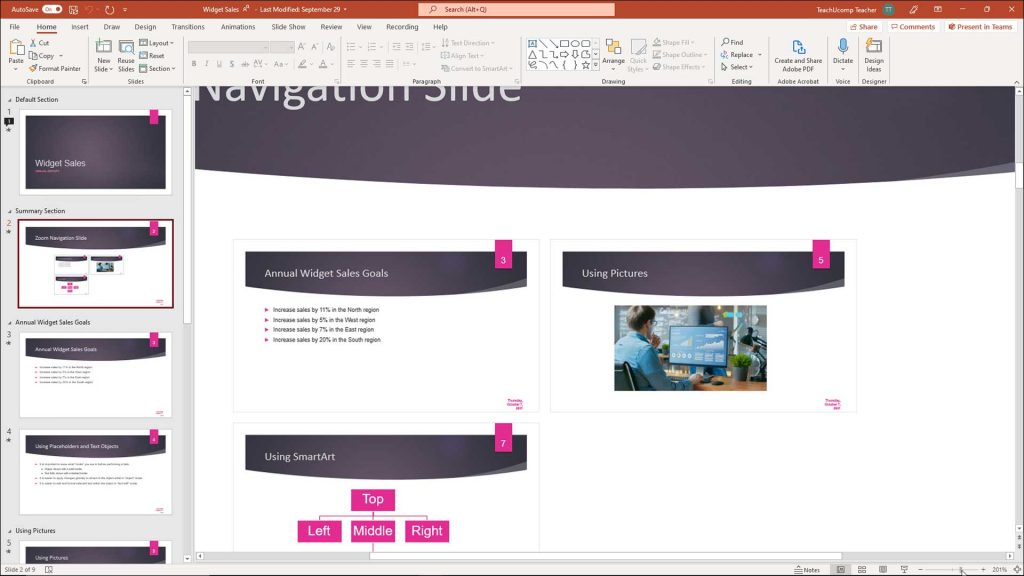
A picture of a presentation slide with the Zoom slider in PowerPoint shown in the lower-right corner.
You can also change the slide magnification in PowerPoint by using the “Zoom” dialog box. To open the “Zoom” dialog box in PowerPoint, click the actual zoom magnification level, shown as a percentage in the Status Bar. Alternatively, click the “View” tab in the Ribbon. Then click the “Zoom” button in the “Zoom” button group.
In the “Zoom” dialog box, select the desired zoom level by choosing an option from the “Zoom to” section or by entering a value into the “Percent:” spinner. After setting the desired magnification level, click the “OK” button to apply it.
Instructions on Using the Zoom Slider in PowerPoint:
- To zoom in or out of your presentation by using the Zoom slider in PowerPoint, click and drag the slider.
- To shrink the magnification, click and drag to the left, towards the minus sign (-).
- To increase the magnification, click and drag to the right, towards the plus sign (+).
- Alternatively, directly click the minus or plus sign to shrink or increase the magnification.
- To reset the slide to fit within the available slide area in the view, click the “Fit slide to current window” button to the right of the Zoom slider.
- Alternatively, click the “View” tab in the Ribbon and then click the “Fit to Window” button in the “Zoom” button group in the Ribbon.
- To change the slide magnification in PowerPoint by using the “Zoom” dialog box, open the “Zoom” dialog box in PowerPoint by clicking the actual zoom magnification level, shown as a percentage in the Status Bar.
- Alternatively, click the “View” tab in the Ribbon and then click the “Zoom” button in the “Zoom” button group.
- In the “Zoom” dialog box, select the desired zoom level by choosing an option from the “Zoom to” section or by entering a value into the “Percent:” spinner.
- After setting the desired magnification level, click the “OK” button to apply it.