How to Create Account QuickReports in QuickBooks Online
How to Create Account QuickReports in QuickBooks Online: Video
This video lesson, titled “How to Create Account QuickReports in QuickBooks Online,” shows you how to create account QuickReports in QuickBooks Online, which show details of transactions for a selected account. This video lesson is from our complete QuickBooks Online tutorial, titled “Mastering QuickBooks Online Made Easy.”
Overview:
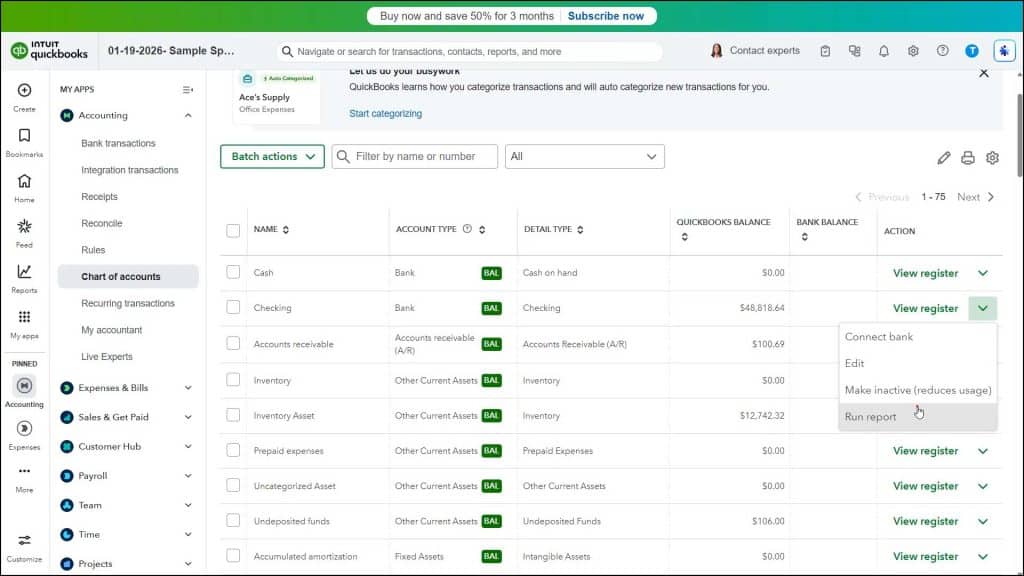
To create an account QuickReport in QuickBooks Online, click the “Settings” button in the QuickBooks Online toolbar and then click the “Chart of accounts” command in the drop-down menu that appears to open the “Chart of accounts” window.
Then find the desired account’s row in the account list. Finally, click or select the “Run Report” command from the drop-down list of commands under the desired account’s “Action” column to create an account QuickReport that shows account transactions for the last 90 days. To show a different date range, if desired, select one from the “Report period” drop-down in the upper-left corner of the report page.
To email, print, or export the report as an Excel workbook, PDF file, or CSV file after running it, click the “Email,” “Print,” or “Export” button in the upper-right corner of the report. If you click the “Export” button, then select the desired export format. Then enter any information in the window that opens, depending on your selection, to finish emailing, printing, or exporting the report.