How to Enable Purchase Orders in QuickBooks Online
How to Enable Purchase Orders in QuickBooks Online: Video Lesson
This video lesson, titled “How to Enable Purchase Orders in QuickBooks Online,” shows you how to enable purchase orders in QuickBooks Online. This video lesson is from our complete QuickBooks Online tutorial, titled “Mastering QuickBooks Online Made Easy.”
Overview:
To enable purchase orders in QuickBooks Online Plus if you use purchase orders for inventory, click the “Settings” button in the QuickBooks Online toolbar. Then click the “Account and settings” link under the “Your Company” heading in the drop-down menu.
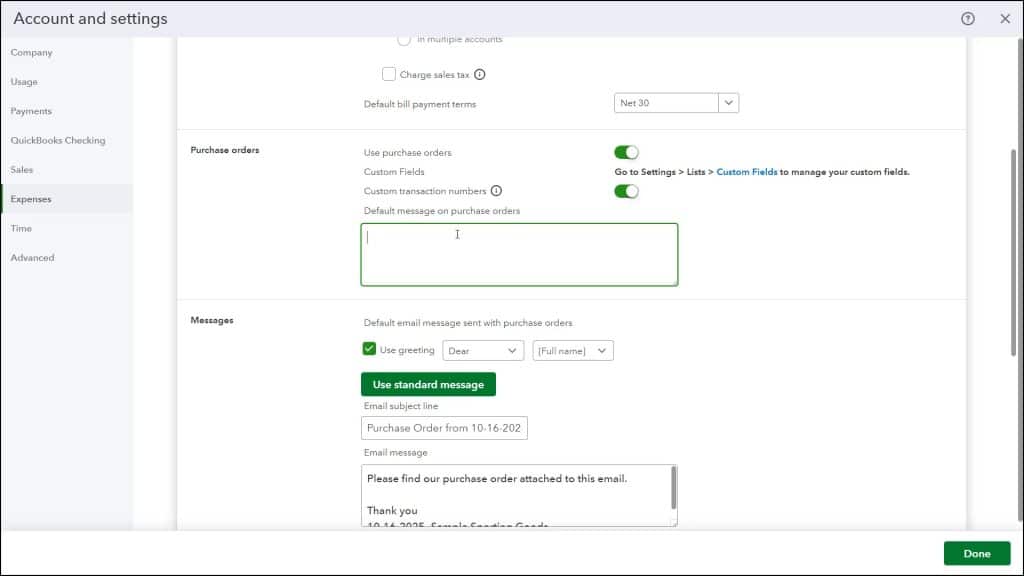
In the “Account and Settings” window that opens, click the “Expenses” button in the menu at the left side of the window. Then click the “Expenses” section to the right or click the “Edit” link in the upper-right corner of the “Expenses” section to edit its settings. The settings in the “Expenses” section include “Bills and expenses,” “Purchase orders” and “Messages.”
To enable purchase orders, toggle the “Use purchase orders” switch in the “Purchase orders” settings section to the “On” position. If desired, to enable custom PO numbers, click the “Custom transaction numbers” toggle switch in this same settings section to set it to the “On” position. If set to the “Off” position, QuickBooks Online uses sequential PO numbers, instead. To add a default message to all your purchase orders, type it into the “Default message on purchase orders” field in the “Purchase orders” section.
If needed, to add a table to your expense and purchase forms, like the purchase order, so you can easily select products and services you created in the “Products and services” list, ensure the ” Show Items table on expense and purchase forms” toggle switch in the “Bills and expenses” settings section above the “Purchase orders” settings is also set to the “On” position.
To save the changes to the “Expenses” settings, scroll to the bottom of the “Expenses” settings section and click the “Save” button. Alternatively, to cancel the changes, click the “Cancel” button at the bottom of this section, instead. To close the “Account and settings” window, click the “Done” button in its lower-right corner.