Install a Custom Theme in WordPress – Tutorial
Install a Custom Theme in WordPress: Video Lesson
This video lesson, titled “Installing Custom Themes,” shows you how to install a custom theme in WordPress. This video lesson is from our complete WordPress training, titled “Mastering WordPress Made Easy v.4.0.”
Install a Custom Theme in WordPress: Overview
If you wish to install a custom theme in WordPress from a location other than the WordPress Theme Directory, you can use the WordPress Admin Panel to install it. You can also create your own themes and install them using the WordPress Theme Installer. Note that for this to work properly, you need to download the theme in a zip folder and then upload that zip folder directly to WordPress.
To install a custom theme in WordPress, click “Appearance” in the Navigation Bar and then click the “Themes” link. In the page that opens, click the “Add New” button to add a new theme. At the top of the page, click the “Upload Theme” button to upload a new custom theme. Click the “Browse…” button to navigate to the zipped file that contains your theme. Once you have selected the file, click the “Install Now” button. You may need to provide your FTP login credentials to your server and enter other server information, so be sure to have that information readily available.
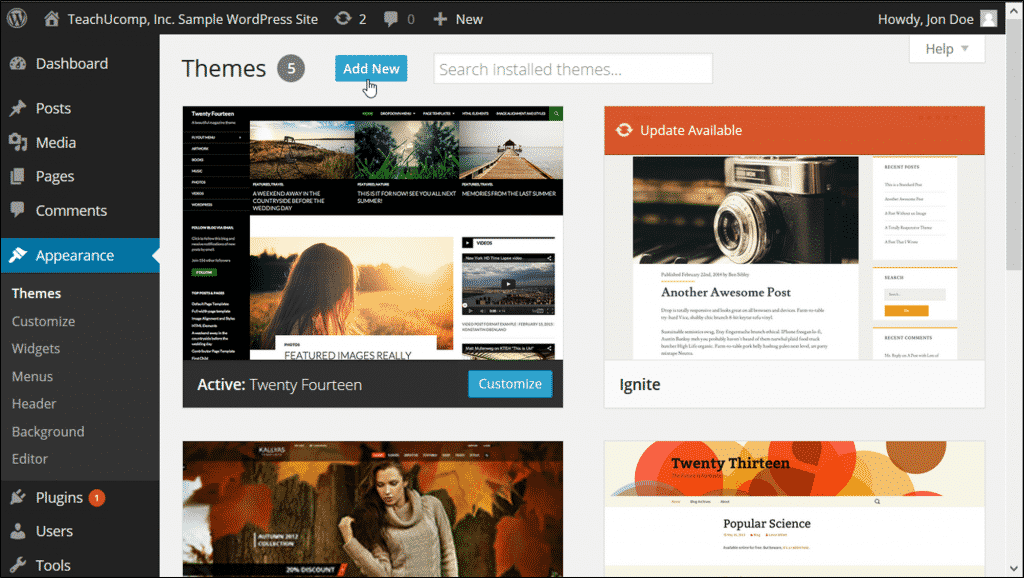
Install a Custom Theme in WordPress – Tutorial: A picture of a user clicking the “Add New” button in the “Themes” page of the “Appearance” category in the WordPress Admin Panel.
Once the theme is installed, you can choose “Live Preview” to see what the theme looks like with your content displayed. If you wish to activate the theme, click the “Activate” button.
Install a Custom Theme in WordPress: Instructions
- Note that for this to work properly, you need to download the theme in a zip folder and then upload that zip folder directly to WordPress.
- To install a custom theme in WordPress, click “Appearance” in the Navigation Bar and then click “Themes.”
- In the page that opens, click the “Add New” button to add a new theme.
- At the top of the page, click the “Upload Theme” button to upload a new custom theme.
- Click the “Browse…” button to navigate to the zipped file that contains your theme.
- Once you have selected the file, click the “Install Now” button. You may need to provide your FTP login credentials to your server and enter other server information, so be sure to have that information readily available.
- Once the theme is installed, you can choose “Live Preview” to see what the theme looks like with your content displayed.
- If you wish to activate the theme, click the “Activate” button.
