Row and Column Settings for Reports in QuickBooks Online
Row and Column Settings for Reports in QuickBooks Online: Video
This video lesson, titled “How to Customize the Rows and Columns Report Settings in QuickBooks Online,” shows you how to change the row and column settings for reports in QuickBooks Online. This video lesson is from our complete QuickBooks Online tutorial, titled “Mastering QuickBooks Online Made Easy.”
Overview:
Row and Column Settings for Summary Reports:
You can customize the rows and columns in reports in QuickBooks Online. If customizing the rows and columns in a summary report, the column and row options now appear directly above the report in the general report customization settings section, as they are so commonly changed within these types of reports.
How to Add Columns to a Summary Report:
To add columns to a summary report by which to view the totals for each row in a summary report which shows an aggregation of values, or totals, select a choice from the “Display columns by” drop-down that appears in the report customization settings section.
How to Add Comparison Columns and/or Calculations:
To then change the comparison columns and comparison calculation values in a summary report, click the adjacent “Compare to” drop-down in this same section. To add or remove columns for comparison, check or uncheck the desired checkboxes in the “Time Periods” section of the drop-down menu that appears. To also add columns showing the change in dollar amounts or percentages for the columns or rows in the summary report, check the desired checkboxes under the “Calculations” section of this same drop-down menu.
How to Show Non-Zero or Active Data:
Relatedly, to select which column and row values to show in the report, based on account activity or non-zero amounts if customizing a summary report, click the “Customize” button in the report customization settings section to show the “Customize” pane at the right side of the report window. Then click the “Show non-zero or active” section in the “Customize” pane that appears. Finally, choose either the “Active,” “All,” or “Non-zero” option button for the “Show rows” and “Show columns” settings.
How to Change the Columns in a Detail Report:
Separately from the summary reports in QuickBooks Online, to change the columns shown in a detail report, click the “Customize” button in the report customization settings section to show the “Customize” pane at the right side of the report window. Then click the “Columns” section in the “Customize” pane to show a list of checkboxes corresponding to the available report columns. Checked checkboxes that appear above the dividing line in this list are for the columns that currently appear in the report. Unchecked checkboxes that appear below the dividing line are for columns that do not appear.
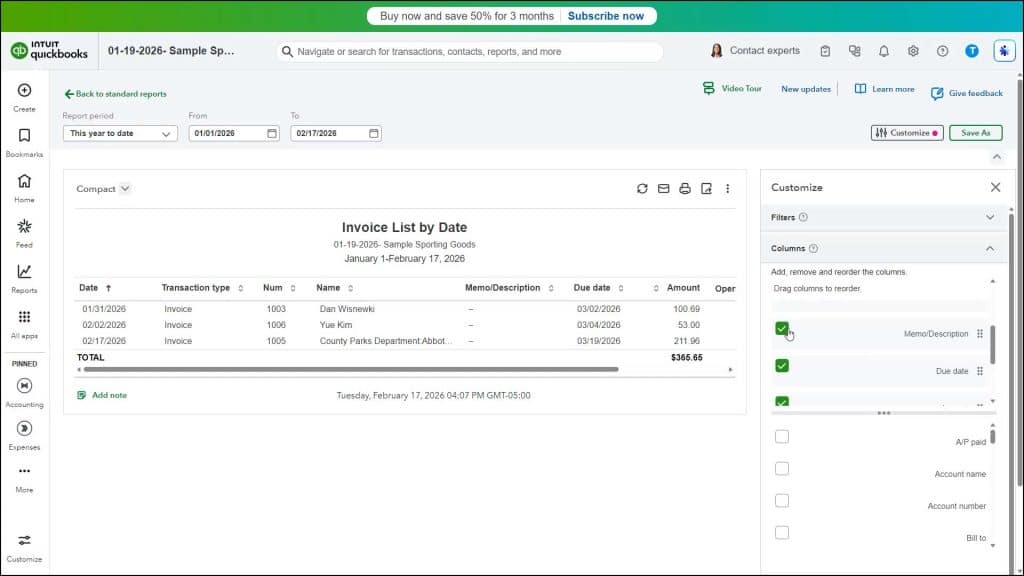
To change which columns appear in the detail report, check an unchecked checkbox for the column name to add, shown below the dividing line, to check it and move it above the dividing line. To remove a column from the report, uncheck a checked checkbox for the column to remove, which appears above the dividing line, to move it back below the dividing line.
To reorder the report columns in the report, click and drag up or down on the icon to the far right of the displayed column’s name to move in within the section above the dividing line. Then release it when the column is in the desired position. The order the column names appear from top to bottom in this list is the order they appear from left to right in the report.
How to Change Grouping Options in a Detail Report:
To change detail grouping options if customizing a detail report that allows detail grouping, like the “Transaction Detail by Account” report, click the “Groups” section in the “Customize” pane to show its settings. Then select a choice from the “Group by” drop-down. To clear a grouping, click the “X” button at the right end of the group.


