Update Multiple Tasks in Project- Tutorial
Update Multiple Tasks in Project: Video Lesson
This video lesson, titled “Updating Multiple Tasks in a Project,” shows you how to update multiple tasks in Project. This video is from our complete Project 2013-2010 tutorial, titled “Mastering Project Made Easy v.2013-2010.”
Update Multiple Tasks in Project: Overview
After you have saved a baseline copy and work has started on a project, you need to record the progress (actual work) performed on the tasks within the project file. You can update tasks individually, or you can update multiple tasks in Project to mark them complete as of a selected date. In this lesson, you will learn how to update multiple tasks in Project to mark them as completed by a specified date. You can use this feature when a project has completed 100% of the tasks on schedule as of a set date.
To update multiple tasks in Project as of a selected date, click the “Update Project” button in the “Status” button group on the “Project” tab in the Ribbon. In the “Update Project” dialog box, select the “Update work as complete through:” option button. Next, select the desired date to mark the work completed through by selecting the desired date from the adjacent calendar drop-down arrow. Next, in the “For:” section, you can select the “Entire project” option to update all tasks in the project as of the selected date. Then click the “OK” button to update the project tasks.
If you only wish to update multiple tasks in Project as of a selected date, but not necessarily all the tasks, you can also do that by using the “Update Project” dialog box. In this case, first select the tasks to update within the Gantt Chart view of your project file. Remember that you can select multiple, non-adjacent tasks in a list by holding down the “Ctrl” key on your keyboard as you click the task names. After they are selected, open the “Update Project” dialog box again. This time, however, choose the “Selected tasks” option button in the “For:” section to update only the selected tasks as of the date selected. This allows you to update some tasks individually, as needed.
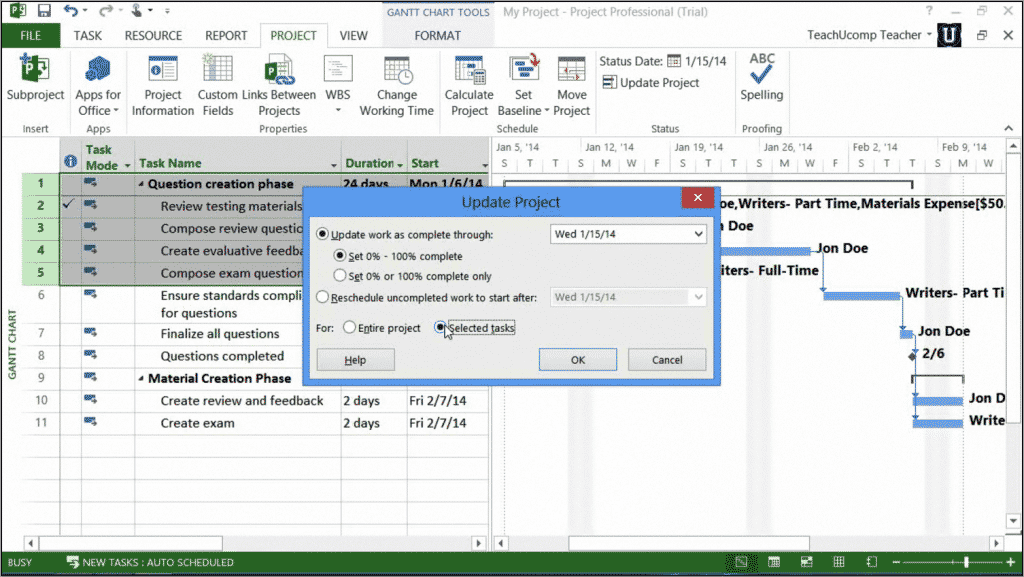
Update Multiple Tasks in Project- Tutorial: A picture of the “Update Project” dialog box that is used to update multiple tasks in Project 2013.
After you update the project’s progress, the individual tasks listed within the Gantt Chart view of your project file will then display a small check mark in the far left “Information” column to mark them as completed. You will also see the task progress indicated by a progress bar that highlights the tasks in the bar chart at the right side of the Gantt Chart view in your project file.
Update Multiple Tasks in Project: Instructions
- To update multiple tasks as of a selected date, but not necessarily all the tasks, select the tasks to update within the Gantt Chart view of your project file. To select multiple, non-adjacent tasks, hold down the “Ctrl” key on your keyboard as you click the task names.
- To update all tasks in Project as of a selected date, instead, do not select any tasks in the Gantt Chart View.
- Click the “Update Project” button in the “Status” group on the “Project” tab in the Ribbon to open the “Update Project” dialog box.
- Select the “Update work as complete through:” option button.
- Select the desired date to mark the work completed through by choosing the desired date from the adjacent calendar drop-down arrow.
- To update all tasks in the project as of the selected date, select the “Entire project” option in the “For:” section.
- To update only the selected tasks as of the date selected, choose the “Selected tasks” option button in the “For:” section, instead.
- Click the “OK” button to update multiple tasks in Project.
