Change the View of a Folder in Windows 10 – Instructions
Change the View of a Folder in Windows 10: Video Lesson
This video lesson, titled “Changing Folder Views,” shows how to change the view of a folder in Windows 10. This video lesson is from our complete Windows 10 training, titled “Mastering Windows Made Easy v.10.”
Change the View of a Folder in Windows 10: Overview
You can easily change the view of a folder in Windows 10. This lets you change the display of files and folders in the right pane of the File Explorer window. The view you choose is just a matter of personal preference. “Extra large icons,” “Large icons,” “Medium icons,” “Small icons,” “List,” “Details,” “Tiles,” and “Content” are your view choices.
To change the view of a folder, first open the folder within the File Explorer window. Then click the “View” tab within the Ribbon. Then click the desired view style button in the “Layout” button group. You can hold your mouse pointer over any view button to preview how it would appear in the window below. Then click the choice you prefer to apply it to the current folder.
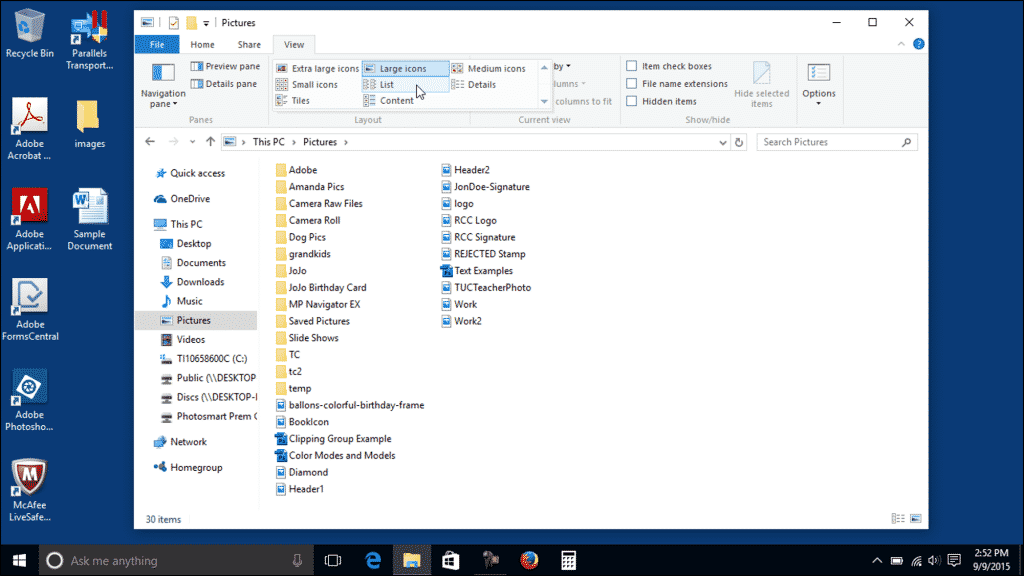
Change the View of a Folder in Windows 10: A picture of a user changing the view of a folder in Windows 10.
Change the View of a Folder in Windows 10: Instructions
- To change the view of a folder in Windows 10, open the folder within the File Explorer window.
- Then click the “View” tab within the Ribbon.
- Then click the desired view style button in the “Layout” button group.
- You have “Extra large icons,” “Large icons,” “Medium icons,” “Small icons,” “List,” “Details,” “Tiles,” or “Content” as your choices.
- To preview a view choice, hold your mouse pointer over any view button to see it in the window below.
- To apply a view to the current folder, click the choice you prefer.
