Header and Footer Report Settings in QuickBooks Online
Header and Footer Report Settings in QuickBooks Online: Video
This video lesson, titled “How to Customize the Header and Footer Report Settings in QuickBooks Online,” shows you how to filter reports in QuickBooks Online. This video lesson is from our complete QuickBooks Online tutorial, titled “Mastering QuickBooks Online Made Easy.”
Overview:
How to Show the Header Settings and Footer Settings in QuickBooks Online:
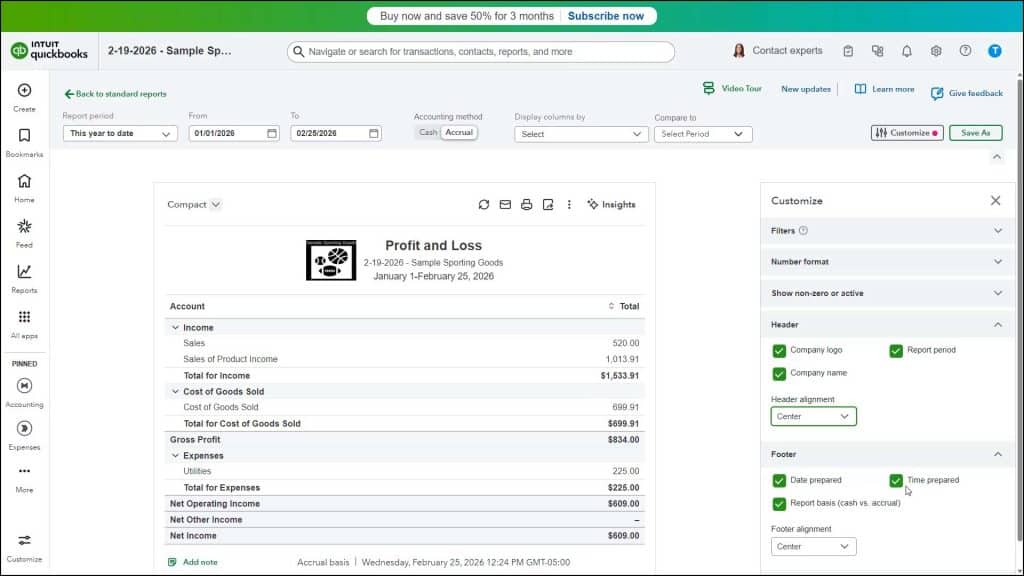
To customize a report’s header and footer settings in QuickBooks Online, click the “Customize” button in the report’s customization settings section to open a “Customize” pane. Then click the “Header” or “Footer” section’s label in the “Customize” pane to expand the desired section to show its settings.
How to Change the Report’s Header Settings:
In the “Header” section, to add your company’s current, uploaded logo to the report’s header, check the “Company logo” checkbox. To show the company name in the report header, check the “Company name” checkbox. To show the report period, if available for the type of report you are customizing, check the “Report period” checkbox. To change the alignment of the header’s content, select a choice from the “Header alignment” drop-down.
How to Change the Report’s Footer Settings:
In the “Footer” section, to show the report’s run date in the report footer, check the “Date prepared” checkbox. To show the report’s run time, check the “Time prepared” checkbox. To show the accounting method used to calculate the report’s values, if available for the type of report you are customizing, check the “Report basis (cash vs. accrual)” checkbox. To align the report’s footer content, select a choice from the “Footer alignment” drop-down.