How to Record an Owner’s Draw in QuickBooks Online
How to Record an Owner’s Draw in QuickBooks Online: Video
This video lesson, titled “How to Record an Owner’s Draw in QuickBooks Online,” shows you how to record an owner’s draw in QuickBooks Online. This video lesson is from our complete QuickBooks Online tutorial, titled “Mastering QuickBooks Online Made Easy.”
Overview:
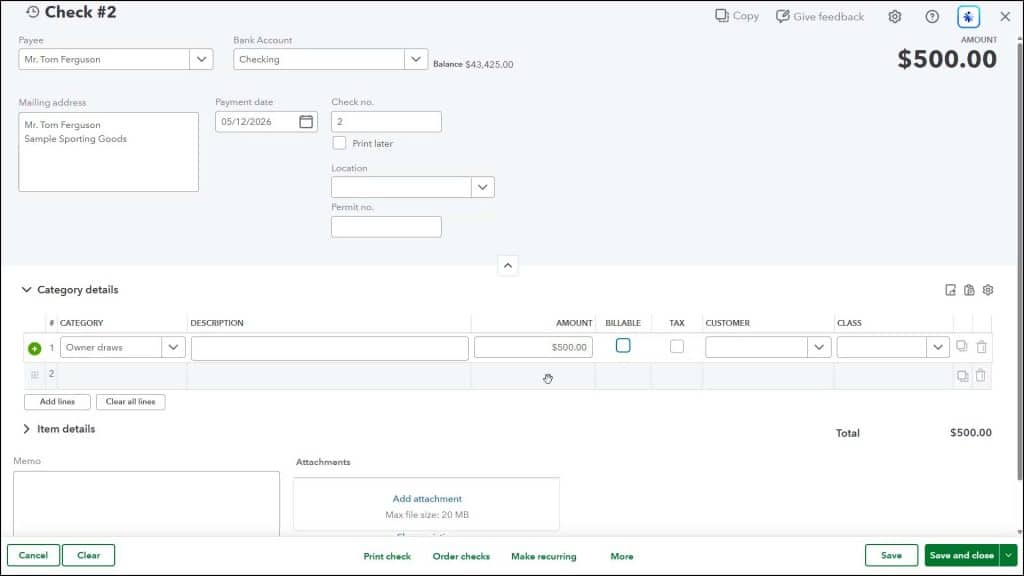
If your company is a sole proprietorship, you can take draws against the equity you have in your company. To record an owner’s draw for a sole proprietorship in QuickBooks Online, hover over the “+ Create” button in the Navigation Bar and select the “Check” link under the “Vendors” heading to open the “Check” window.
Then select the name of the owner from the “Payee” drop-down. If the owner isn’t setup as a “Vendor,” click the “+ Add new” choice in the drop-down menu to add the name of the owner to the vendors list. Then fill out the upper portion of the check, as usual.
In the “Category details” section, assign the amount of the check to the equity account you use to record your owner’s draws by selecting it from the “Category” column. QuickBooks Online creates a default “Owner draws” equity account for new sole proprietorship companies that you can use for this purpose, if needed. Make sure the correct amount appears in this row’s “Amount” column.
To save and print the check, click the “Print check” link in the toolbar at the bottom of the window. Alternatively, to save the check and close the window, click or select the “Save and close” choice from the drop-down button in toolbar in the lower-right corner of the window.