How to Use the Rulers and Grid in Photoshop: Video Lesson
This video lesson, titled “Learn How to Use the Rulers and Grid in Adobe Photoshop: A Training Tutorial,” shows you how to use the rulers and grid in Photoshop. This video lesson is from our complete Photoshop tutorial, titled “Mastering Photoshop Made Easy.”
Overview:
How to Use the Rulers in Photoshop:
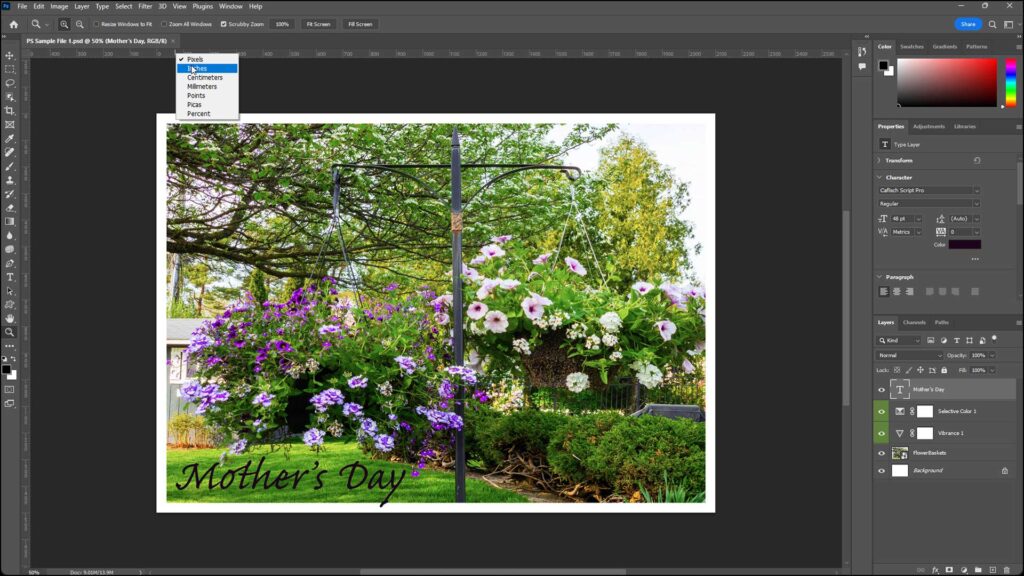
The rulers and grid in Photoshop help you place content within a Photoshop document. To toggle the rulers at the top and left sides of a Photoshop document on or off, select “View| Rulers” from the Menu Bar. The rulers in Photoshop help you make measurements. To change the units of measurement shown within the rulers in Photoshop, right-click either ruler. Then select the name of the desired units of measurement from the pop-up contextual menu that appears.
How to Change the Origin Point Location on the Rulers in Photoshop:
To change where the origin point (0) appears on the rulers in Photoshop, click and drag from the upper-left corner, where the rulers meet, down and to the right. The position at which you release the mouse pointer then becomes the new origin point for both rulers. To reset the origin points to their original locations, double-click the upper-left corner of the rulers, where the two rulers meet.
How to Change the Default Unit of Measurement on the Rulers in Photoshop:
To change the default unit of measurement that appears in the rulers in Photoshop, select “Edit| Preferences| Unit & Rulers…” from the Menu Bar to open the “Units & Rulers” settings within the “Preferences” dialog box. Then select the desired default units of measurement to show on the rulers from the “Rulers” drop-down in the “Units” section at the right side of this dialog box. Then click the “OK” button at the far-right side of the dialog box to apply the change.
How to Turn the Grid in Photoshop On or Off:
The grid in Photoshop can also help you to place content within Photoshop documents. The grid can help you align and layout content in a Photoshop document. To turn the grid on or off in Photoshop, select “View| Show| Grid” from the Menu Bar. The grid appears the same for all Photoshop documents, unlike guides, which we will discuss later, which you can customize for each Photoshop document. Therefore, you will probably want to set the grid to show the measurement settings that will be of most use to you for your most common types of Photoshop documents.
How to Change the Grid’s Appearance in Photoshop:
To change the default appearance of the grid in Photoshop, select “Edit| Preferences| Guides, Grid & Slices…” from the Menu Bar to open the “Guides, Grid & Slices” settings within the “Preferences” dialog box. To set the grid color, select a choice from the “Color” drop-down in the “Grid” section at the right side of this dialog box.
Alternatively, to set a custom grid color, click the color box at the right end of the “Grid” settings to open a “Color Picker (Grid Color)” dialog box, select the desired grid color, and then click “OK.” To select the grid line style, select a line style choice from the drop-down to the right of the “Color” drop-down.
How to Change the Gridlines in the Grid in Photoshop:
To set how frequently to show major gridlines in the grid, enter a number into the “Gridline Every” field and then select the unit of measurement for that value from the adjacent drop-down. Finally, to set the number of grid line subdivisions to show between each major gridline, enter the number of subdivisions into the “Subdivisions” field. Then click the “OK” button at the far-right side of the dialog box to apply the changes.