Create a Payment Line Item in QuickBooks Online
How to Create a Payment Line Item in QuickBooks Online: Video
This video lesson, titled “How to Create a Payment Line Item in QuickBooks Online,” shows you how to create a payment line item in QuickBooks Online. This video lesson is from our complete QuickBooks Online tutorial, titled “Mastering QuickBooks Online Made Easy.”
Overview:
How to Create a Payment Line Item to Record Multiple Payment Methods in a Sales Receipt:
By default, QuickBooks Online Plus doesn’t let you record multiple payment types in a single sales form. However, you can create a payment line item(s) to work around this. For example, creating a payment line item can help if a customer wants to pay by check and by cash in a single transaction. Using your payment item in a sales form and then placing negative amounts for the payment line item into the “Rate” column in the sales form lets you record multiple payment types in a single sales form.
How to Create the Payment Item:
To create a payment line item in QuickBooks Online, create a new “Product/Service” by clicking the “Settings” button in the QuickBooks Online toolbar. Then select “Products and services” under the “Lists” heading to open the “Products & services” page. Then click the “New” button in the upper-right corner of the page and select the “Non-inventory item” choice to open the product/service information pane.
Type a Name and Sales Description that Reflects the Payment Type, Select the Account into Which you Deposit Received Funds of that Type, and Make Sure the Item is Nontaxable:
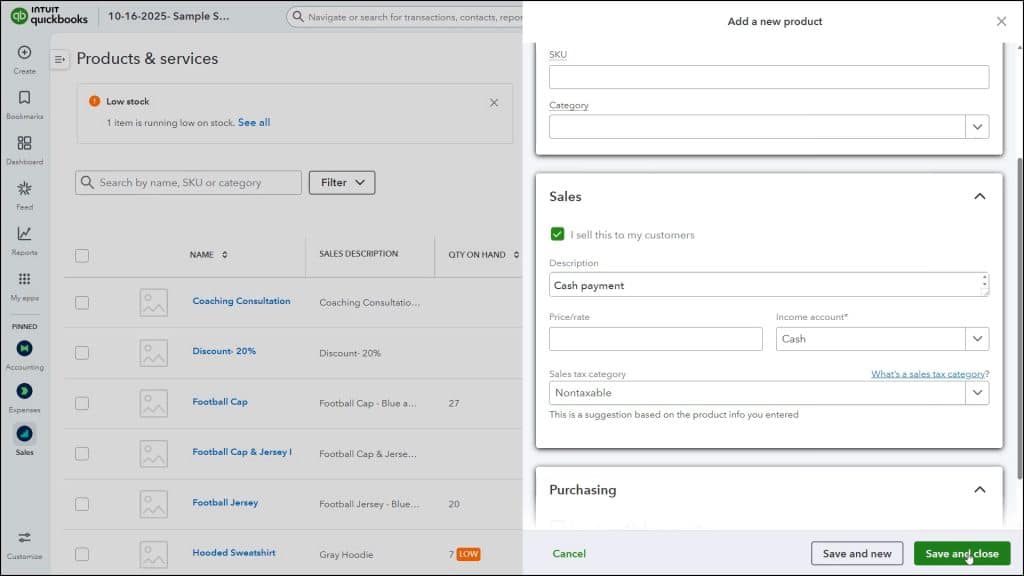
In this pane, type a name for the payment line item into the “Name” field, like “Cash Payment” or “Check Payment.” Then type the same name into the “Description” field in the “Sales” section to show it on your sales forms. Next, select the corresponding asset account into which to deposit the funds when the payment item is used within a form, like a “Cash” account or a “Payments to deposit” account, from the “Income Account” drop-down, as needed.
Then select the “Nontaxable” choice from the “Sales tax category” drop-down. If it doesn’t appear in this drop-down, then select the “Show all sales tax categories” link in the drop-down, expand the “Can’t find the right sales tax category? section at the bottom of the “Select a sales tax category” pane that then appears, choose the “Nontaxable” option, and then click the “Select” button at the bottom of the pane to return to the product/service information pane. Then click the “Save and close” button at the bottom of the pane to save the item and close the pane.
How to Use the Payment Line Item in a Sales Form:
After creating the required payment items, you can then use them in the line items area of sales forms to record a customer payment to the associated asset account. When entering a payment line item, be sure to enter the payment line item with a quantity of “1” in the “QTY” column and a negative payment amount in the “Rate” column within the sales form.


