How to Apply a Customer Credit in QuickBooks Online
How to Apply a Customer Credit in QuickBooks Online: Video
This video lesson, titled “How to Apply Customer Credits in QuickBooks Online,” shows you how to apply a customer credit in QuickBooks Online. This video lesson is from our complete QuickBooks Online tutorial, titled “Mastering QuickBooks Online Made Easy.”
Overview:
How to Automatically Apply Customer Credits in QuickBooks Online:
If you enable the “Automatically apply credits” toggle switch option in the “Automation” section of the “Advanced” category in the “Settings” window and save your changes, then QuickBooks Online automatically applies existing customer credits to the next invoice you create for that customer. It does this by adding the new invoice to the previous overpayment or prepayment you recorded in the “Receive payment” window, which you can see if you open the previous payment in this window.
How to Manually Apply Customer Credits in QuickBooks Online:
However, if you need to manually apply customer credits in QuickBooks Online, first ensure the “Automatically apply credits” toggle switch option in the “Automation” section of the “Advanced” category in the “Settings” window is toggled to the “Off” position and then save your changes.
How to Manually Apply Customer Credits to Invoices:
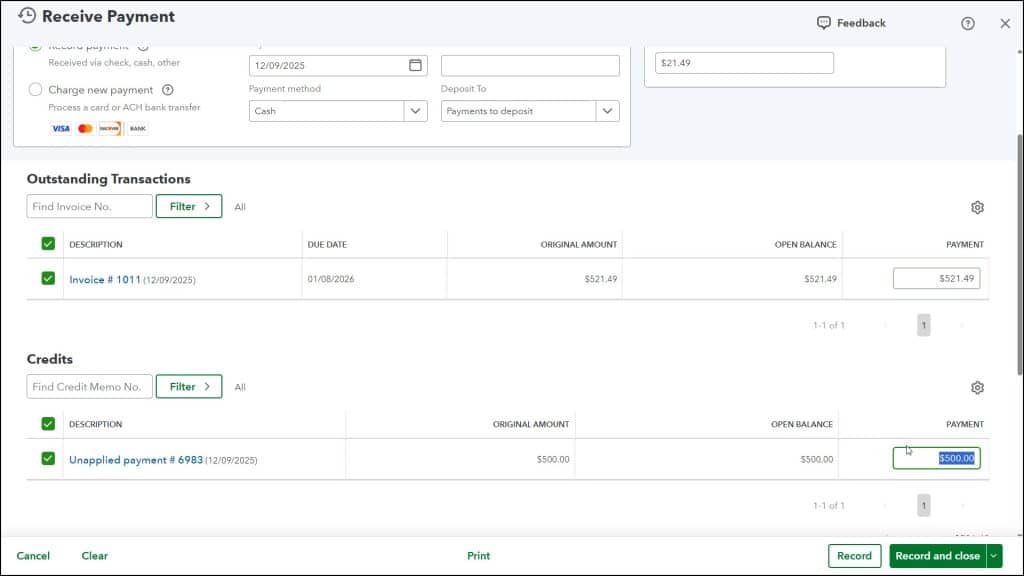
To then manually apply the customer credit to an invoice you have created, hover over the “+ Create” button in the Navigation Bar and then select the “Receive Payment” command to open the “Receive Payment” window. Select the customer with the outstanding invoice and the unapplied credit from the “Customer” drop-down. QuickBooks Online then shows the selected invoice in the “Outstanding Transactions” list and the selected credit in the “Credits” list. The credit amount should be applied to the outstanding invoice.
As usual when recording a customer payment, you can check or uncheck the checkboxes to the left of any invoices or credits listed in the page to check or uncheck them and change the amounts shown in their corresponding “Payment” column. Double-check that the “Payment” amounts shown for the invoice or invoices, the credit or credits, and the “Amount received” shown in the “Receive Payment” window are all correct and change them, if needed. When finished, click one of the buttons in the toolbar at the bottom of the page to record the payment and apply the customer credit to the selected invoice or invoices.
Separately, if a customer has a credit that will not be used in the future against any invoices, you can create a credit memo for the customer and issue them a refund check for the credit amount. Creating credit memos and issuing refund checks is covered in the following chapter.


