Print a Report in QuickBooks Desktop Pro – Instructions
How to Print a Report in QuickBooks Desktop Pro: Video
This video lesson, titled “Learn How to Print Reports in Intuit QuickBooks Desktop Pro 2023: A Training Tutorial,” shows you how to print reports in QuickBooks Desktop Pro. This video lesson is from our complete QuickBooks tutorial, titled “Mastering QuickBooks Desktop Pro Made Easy v.2023.”
Overview of How to Print a Report in QuickBooks Desktop Pro:
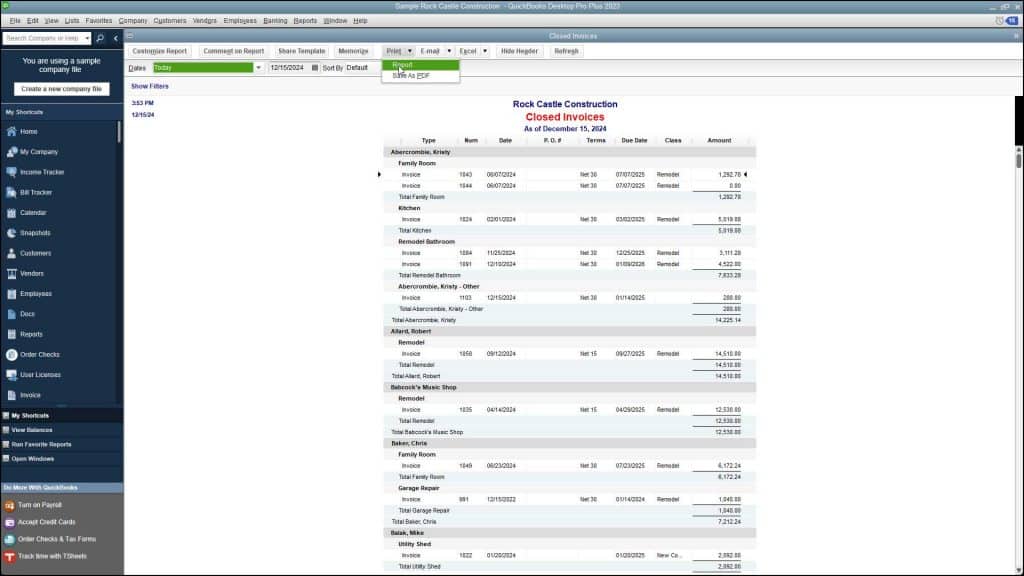
You can easily print a report in QuickBooks Desktop Pro. To print a report in QuickBooks Desktop Pro, first open the report you want to print. Then click the “Print” button in the toolbar of the report. Then select the “Report” command from the drop-down menu. Doing this then displays the “Print Reports” window. You use the “Print Reports” window to select your printing settings.
You use the “Print Reports” window to select and set options for the printer you would like to use. These options include the page orientation, page breaking behavior, the print range, and the number of copies of the report. After you have set the printing options you want, you can then print the report. To print the currently displayed report, click the “Print” button in the “Print Reports” window.
A picture showing how to print a report in QuickBooks Desktop Pro.
Instructions on How to Print a Report in QuickBooks Desktop Pro:
- To print a report in QuickBooks Desktop Pro, open the report you want to print.
- Then click the “Print” button in the toolbar of the report.
- Then select the “Report” command from the drop-down menu.
- In the “Print Reports” window that appears, select the printer you would like to use.
- Also set the printing options, like the page orientation, page breaking behavior, print range, and the number of copies.
- To print the currently displayed report after setting the printing options, click the “Print” button in the “Print Reports” window.


