Screen Clippings in OneNote – Tutorial and Instructions
Screen Clippings in OneNote: Video Lesson
This video lesson, titled “Screen Clippings,” shows how to insert screen clippings in OneNote. This video lesson is from our complete OneNote training, titled “Mastering OneNote Made Easy v.2016-2013.”
Screen Clippings in OneNote: Overview
Screen clippings in OneNote let you capture an image of anything that is visible on your computer screen. You can then insert these screen clippings in OneNote into a notebook page.
To insert screen clippings in OneNote, first display the content you wish to clip. Then, open the notebook and page to which you want to add the screen clipping. Click the “Insert” tab in the Ribbon and then select the “Screen Clipping” button within the “Images” group.
OneNote will minimize to the taskbar while the Screen Clipping tool starts. You will see a transparent white overlay and your cursor will turn into a small crosshairs icon. Click and drag to define the area that you want to “clip,” which turns clear as you drag. When you are done, release your mouse button. OneNote will automatically insert the clip into the page you selected. It also includes information on the date and time the clip was taken.
To send a screen clipping to a new page, display the content you want to clip. Even if OneNote is closed, if you have the “Send to OneNote” tool displayed in the Notification Area at the right end of the Windows Taskbar, you can launch the Screen Clipping tool by holding down both the “Windows” and “Shift” buttons on your keyboard and then tapping the “S” key. Click and drag with the Screen Clipping tool to define the area you want to clip and release your mouse.
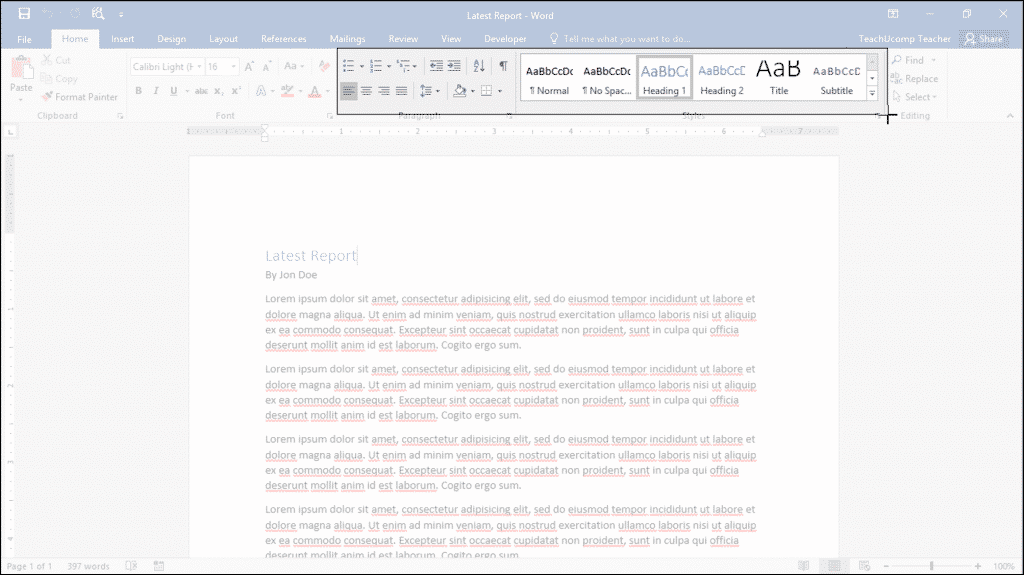
Screen Clippings in OneNote – Tutorial and Instructions: A picture of a user taking a screen clipping of a Word document using OneNote.
Doing this displays the “Select Location in OneNote” dialog box. Select the notebook and section into which you want to send the screen clipping. Then click the “Send to Selected Location” button. Remember that you can always send the clipping to the Quick Notes section and move it later, if you prefer.
Screen Clippings in OneNote: Instructions
- To add screen clippings in OneNote, display the content you wish to clip.
- Open the notebook and page to which you want to add the screen clipping.
- Then click the “Insert” tab in the Ribbon.
- Then click the “Screen Clipping” button within the “Images” button group.
- Click and drag with your mouse to define the area to “clip,” which turns clear as you drag.
- Then release your mouse button to insert the clip into the page you selected.
- To send a screen clipping to a new page, display the content you want to clip.
- With OneNote closed, ensure the “Send to OneNote” tool appears in the Notification Area at the right end of the Windows Taskbar.
- Hold down both the “Windows” and “Shift” buttons on your keyboard and then press the “S” key
- Then click and drag with your mouse to define the area you want to clip.
- Then release the mouse button.
- In the “Select Location in OneNote” dialog box, click the section into which you want to send the screen clipping.
- Then click the “Send to Selected Location” button.
