Microsoft Word allows you to insert various shapes into your document. For example, you could place a circle around important information in a document. If you use Word to create marketing fliers, newsletters, or other types of publications, you may want to insert various types of shapes to add visual interest to your documents.
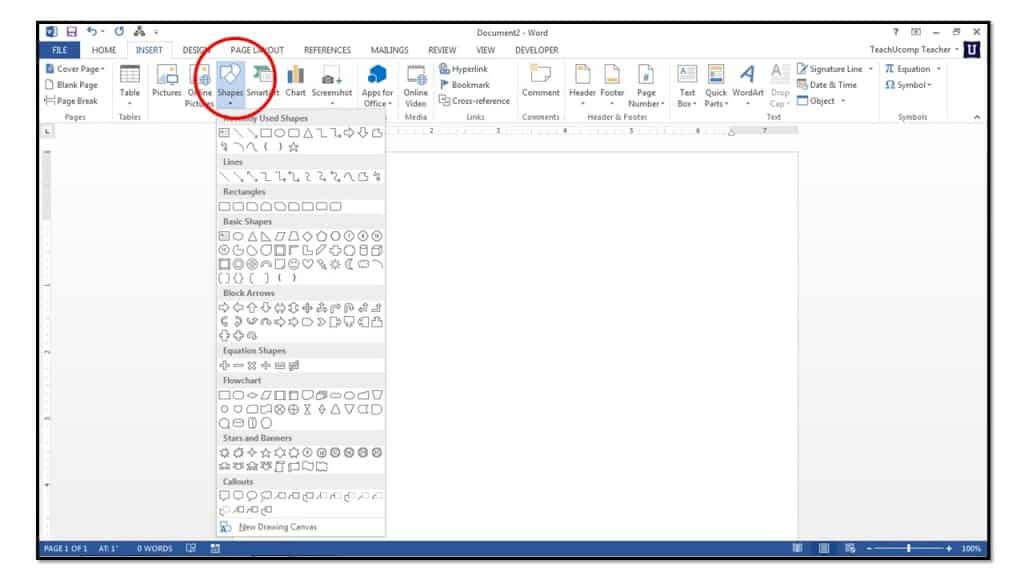
1. Click the “Insert” tab in the Ribbon and then click the “Shapes” button in the “Illustrations” group.
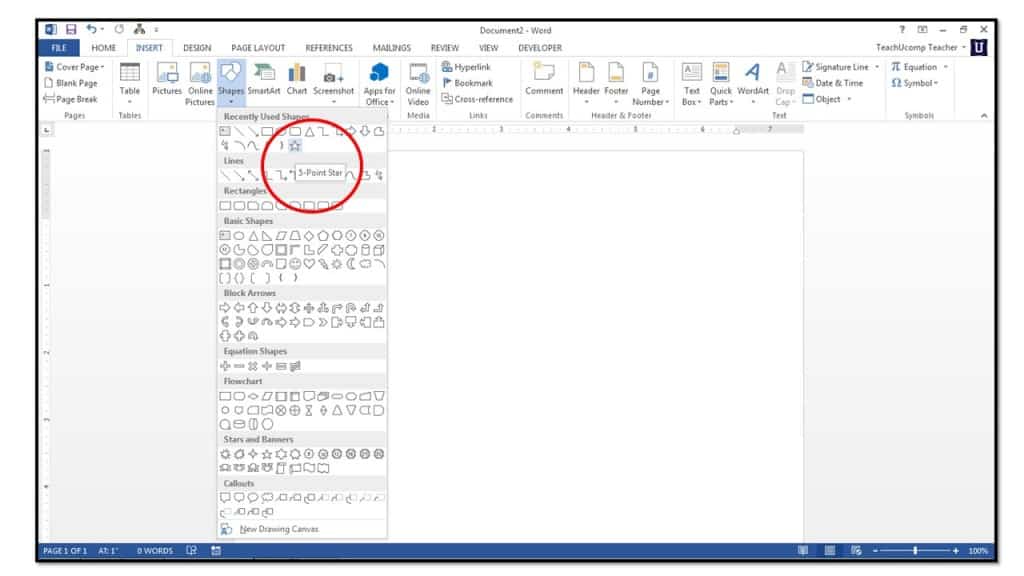
2. Roll your mouse pointer over the shape that you want to insert, and then click it to select it.
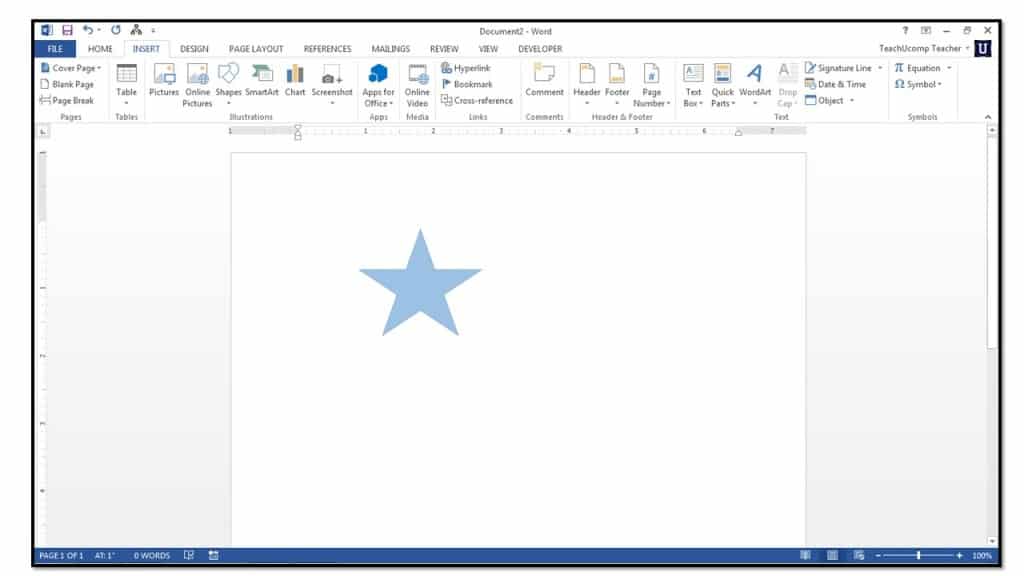
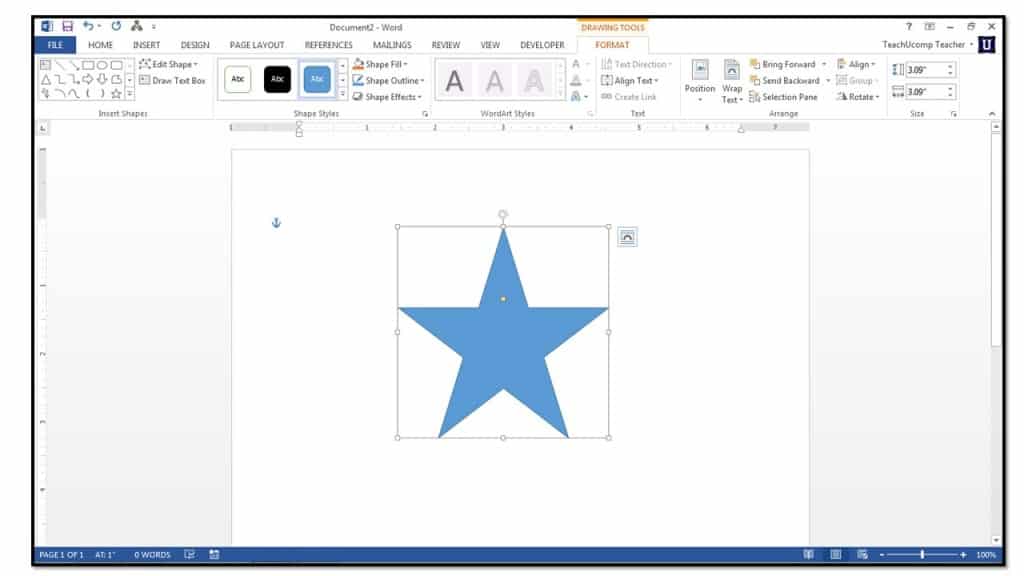
3. Your mouse pointer will appear as a black cross-hair when you place it back over the document. Decide where you want the graphic to appear in your document, and then click and drag across the area in the document where you want the object to appear. The object will then be inserted into your document.
4. When drawing the object, you can hold down the “Shift” key as you click and drag while drawing in order to create a “perfect” version of the selected shape.
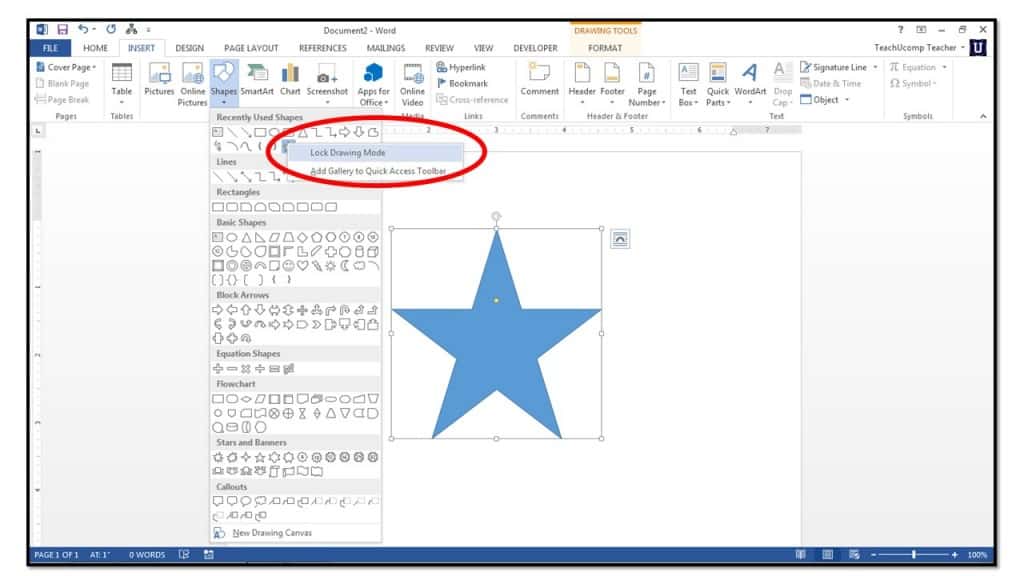
5. If you want to lock Word into its drawing mode as you select your desired shape from the “Shapes” button’s drop-down menu, simply right-click on the shape that you want to draw in the drop-down menu, instead of clicking it. From the pop-up menu that appears, click the “Lock Drawing Mode” command. Now you can return to your document and draw as many instances of the selected shape as you wish. Note that you can cancel the drawing mode lock by simply pressing the “Esc” key on your keyboard, or by right-clicking into the blank area of the document.

